Advertisement
Quick Links
Advertisement

Subscribe to Our Youtube Channel
Summary of Contents for Snapmaker CAN Hub A150
- Page 1 CAN Hub QUICK START GUIDE A150 | A250 | A350 MAKE SOMETHING WONDERFUL...
-
Page 2: Table Of Contents
Table of Contents 1 Before You Start 1.1 Specifications 1.2 Parts List 1.3 Used Symbols 1.4 Get the Screwdriver Ready 2 Assembly 3 Cable Connection... -
Page 3: Before You Start
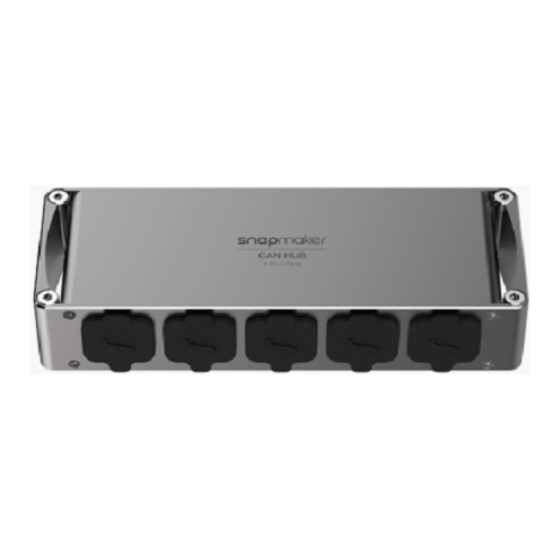
1 Before You Start 1.1 Specifications Dimensions 136 width × 51 depth × 26 height (mm) Weight 0.163 kg Package Weight 0.7 kg Cable Length 2000 mm Output Ports The specifications are subject to change without notice. -
Page 4: Parts List
1.2 Parts List CAN Hub QUICK START GUIDE A150 | A250 | A350 MAKE SOMETHING WONDERFUL Quick Start Guide × 1 CAN Hub × 1 Conversion Plate × 2 Cable × 1 Cable Clip × 6 M4 × 27 Hex Socket Head M4 ×... -
Page 5: Used Symbols
1.3 Used Symbols Failure to follow this instruction might result in malfunction, Caution damage to the machine or workpiece, or slight personal injury. Tells you practical advice. Direction Ensure the highlighted part is facing the right way. Do not tighten the screws when this symbol appears. Always tighten the screws when it is absent. -
Page 6: Get The Screwdriver Ready
1.4 Get the Screwdriver Ready Use the H2.5 bit for machine assembly and other bits for maintenance. Before use, ensure the screw bit holder is put back into the handle. -
Page 7: Assembly
2 Assembly This guide takes Snapmaker 2.0 A350 as a demonstration. All steps demonstrated apply to the assembly and use of the CAN Hub on A150 and A250. Turn off the machine before assembly. Insert the Sliding Nuts into the 48CA Beam on the right of the Enclosure. - Page 8 Attach the Conversion Plates to the Sliding Nuts. Do not tighten the screws until Step 4. Conversion Plate × M4 × 10 Hex Socket Head Screw ×...
- Page 9 Adjust the installation position of the Conversion Plates, in accordance with where the screw holes of the CAN Hub are.
- Page 10 Tighten the screws of the Conversion Plates.
- Page 11 Attach the CAN Hub to the Conversion Plates. M4 × 27 Hex Socket Head Screw (Customized) × CAN Hub ×...
- Page 12 Insert one end of the cable into any of the ports of the CAN Hub. Thread the other end of the cable through the Snap Bushing on the Back Panel.
- Page 13 Insert the other end of the cable into either of the Expansion Ports of the Enclosure Converter. Do not connect or disconnect any cables when the machine is turned on.
- Page 14 Lock the cable with Cable Clips, and press the clips into the groove of the 48CA Beam. Cable Clip ×...
-
Page 15: Cable Connection
3 Cable Connection If you want to use the Emergency Stop Button and the Air Purifier at the same time, you can install the Emergency Stop Button in the position as illustrated. The ports of the CAN Hub can be used as input or output, so you can insert the cables of these two addons into any of the ports. - Page 16 Original Instruction Y.3.B.A.0042-01 V1.0.0...


Need help?
Do you have a question about the CAN Hub A150 and is the answer not in the manual?
Questions and answers