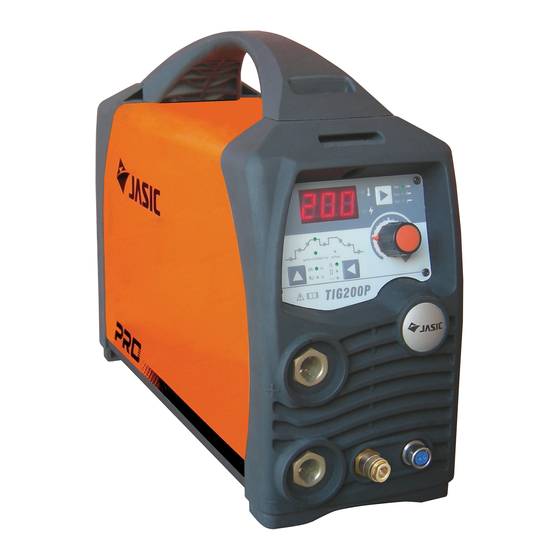
Jasic TIG Series Assembly Instructions Manual
Water cooled tig trolley
Hide thumbs
Also See for TIG Series:
- Operator's manual (52 pages) ,
- Operator's manual (37 pages) ,
- Operator's manual (36 pages)
Summary of Contents for Jasic TIG Series
- Page 2 Please ensure that you are fully conversant with the information provided paying particular attention to the safety precautions which can be found in the Jasic machine operating manual. The information provided within the assembly manual and the product operating manual will help protect yourself and others against the potential hazards that you may come across.
- Page 3 Please Note: This kit is used for other machine packages, you may note that extra screws are supplied and as a result there may be some screws left over once you have fully assembled the trolley package. For the following instructions we have used the Jasic JT-315 ACDC Multi Wave TIG power source and cooler as shown below.
- Page 4 CONTENTS The below shows the main contents of the TIG trolley assembly kit. Various sundry items (required for assembly) Base unit (item 1) including assembled wheels Upright Cylinder Support (item 3) Side fixing brackets (item 4) Top shelf (item 2) also showing circled top shelf brackets...
- Page 5 ASSEMBLY 1 Place the base unit on a flat surface, locate the Locate the cooler base brackets (circled cylinder support (Item 3) and use M10 screws (A) yellow) which secures the water cooler to to fix the cylinder support to the base unit (item1). the base unit.
- Page 6 ASSEMBLY 5 Fit the two side brackets (item 4) to the water Fit the TIG wire ‘cup’ (item 5) to the base cooler as shown below. using the supplied 3 screws (C) 7 Remove the bottom side front and rear screws either side of the power source (the middle screw may not be required to be removed) and mount the power source on top of the water cooler lining up the holes of the bracket.
- Page 7 ASSEMBLY 8 Remove the top brackets shown with item 2 9 Mount the top shelf (item 2) on top of the and fit to the top of the power source as shown fitted brackets and use the screws removed below. Use the screws you have removed from earlier to fix the top shelf in place.
- Page 8 July 2021 - Issue 1...


