Advertisement
Quick Links
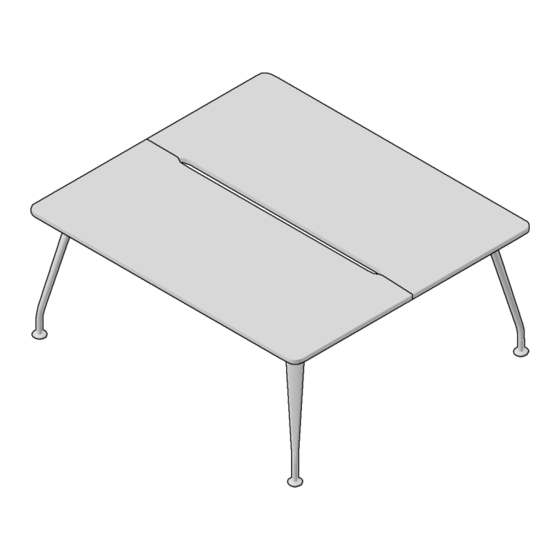
DNA single bench unit
2 x DBT----
2 x (pair) DCL
2 x (pair)DSH
2 x (pair)DSH
To start, arrange your rails into lateral
rails and cross rails. There will be two
pairs of rails of the same length, these
are the lateral rails that will span the
width of the bench. If your bench is
1.2m wide they will be DR12, 1.8m will
be DR18 etc. The remaining pair will
usually be DR12 or DR16 and these span
the depth of the bench.
Take one of the corner legs and one of
the lateral rails. With the holes in the rail
facing upwards, insert either end onto
one of the metal lugs at the top of the
leg. If the beam will not slide on easily
ensure that the bolts in the lug are fully
retracted by turning them clockwise
with the 6mm Allen key.
2 x (pair)DR 22/20
1 x (pair)
/18/16/14/12/08
DR 12/16
DNA desking
DB 22/2; 20/2; 18/2; 16/2; 14/2; 12/2
DNB 22/2; 20/2; 18/2; 16/2; 14/2; 12/2
Fixings
12 x 6mm x 26mm
mush head screws
With the rail in place, put the a 6mm
Allen key through one of the holes in its
top and into the allen bolt in the lug of
the leg. Turn this anti-clockwise as if to
undo the bolt. This will raise the bolt up
and force it against the inside of the
rail, locking it in place. Repeat this with
the bolt directly next to the one you
have just turned. The rail should now be
locked onto the leg.
Equipment Required
(not included)
6 mm Allen key
4 mm Allen key
Advertisement

Related Manuals for Verco DNA DB 22/2


Summary of Contents for Verco DNA DB 22/2
- Page 1 DNA desking DNA single bench unit DB 22/2; 20/2; 18/2; 16/2; 14/2; 12/2 DNB 22/2; 20/2; 18/2; 16/2; 14/2; 12/2 Fixings Equipment Required (not included) 2 x DBT---- 2 x (pair) DCL 2 x (pair)DR 22/20 1 x (pair) /18/16/14/12/08 DR 12/16 12 x 6mm x 26mm 6 mm Allen key...
- Page 2 Repeat this process with the remaining leg of the pair, fixing it to the other end of the rail. The result should resemble this illustration. Repeat steps 1-3 with the remaining cross rail and the other pair of legs. You should now have two identical structures.
- Page 3 To construct the centre rails take a rail bracket and insert it into the end of one of the remaining rails (holes facing up). Fix it in place by turning the two bolts on the lug of the bracket anti-clockwise to secure it within the beam in the same way as you did with the leg frames.
- Page 4 Take all the spacer hook components (grey plastic) out of their packaging. Take one of the rectangular blocks and one of the hooks. With the ‘Verco’ and ‘100-DNASH’ text on the inside of the moulding facing up, insert the hook in to the central hole as shown left.
- Page 5 Place the black ‘mush head’ screws through the holes in each leg and screw them into the underside of the top using the 4mm Allen key. Continue turning until they are fully inserted but avoid over-tightening. Do the same with one screw through the hole in the underside of each rail bracket.
Need help?
Do you have a question about the DNA DB 22/2 and is the answer not in the manual?
Questions and answers