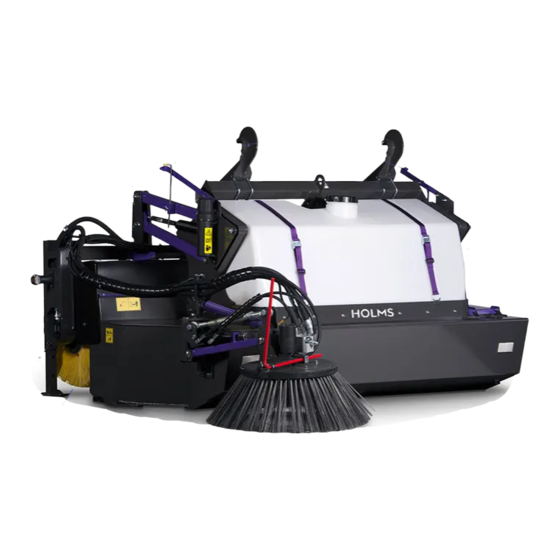
HOLMS 300 Operator's Instruction
Pick-up sweeper 2,0/2,2/2,5/3,0m
Hide thumbs
Also See for 300:
- Operating instructions manual (22 pages) ,
- Operator instructions manual (10 pages)
Table of Contents
Advertisement
Quick Links
OPERATOR INSTRUCTION
HOLMS 300
Pick-up sweeper
2,0/2,2/2,5/3,0m
Serial No:
300 - 2,0 - 2000
300 - 2,2 - 2000
300 - 2,5 - 2000
300 - 2,5 - 4000
300 - 3,0 - 4000
From serial No: 5150.
Box 924 S-591 29 Motala Sweden • Tel +46 141-22 41 00 • Fax +46 141-22 41 90
© HOLMS INDUSTRI AB, ALL RIGHTS RESERVED 5/4/06
Advertisement
Table of Contents

Summary of Contents for HOLMS 300
- Page 1 300 - 2,5 - 4000 300 - 3,0 - 4000 From serial No: 5150. Box 924 S-591 29 Motala Sweden • Tel +46 141-22 41 00 • Fax +46 141-22 41 90 © HOLMS INDUSTRI AB, ALL RIGHTS RESERVED 5/4/06...
-
Page 2: Table Of Contents
Change of brushes When ordering spare parts or by other contacts with Mounting of sweeper roll Holms or your local dealer, always inform about the at- tachment type and series No. This number you will find on the machine plate. -
Page 3: Product Facts
130/200 130/200 2000/4000 motors Max returnpressure (Bar) 140/105 140/105 140/105 140/105 2000/4000 motors *) Valid for material with density 1,4-1,5. Attachment are excluded in all weights and meassures. 1. Centre of gravity © HOLMS INDUSTRI AB, ALL RIGHTS RESERVED 5/4/06... -
Page 4: Generally
2. Holms 300 Do not make any modifications, changes, rebuilt work etc. which are not approved by Holms Industri AB. We also ask you to pay attention to spare parts not approved by us. © HOLMS INDUSTRI AB, ALL RIGHTS RESERVED 5/4/06... -
Page 5: Operator Instruction
- Lower the machine towards the ground until the waste- container is 10-15 cm above the ground. Loosen the height 5. Tilt indicator indicator adjusting screw, picture 4, and move the indicator until the yellow markers are in line. © HOLMS INDUSTRI AB, ALL RIGHTS RESERVED 5/4/06... -
Page 6: Setting Of Ground Pressure
This is important, otherwise the sweeper can be damaged by the loader arms. 3. Loosen the hydraulic quick couplings and the electric cable harness. © HOLMS INDUSTRI AB, ALL RIGHTS RESERVED 5/4/06... -
Page 7: Dust Control
See picture 8. Side brush (extra equipment) Holms 300 / 300L can be equipped with an extra side 8. Bottom plug brush to obtain even better result close to kerbstones etc. It can be mounted on the left or the right side. -
Page 8: Maintenance
13. ATTENTION! Avoid clamping. 4. Pull off the sweeper roll from the motor on the other gable. 13. Removing gable side 5. Lift up the machine and take away the sweeper roll. © HOLMS INDUSTRI AB, ALL RIGHTS RESERVED 5/4/06... -
Page 9: Change Of Brushes
13. Fasten the other end ring with screws. 16. Mounting of brush element 17. Correct mounting © HOLMS INDUSTRI AB, ALL RIGHTS RESERVED 5/4/06... -
Page 10: Mounting Of Sweeper Roll
4. Mount the four gable side bolts. Make sure not to clamp any brush straws. 5. Mount the hydraulic hose bracket on the bar tube. 19. Gable side bolts 20. Bracket for hydraulic hoses © HOLMS INDUSTRI AB, ALL RIGHTS RESERVED 5/4/06...


Need help?
Do you have a question about the 300 and is the answer not in the manual?
Questions and answers