Table of Contents
Advertisement
Quick Links
Advertisement
Table of Contents

Related Manuals for Bissell PROHEAT 2X REVOLUTION PET 2457F


Summary of Contents for Bissell PROHEAT 2X REVOLUTION PET 2457F
- Page 1 PROFESSIONAL PROHEAT ® REVOLUTION ® _______________ USER GUIDE 2457F...
- Page 2 » Do not immerse. Use only on surfaces moistened » Do not pick up toxic material (chlorine bleach, ammonia, by the cleaning process. Use only BISSELL® cleaning drain cleaner, etc.). products intended for use with this machine.
-
Page 3: What's In The Box
Thanks for buying a BISSELL® carpet cleaner! We love to clean and we’re excited to share one of our innovative products with you. We want your carpet cleaner to work like new for the years to come, so this guide has tips on how to use, maintain and, if there’s a problem, troubleshoot. -
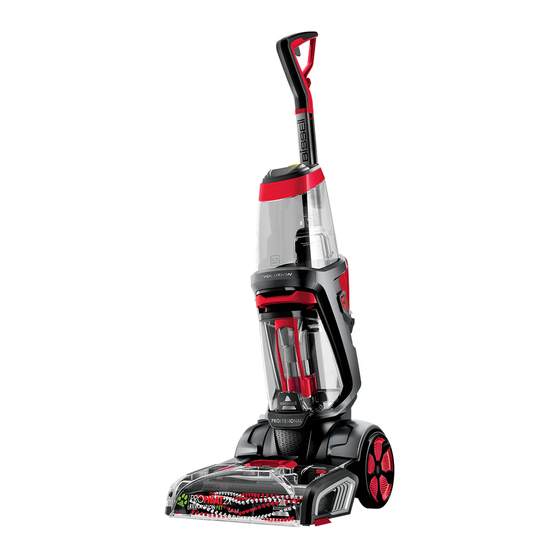
Page 4: Product View
Button Carry Cleaning Mode Handle Switch Float Dirty Water Tank Stack Rubber Foot CleanShot Button Belt Access Quick Door Release Cord Wrap Belt/Brush Access Plate Nozzle Recline Pedal EdgeSweep Brushes On-Board Tool Storage Water Rinse Rinse & Storage Tray BISSELL.com... - Page 5 Your tray is assembled The tools and Water Rinse Tray. (There are 2 hooks and ready for use. Cup can also be stored on on each side of Part A the Rinse & Storage Tray. that hook under Part B.) BISSELL.com...
- Page 6 Cleaning Formulas Keep plenty of BISSELL® formulas on hand so you can clean whenever it fits your schedule. Always use genuine BISSELL formulas in your machine. Other formulas may harm the machine and void the warranty. Do not use Wash & Shine Hard Floor Formula on area rugs or carpet.
- Page 7 Easy Fill line. slide the tank into place. NOTE: Fill with warm (140°F/60°C MAX) tap water and add the appropriate BISSELL® formula. DO NOT USE BOILING WATER. DO NOT HEAT WATER OR TANK IN MICROWAVE. When using BISSELL Wash & Remove + Antibacterial formula: Only fill your Clean Water Tank with the recommended amount of water and formula to achieve anti- bacterial benefits.
- Page 8 • It is common to refill the Clean Water Tank and empty the Dirty Water Tank multiple times throughout your cleaning process. Room size and the speed at which you clean are both factors that affect how often the tank may need to be refilled and/or emptied. BISSELL.com...
- Page 9 Press the Power Button to Detach the hose and tool and close the accessory hose turn machine ON. door. Let the hose and tool air dry before storing. BISSELL.com...
- Page 10 Then hold down the trigger to rinse the hose for 30 seconds. The HydroRinse Tool can be stored on the right handle or on the hose in between use. NOTE: Ensure that the cleaning solution and water are in the tank before use. BISSELL.com...
- Page 11 WET MODE NOTE: Start from the area farthest away. Hold the trigger down, and pull the tool toward you. Keep the tool in contact with the surface as you pull. You will see extraction through the nozzle. BISSELL.com...
- Page 12 CLEANING THE STAIN TRAPPER TOOL: Clean the front of the tool by removing the plate over the suction plate. Pull down to remove and rinse with water. Then replace the plate by sliding back into place. BISSELL.com...
-
Page 13: Emptying The Dirty Water Tank
With arrows aligned, the Did You Know? float should lock into The Float Stack is what place. Return the ring prevents your Dirty and twist to lock. Water Water Tank from may leak if it’s not tight. overflowing. BISSELL.com... - Page 14 Turn the machine ON. This will begin to wash and rinse the Brush Rolls. After 6-8 seconds CLOSE the accessory hose door Fill the tray with water using the Water Cup. to extract the water from the tray. BISSELL.com...
- Page 15 Line up the Nozzle from Brush Rolls. the edge near the floor and rotate to snap back into place. NOTICE: To reduce the risk of a leaking condition, do not store machine where freezing may occur. Damage to internal components may result. BISSELL.com...
- Page 16 NOTE: To replace Brush Rolls, remove them from the metal posts and replace. Make sure the metal post goes completely through the end of the Brush Roll. The Brush Roll bristles should be aligned in a ‘V’ pattern as pictured. BISSELL.com...
- Page 17 Roll cover by pushing it straight down. You will hear a “click” from each push button when the cover is pushed into place. Line up the nozzle from the edge near the floor and rotate to snap back into place. BISSELL.com...
-
Page 18: Troubleshooting
2. With the cap twisted on tightly, hold your tank at an angle, over a sink or drain, so any extra Water may be caught in space Leaking Tank water can pour out of the space. between the tank and the 3. Wipe the tank dry with a cloth. tank’s handle. BISSELL.com... - Page 19 BISSELL.com...
-
Page 20: Consumer Warranty
NOTE: Please keep your original sales receipt. It provides proof of the date of purchase in the event of a warranty claim. See warranty for details. Consumer Care If your BISSELL product should require service or to claim under our limited warranty, please contact us as follows: Australia Telephone: 1300 247 735 Website: www.BISSELL.com.au...
Need help?
Do you have a question about the PROHEAT 2X REVOLUTION PET 2457F and is the answer not in the manual?
Questions and answers