Advertisement
Quick Links
1. SOFTWARE UPDATE
Step 1
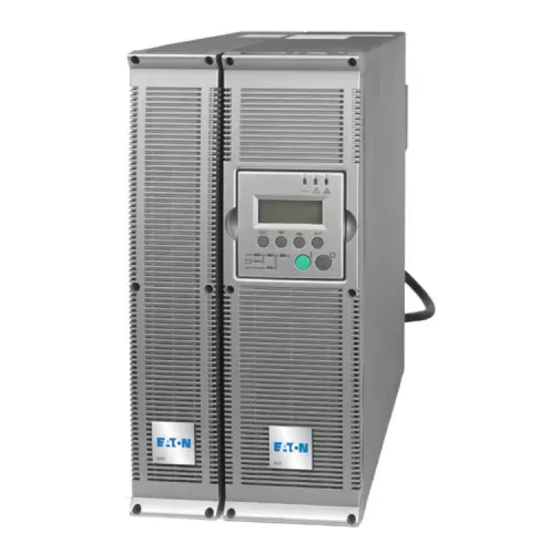
Pulsar MX 4000/5000 RT
Pulsar MX Frame
Connect the RS232 cable to the UPS and serial port of the computer.
Make sure there are no other software packages utilising the Serial Com port on your computer (like
PSP or the comm. Modules BIL.exe or CILRS232.exe).
***IMPORTANT NOTE***
1. Make sure that all the computer power saving functions are disabled, like sleep mode or
screen saver functions. If these modes activate during the upgrade process the upgrade may
corrupt.
2. Make sure there is no current alarms or faults on the LCD display of Pulsar MX FRAME. If
there are any alarms/faults present they must be cleared/solved before running the
upgrade.
For example, the LCD display should show a message like below with no faults on line 3:
L O A D
x . x k V A / x x x % L O A D E D
O N L I N E
S I N G L E
Below an example of a displayed internal fault that has to be solved before starting the firmware
upgrade:
L O A D
x . x k V A / x x x % L O A D E D
I N T E R N A L
S I N G L E
P R O T E C T E D
MO D E
U P S
P R O T E C T E D
F A U L T
U P S
34008030 /AD – Page 1
Advertisement

Related Manuals for Eaton MGE Pulsar MX 4000 RT


Summary of Contents for Eaton MGE Pulsar MX 4000 RT
- Page 1 1. SOFTWARE UPDATE Step 1 Pulsar MX 4000/5000 RT Pulsar MX Frame Connect the RS232 cable to the UPS and serial port of the computer. Make sure there are no other software packages utilising the Serial Com port on your computer (like PSP or the comm.
- Page 2 Step 2 Stop the inverter by pressing the “0” button for more than 3 seconds Switch the UPS to Test position – See below!! The LED’s will show automatic bypass as Unlock the Manual Bypass switch and set to indicated. the TEST position.
- Page 3 Step 4 Launch the file Pulsar-MX-Upgradev33b09242008.exe. Depending on the requirement, select the components that you have to upgrade by selecting/deselecting them with the tick boxes. For example to upgrade the Frame only, deselect all the boxes next to the power modules. 34008030 /AD –...
- Page 4 Press the “Upgrade Now” button to automatically launch the upgrade of the soft. After detection of the UPS, the programming will start automatically Pulsar MX 4000/5000 RT Pulsar MX Frame 34008030 /AD – Page 4...
- Page 5 After completion of the procedure. Close the software window with “X” in taskbar. Go to the UPS front panel and select the following: Select > “maintenance” -> “Model” -> “Power modules/Frame”, and check that the version are correct for both the System and power modules. Pulsar MX FRAME : For the Frame we are V01H and for the PM’s we are version 20E.
- Page 6 If the power module/s do not show the correct version, then re-run the upgrade from step 4, but deselect the “System Board upgrade block” to avoid re-flashing the frame unnecessarily, and launch the upgrade again but this time just for the power modules. If the Frame do not show the correct version, then re-run the upgrade from step 4, but deselect the “Power X Board upgrade block”...
- Page 7 Return the UPS to Normal position and restart the inverter – See below!! Make sure the UPS indicates Automatic bypass as indicated. Turn the Bypass switch from “TEST” to “NORMAL” Start the Inverter by pressing the “1” for more than 3 seconds. The UPS will return to normal state “Load Protected”...
- Page 8 2. SOFTWARE UPDATE TROUBLESHOOTING Check that the cable is not plugged into the “CONTACTS” port. Make sure there is no other software like PSP that is using the serial port. Close the software window with “X” in taskbar. Restart from step 4 and launch the upgrade again. ***IMPORTANT NOTE*** If during re-launching the upgrade program, a program windows appears with message “Do you want to continue the process...
- Page 9 Make sure the UPS is on Auto Bypass mode. Close the software window with “X” in taskbar. Restart from step 4 and launch the upgrade again. ***IMPORTANT NOTE*** If during re-launching the upgrade program, a program windows appears with message “Do you want to continue the process YES / NO”...
- Page 10 Close the software window with “X” in taskbar. Restart from step 4 and launch the upgrade again. ***IMPORTANT NOTE*** If during re-launching the upgrade program, a program windows appears with message : “Do you want to continue the process YES / NO” Select “YES”...
- Page 11 The LCD display showed a message like below : F i r m w a r e U p d a t e R e a d y S T a r t Close the software window with “X” in taskbar. Turn off computer Turn off the input Circuit Breaker.
- Page 12 Close the software window with “X” in taskbar. Restart from step 4 and launch the upgrade again. ***IMPORTANT NOTE*** If during re-launching the upgrade program, a program windows appears with message : “Do you want to continue the process YES / NO” Select “YES”...
Need help?
Do you have a question about the MGE Pulsar MX 4000 RT and is the answer not in the manual?
Questions and answers