
Related Manuals for Toyota DVR


Summary of Contents for Toyota DVR
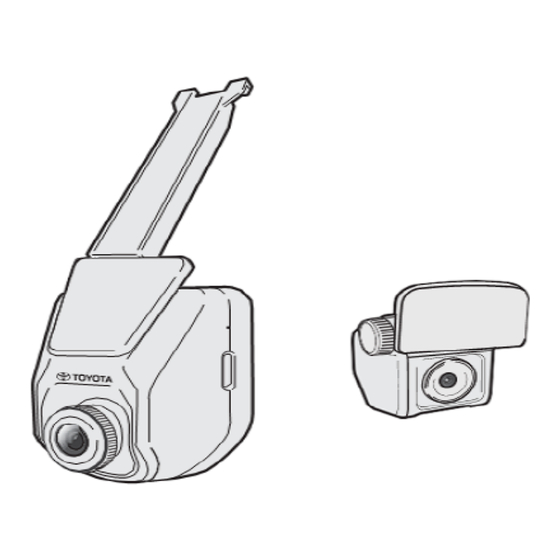
- Page 1 AVANZA - MAY - 2019 - 001 DIGITAL VIDEO RECORDER (DVR) OWNERS MANUAL <PRODUCT IMAGE> Please read this manual for proper operation and keep it for future reference.
-
Page 2: Table Of Contents
AVANZA - MAY - 2019 - 001 TABLE OF CONTENTS DIGITAL VIDEO RECORDER (DVR) Section Title Page Statements Important notice About highway Buddy Introduction to the DVR Front DVR Rear DVR DVR Overview Getting Started Installing the memory card Formatting the memory card... - Page 3 AVANZA - MAY - 2019 - 001 TABLE OF CONTENTS DIGITAL VIDEO RECORDER (DVR) Section Title Page 6.2.4 Operational Conditions for FCWS 6.2.5 Conditional in which FCWS may not operate even when there is no possibility for collision 6.2.6 Conditions in which FCWS may not function...
-
Page 4: Statements
Please do not attempt removal of DVR unit from windscreen – please visit your local Toyota Service Center if removal or calibration is required. -
Page 5: Front Dvr
WINDOW MOUNT REAR CAMERA Note: Please do not adjust the * Only applicable for car variants that Rear DVR. Optimum view has include Rear DVR camera been set by the manufacturer 2/23 Please read this manual for proper operation and keep it for future reference. -
Page 6: Dvr Overview
Moves to the next option Acts as the ENTER button System icons: Various system icons on the status bar at the top of the screen provide the status information of your DVR. The displayed icons will ❶ vary depending on the function availability. -
Page 7: Installing The Memory Card
Note: 1.Please ensure DVR is turned off before proceeding to install or remove memory card. 2.Installing memory card while driving is not advisable. Any cause is at your own risk. -
Page 8: About The Memory Card
About the memory card a. A memory card is required in order to enable DVR to initiate recording b. This DVR supports Class 10 MicroSD Card with the capacity range between 16GB -128GB only. c. Do NOT apply pressure to the centre of the memory card. -
Page 9: Normal Recording
IMPORTANT NOTICE: 1. Once the vehicle engine is started, the DVR will automatically turn 2. Do not operate the DVR while driving. Any cause is at own risk. Normal Recording The system will automatically begin normal recording shortly after start-up. -
Page 10: Capturing A Photo
When “Parking Mode” is enabled, the system will activate the parking mode as soon as the vehicle is parked, and engine is turned off. During Parking Mode, the front camera of DVR will be on standby mode as it would only trigger recordings when there is a motion detected. -
Page 11: Managing Files On Dvr
AVANZA - MAY - 2019 - 001 SECTION 5.0 Managing Files on DVR > File To view and manage the videos and photos on the DVR, select Playback. NOTE : Do not manage files on DVR while driving. Any cause is at own risk... -
Page 12: Playing Videos
Please read this manual for proper operation and keep it for future reference. AVANZA - MAY - 2019 - 001 SECTION 6.0 Highway Buddy The DVR provides advance driving safety functions to make your driving safer. At HOME screen, select > Driving Safety to enable “Highway Buddy” functions :... -
Page 13: Lane Departure Warning System
Device will prompt alert icons to warn the driver through the following Driving Safety features of Highway Buddy Lane Departure Warning Forward Collision Warning System (LDWS) System (FCWS) NOTE: Do not change any setting for the Highway Buddy while driving. Any cause is at own risk. -
Page 14: Limitations To Ldws
3 seconds on the DVR screen to urge the driver remain within the lane. c.The warning has a sound alert that the user can choose to have turned ON or OFF. -
Page 15: Operational Condition For Ldws
6.1.5 Conditions in which LDWS may not operate properly In some situations such as the following, the DVR may not detect white (yellow) lines and various functions may not operate normally : 1. Objects or patterns that could be mistaken for white (yellow) lines are present on the side of the road (guardrails, curbs, reflective poles, etc.) -
Page 16: Forward Collision Warning System
When the system determines that the possibility of a frontal collision is high, a warning activates and the forward collision warning icon appears for 3 seconds on the DVR screen to urge the driver to take evasive action. -
Page 17: Limitations To Fcws
FCWS remains Enabled / Disabled based on the setting it was on before the DVR was last powered off. b. The [FCWS OFF icon] appears on the top bar of the DVR display when the system is disabled. > Driving Safety > FCWS to enable the FCWS function. -
Page 18: Conditional In Which Fcws May Not Operate Even When There Is No Possibility For Collision
Conditional in which FCWS may operate even when there is no 6.2.5 possibility for collision In some situations such as the following, the system may determine that there is a possibility of a frontal collision and operate. 1.When passing a vehicle. 2.When changing lanes while overtaking a preceding vehicle. -
Page 19: Conditions In Which Fcws May Not Function Accurately
10.When driving on a narrow path surrounded by a structure, such as in a tunnel or on an iron bridge. 11.When there is a metal object (manhole cover, steel plate, etc.), steps or a protrusion on the road surface or roadside. 12.When there is a vehicle or object by the roadside at the entrance of curve. - Page 20 In some situations such as the following, a vehicle may not be detected by the DVR, preventing the system from operating properly: 1.If an oncoming vehicle is approaching your vehicle. 2.If the object/vehicle ahead is a human being, motorcycle or bicycle.
- Page 21 16.When driving through steam or smoke. 17.When driving in a place where the surrounding brightness changes suddenly, such as at the entrance or exit of a tunnel. 18.When a very bright light, such as the sun or the headlights of oncoming traffic, shines directly into the camera.
-
Page 22: Driver Alert (Da)
Driver Alert (DA) The Driver Alert functions similarly to an alarm clock. The driver can opt to receive an alert from the DVR by selecting one the available pre-set timing of 1-3 hours. The system will trigger the alert after the pre- selected time period has elapsed to remind the driver to take a break from driving. -
Page 23: Customizing The Dvr
Please read this manual for proper operation and keep it for future reference. AVANZA - MAY - 2019 - 001 SECTION 7.0 Customizing the DVR Customizing the DVR To customise the system settings of the DVR, press to access Main Menu screen. Video Recording Settings... -
Page 24: System Settings
Vehicle Speed Stamp Displays the driving speed on the recorded video. f. Text Stamp Displays customizable text information. System Settings To change the system settings of DVR, press > System a. Date/Time Sets the date and time fromm two options: GPS The system will set the date and time based on GPS location. -
Page 25: Product Specification
Sets the timer for the LCD to turn off automatically after recording starts. c.Calibration NOTE : Do not adjust calibrated device manually. Please visit your local Toyota Service Center if calibration is required d.Default Restores the system settings to factory default. e.About Displays the software information. - Page 26 Date Stamp / Time Stamp ON / OFF Exposure Control Auto Emergency Recording Mode G-Sensor 3 Axis 22/22 Please read this manual for proper operation and keep it for future reference.
Need help?
Do you have a question about the DVR and is the answer not in the manual?
Questions and answers