D-Link DSL-502T Quick Installation Manual
Adsl modem router
Hide thumbs
Also See for DSL-502T:
- User manual (91 pages) ,
- Quick installation manual (66 pages) ,
- Quick install manual (15 pages)
Advertisement
Quick Links
This product can be set up using
any current web browser, i.e.,
Internet Explorer 6 or Netscape
Navigator 6.2.3.
Before You Begin
1.
If you purchased this Router to share your high-speed Internet connection with other
computers, you must have an established Internet account from an Internet Service Provider
(ISP).
2.
It is best to use the same computer that is connected to your ISP for configuring the DSL-
502T ADSL Modem Router. The DSL-502T acts as a DHCP server and will assign all the
necessary IP address information on your network. See the Appendix for setting each
network adapter to automatically obtain an IP address.
Check Your Package Contents
If any of the above items are missing, please contact your reseller.
©2006 D-Link Australi
respecti
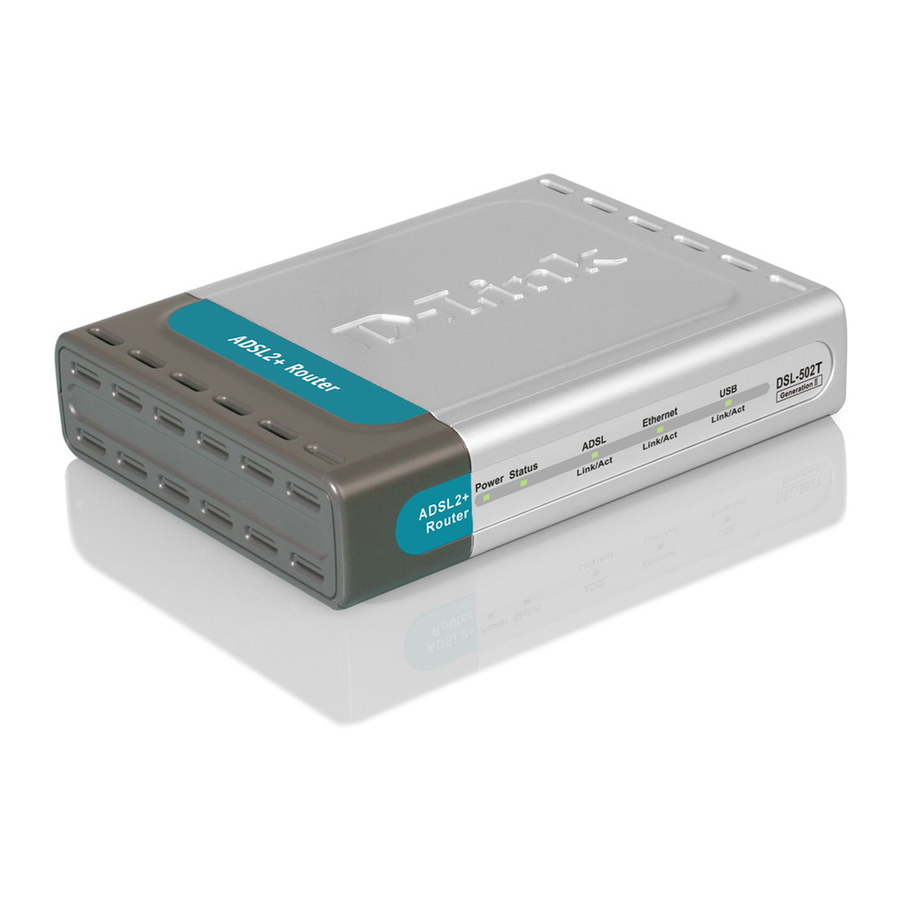
DSL-502T
ADSL Modem Router
CD-ROM with Click'n Connect Utility,
Product Documentation and USB Drivers
USB Cable
Telephone Cable (RJ-11)
CAT 5 UTP Ethernet Cable (RJ-45)
9V 1A
Power Adapter
a Pty Ltd. All rights reserved. Trademarks or registered trademarks are the property of their
ve holders. Software and specifications subject to change without notice.
DSL-502T ADSL Modem Router.
DSL-502T
ADSL Modem Router
Using a power adapter with
a different voltage rating will
damage and void the
warranty for this product.
Advertisement

Related Manuals for D-Link DSL-502T


Summary of Contents for D-Link DSL-502T
- Page 1 It is best to use the same computer that is connected to your ISP for configuring the DSL- 502T ADSL Modem Router. The DSL-502T acts as a DHCP server and will assign all the necessary IP address information on your network. See the Appendix for setting each network adapter to automatically obtain an IP address.
- Page 2 502T prior to completing the Click’n Connect Utility. You can select one of five options: User Manual: This option will open up the DSL-502T user manual. You will need Adobe Acrobat Reader installed to view the manual. Quick Install Guide: This option will show you a software-based version...
- Page 3 Step 1 - Power Up the Device Follow the on- screen instructions, then Click Next continue Connect the Power Adapter from the wall socket to the DSL-502T. Wait for the Status LED to blink before proceeding onto the next step.
- Page 4 Install USB Drivers if USB connection required elect the connection type that you would like to use to connect the DSL-502T to your PC. You can select Ethernet, which uses a network cable to connect it to your PC, or you can select USB to connect the DSL-502T with a USB cable.
- Page 5 Click Next continue you have selected Ethernet as your connection type, connect your Ethernet cable from the computer to the DSL-502T now. Wait for the Link LED to flash then click on Next to continue to Step 4.
- Page 6 DSL-502T ADSL socket. Please note that if you are using an ADSL Splitter/Filter, you will need to connect the telephone line from the DSL socket on the filter to the DSL-502T ADSL so cket.
- Page 7 Click Next continue you have selected USB as your connection type, connect your USB cable from e computer to the DSL-502T now. Wait for the Link LED to flash, then click on Next to continue to Step 4.
- Page 8 If you have selected USB as the connection type, connect your ADSL telephone line from the wall socket to the DSL-502T ADSL socket. Please note that if you are using an ADSL Splitter/Filter, you will need to connect the telephone line from the DSL socket on the filter to the DSL-502T ADSL socket.
- Page 9 Follow the on-screen instructions, then proceed to the next step. Step 5 – Checking Device Connectivity – Ethernet and USB The Click’n Connect utility will now check the DSL-502T to make sure it has been connected correctly. Once it has successfully detected your modem, it will roceed to the next step automatically.
- Page 10 Configuring the Router via the D-Link Click’n Connect Utility The Click’n Connect utility will guide you through the installation process step-by- step. Follow the on-screen instructions, then proceed to the next step. Step 6 – ISP Configuration – Ethernet and USB...
- Page 11 Configuring the Router via the D-Link Click’n Connect Utility The Click’n Connect utility will guide you through the installation process step-by- step. Follow the on-screen instructions, then proceed to the next step. Step 7 – Account Configuration – Ethernet and USB...
- Page 12 Configuring the Router via the D-Link Click’n Connect Utility The Click’n Connect utility will guide you through the installation process step-by- step. Follow the on-screen instructions, then proceed to the next step. Step 8 – Completing Setup – Ethernet and USB The Click’n Connect Utility will now save the settings you have entered to the...
- Page 13 Configuring the Router via the D-Link Click’n Connect Utility The Click’n Connect utility will guide you through the installation process step-by- step. Follow the on-screen instructions, then proceed to the next step. Step 9 – Setup Complete – Ethernet and USB...
- Page 14 Configuring the Router via the Web Interface To use your Web browser to access the DSL-502T Router, your computer must e configured to “Obtain an IP address automatically”, that is, you m change the IP network settings of your computer s o that it is a DHCP Client.
- Page 15 onfiguring the Router via the Web nterface Step 2 – Accessing the Router Setup Wizard Once you have logged in, the Home directory tab is highlighted with the setup Wizard menu displayed. Most users will be able to use the setup wizard to establish the ADSL connection to your ADSL Internet Service Provider (ISP).
- Page 16 Configuring the Router via the Web Interface Step 3 – Run Wizard The Setup wizard procedure consists of three steps: Choose your time zone Set Internet connection Save & Restart Click the Next button. The Setup Wizard menu lists a summary of the steps that are required to complete the initial setup.
- Page 17 Configuring the Router via the Web Interface Step 4 – Choose Time Zone Configure the Time Zone used for the Router’s system clock. Select the ppropriate time zone and Daylight Saving Time setting for your location, then click Next. Select the Time Zone you are located at.
- Page 18 Configuring the Router via the Web Interface Step 5 – Select Internet Conn ection Type (WAN) Now, you will need to Select Internet Connection Type for the router. Yo Internet Service Provider (ISP) should have given this information to you. Select the appropriate connection type for your ISP.
- Page 19 Configuring the Router via the Web Interface Step 6 – PPPoE / PPPoA Connections Select PPPoE / PPPoA if your ISP requires you to use this connection type to connect onto their ADSL Network. PPPoE / PPPoA is the standard connection type used by most ISPs.
- Page 20 Configuring the Router via the Web Interface Step 6 – Dynamic IP Address Connectio Select the Dynamic IP Address connection type if your ISP requires you to use this connection type to connect onto their ADSL Network. Click Next to continue Leave this unchanged Enter these details as provided by your ISP...
- Page 21 Configuring the Router via the Web Interface Step 6 – Static IP Address Connections Select the Static IP Address connection type if your ISP requires you to use this connection type to connect onto their ADSL Network. This connection type is usually required when your ISP specifies a static IP address for your internet account.
- Page 22 Configuring the Router via the Web Interface Step 6 – Bridge Mode Connections Select the Bridge Mode connection type if your ISP requires you to use this connection type to connect onto their ADSL Network. Click the Next button. Enter these details as provided by your ISP Here, you will need to enter yo ur ADSL account details.
- Page 23 Configuring the Router via the Web Interface Step 7 - Setup Complete ll the settings for the connection are now completed. Click the Restart button to save the new settings and restart the Router. It will take about two minutes to restart the Router.
- Page 24 To connect to the network, make sure the network adapter your compute r is configured properly. The following section descr ibes how to configure the network adapter to obtain an IP address automatically for the DSL-502T ADSL Router. For Microsoft Windows XP Go to Start > select Settings >...
- Page 25 The dialog box displays w a list of currently installed etwork items. Click Internet Protocol (TCP/IP) Click Properties Make the choice to get IP settings assigned automatically. Select Obtain an IP address automatically Click...
-
Page 26: Technical Support
Technical Support You can find software updates and user documentation on the D-Link website. Link Australia 1 Giffnock Avenue North Ryde, NSW 2113 Sydney, Australia TEL: +61-2-8899-1800 FAX: +61-2-8899-1868 ustralia: 1300-766-868 New Zealand: 0800-900-900 URL: www.dlink.com.au www.dlink.co.nz E-MAIL: support@dlink.com.au V1.00 AU...
Need help?
Do you have a question about the DSL-502T and is the answer not in the manual?
Questions and answers