Table of Contents
Advertisement
Quick Links
HermanMiller
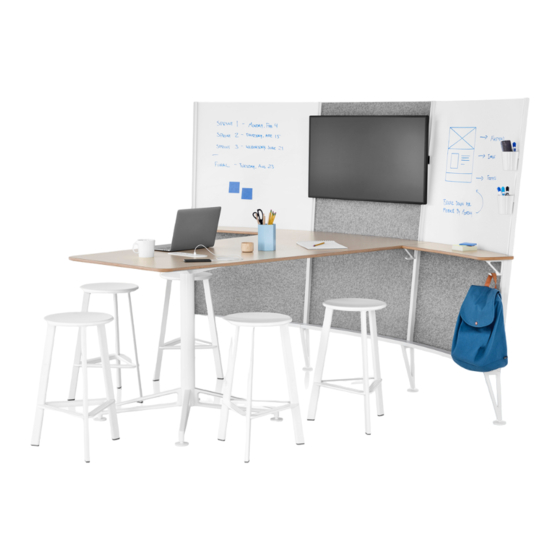
Prospect
Media Space Installation and
™
Disassembly for Recycling Instructions
How to assemble your Prospect Media
Space.
Tools Required
Phillips Bit
Power Driver
Safety Glass
Step 1
1.1 Assemble Glides Fully into Foot Assemblies.
HermanMiller
Allen Wrench
Level
Foot Assembly
Glide
Parts Included
Foot Assembly
LH End Rail
Mid Rail
Bag Hook
Toe Rail
LH Ledge
Spider
Table Clamp
Foot
Column
M8 x 25 Flat Head
Socket Screw
Top Panel Clip
M5 x 12 Flathead
Socket Screw
Side Panel
Bottom Panel Clip
Step 2
2.1 Assemble Toe Rail Mounting Brackets to inner Foot Assemblies with M8 x
16 Flathead Hex Socket Screws.
2.2 Attach Toe Rail Endcaps to outer Foot Assemblies with Hex Socket Button
Head Screws. Note: Endcaps are Right and Left Handed.
M8 x 16 Flathead
Hex Socket Screws
Toe Rail Mounting
Bracket
Long Side
LH Toe Rail Endcap
1BJZTY rev B
1
LH Toe Rail end Cap
Glide
Toe Rail Mounting
RH Toe Rail End Cap
RH End Rail
Bracket
RH Ledge
Wire Trough
Connector Plate
Peninsula Surface
Cup
M5 x 25 Hex Socket
Hex Socket Button
Head Cap Screw
Head Screw
M8 x 20 Flat Head
M8 x 16 Flat Head
Socket Screw
Socket Screw
Phillips Button
Hex Socket Button
Head WoodScrew
Head Screw
Hex Socket Button
Head Screws
Hex Socket Button
Head Screws
Long Side
RH Toe Rail Endcap
Assembly Instructions
Advertisement
Table of Contents

Subscribe to Our Youtube Channel
Related Manuals for HermanMiller Prospect Media Space


Summary of Contents for HermanMiller Prospect Media Space
- Page 1 Parts Included HermanMiller Prospect Media Space Installation and ™ Disassembly for Recycling Instructions LH Toe Rail end Cap Glide Toe Rail Mounting RH Toe Rail End Cap RH End Rail Bracket Foot Assembly LH End Rail Mid Rail RH Ledge...
- Page 2 5.3 Secure Wire Trough to Peninsula Surface with Phillips Button Head Wood Screws. Be cautious not to strip out holes. M5 x 12 Flathead Socket Screw M8 x 20 Flathead Hex Socket Screw Connector Plate Wire Trough 1BJZTY rev B HermanMiller Assembly Instructions...
- Page 3 9.2 Secure surface to legs with M5 x 12 flathead socket screws. Peninsula Assembly Peninsula Leg Assembly M5 x 12 Flathead Socket Screw M5 x 25 Hex Socket Cove Leg Assembly Head Cap Screw 1BJZTY rev B HermanMiller Assembly Instructions...
- Page 4 Be sure to hold panel fi rmly, pushing down into carpet while a partner 12.3 Assemble Top Panel Clips to inside surface of panels at top corners. pulls. Top Panel Clips Top Panel Clips Side Panel Bottom Panel Clips Bottom Panel Clips 1BJZTY rev B HermanMiller Assembly Instructions...
- Page 5 15.1 Insert flange on Cup into groove in rail. Turn Cup downward to lock in 14.2 Turn glides on peninsula leg to make peninsula surface level. place. Groove Flange Rail Glide Glide Glide Glide Glide 1BJZTY rev B HermanMiller Assembly Instructions...
- Page 6 Ferrous metals can be identifi ed using a small magnet for recycling. Non-ferrous metals should be separated and recycled separately. To disassemble product, reverse the above installation steps. 1BJZTY rev B HermanMiller Assembly Instructions...
Need help?
Do you have a question about the Prospect Media Space and is the answer not in the manual?
Questions and answers