Advertisement
Quick Links
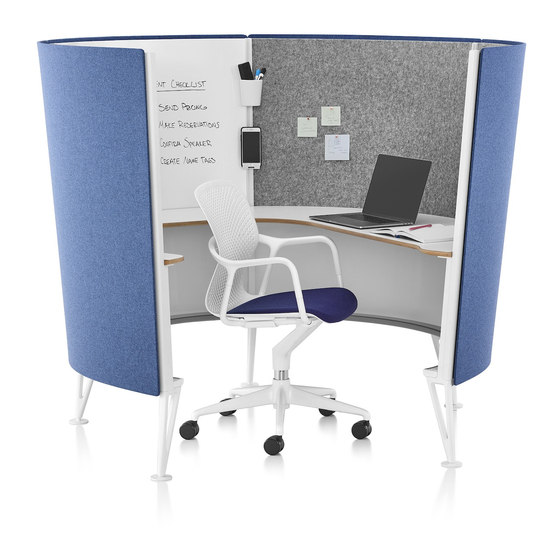
HermanMiller
Prospect
Internal and External Acoustic Pad
™
Installation and Disassembly for Recycling
Instructions
How to assemble your Prospect Internal
and External Acoustic Pads.
Solo Space - Outside Pad:
Step 1
2.1 Peel protective backing from Horizontal Spacer.
2.2 Align top edge of horizontal spacer with top edge of Side Panel. Start at
outside edge of vertical rail, press onto side panel.
Side Panel
Horizontal Spacer
Vertical Rail
HermanMiller
Parts Included
Solo Space
Outside Pad
Hook Strips
Horizontal Spacer
Inside Pad
Step 2
2.1 Hook Strips will be separate from Loop Strips on External Acoustical Pad.
Top Edge of Loop Strip
Loop Strip on Spacer
External Acoustic Pad
1BKWR9 rev B
1
Creative/Media Space
Hook Strips
Outside Pad
Upper Inside Pad
Lower Inside Pad
Top Edge of Loop Strip
Loop Strip onSpacer
Hook Strips
Assembly Instructions
3/4"
Advertisement

Related Manuals for HermanMiller Prospect Solo Space


Summary of Contents for HermanMiller Prospect Solo Space
- Page 1 Parts Included HermanMiller Creative/Media Space Solo Space Prospect Internal and External Acoustic Pad ™ Installation and Disassembly for Recycling Instructions Outside Pad Hook Strips Hook Strips Outside Pad Horizontal Spacer How to assemble your Prospect Internal and External Acoustic Pads.
- Page 2 Spacer 3 mm External Acoustic Pad 3 mm Loop Strip Loop Strip Spacer Align Align Side Panel Hook Strip Side Panel Hook Strip Spacer Rail Rail External Acoustic Pad 1BKWR9 rev B HermanMiller Assembly Instructions...
- Page 3 3.4 Press fi rmly from top to bottom over pad side edges to make sure hook and loop strips are fully engaged and to provide extra pressure to hook strip adhesive. Side Panel Top Edge Rail Edge External Acoustic Pad Top of Pad 1/4” Top of Rail 1BKWR9 rev B HermanMiller Assembly Instructions...
- Page 4 Push until bottom of pad is flush with bottom of side panel. Internal Acoustical Pad Upper Internal Acoustic Pad Vertical Rail Vertical Rail Lower Internal Acoustic Pad Rail Rail Toe Rail 1BKWR9 rev B HermanMiller Assembly Instructions...
- Page 5 Ferrous metals can be identifi ed using a small magnet for recycling. Non-ferrous metals should be separated and recycled separately. To disassemble product, reverse the above installation steps. 1BKWR9 rev B HermanMiller Assembly Instructions...
Need help?
Do you have a question about the Prospect Solo Space and is the answer not in the manual?
Questions and answers