Table of Contents
Advertisement
Quick Links
Advertisement
Table of Contents

Related Manuals for ADTRAN Smart/RG SR400ac


Summary of Contents for ADTRAN Smart/RG SR400ac
- Page 1 SR400ac Quick Start Guide...
-
Page 2: Important Safety Instructions
Important Safety Instructions When using your telecommunications equipment, basic safety precautions should always be followed to reduce the risk of fire, electric shock and injury to persons, including the following: 1. Use only the power adaptor that is included with the device. 2. -
Page 3: Importantes Mesures De Sécurité
Importantes Mesures de Sécurité tre prises pendant l’utilisation de matérial télécommunications afin de réduire les risques d’incendie, de choc électrique Certaines mesures de sécurité doivent et de blessures. En voici quelquesunes: 1. Utilisez uniquement l'adaptateur secteur fourni avec l'appareil. 2. Ne pas utiliser l’appareil près de l’eau, p.ex., près d’une baignoire, d’un lavabo, d’un évier de cuisine, d’un bac à laver, dans un sous-sol humide ou près d’une piscine. -
Page 4: Installation
Installation 1. Connect a LAN port on the SmartRG gateway to the network card of your PC using an Ethernet cable. 2. To connect a broadband device: Connect one end of an Ethernet cable to the WAN port on the SmartRG gateway and connect the other end of the cable to the broadband device. -
Page 6: Led Indicators
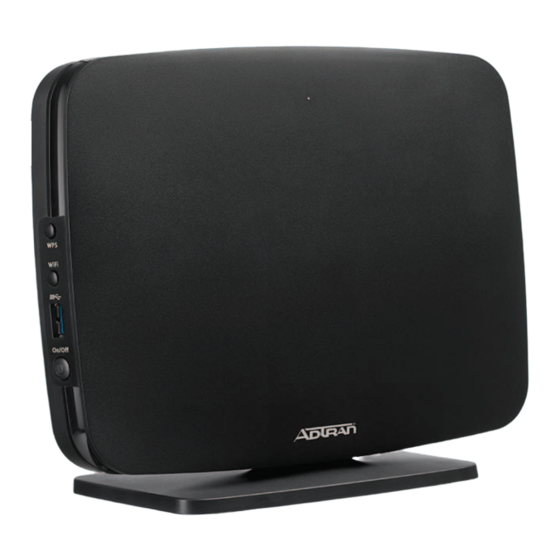
LED Indicators The LEDs on the top of the SR400ac can assist you in better understanding the current state of your gateway. There is also a small LED on the front of the gateway that flickers when data is being transferred. Legend: White Green... - Page 7 Action Explanation Internet Gateway online Data being transferred Internet authentication / connection has failed USB / USB 3.0 USB device connected Data being transferred 2.4 GHz WiFi enabled 5 GHz Data being transferred Locked Wifi WPS enabled (WPS) Data being transferred LAN Ethernet connected (at 1000 BASE-T) (LAN) Data being transferred (at 1000 BASE-T)
-
Page 8: Logging In To Your Gateway
Logging in to your gateway To change the settings on your gateway, you must log into the gateway's interface. Make sure that you have completed the steps in "Installation" before you begin. 1. Open your internet browser application and type 192.168.1.1 into the address line. The Login dialog box appears. -
Page 9: Configuring The Wan Manually
To review the end user license agreement, click the License Agreement link at the bottom right corner of the browser window. The agreement appears in a separate tab. Note: If you've forgotten your password, click Forgot password and follow the instructions to reset your gateway to the factory defaults. - Page 10 WiFi Setup 1. In the left menu, click WIFI > Networks. The following page appears, showing information for the primary wireless network. The dual-band option is enabled by default.
- Page 11 2. Accept the default ID shown in the SSID field or enter the SSID for the network that you want to configure. You will need this ID for Step 9. 3. Choose a passphrase and type it in to the Password field.
-
Page 12: Optional Wall Mount
Optional Wall Mount Using a Phillips-head screwdriver, remove the mount Gateway from its present location on the bottom of the gateway. Front Slide the mount onto the back of the gateway and tighten the screw located in the bottom of the mount. Using the template below, attach the two included screws to the wall. -
Page 13: Additional Support
Guest WiFi network name (SSID) Guest WiFi network key (password) Video WiFi network name (SSID) Video WiFi network key (password) Additional Support If you require further instructions, please contact your local ISP Support. SmartRG Inc., an ADTRAN company. All Rights Reserved. © 2021...
Need help?
Do you have a question about the Smart/RG SR400ac and is the answer not in the manual?
Questions and answers