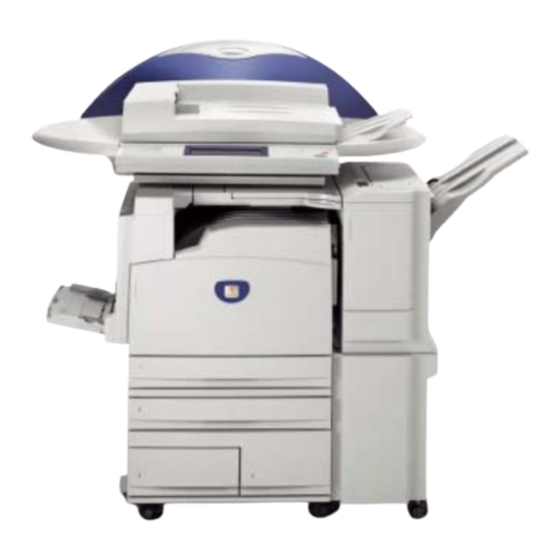
Xerox WorkCentre M24 Quick Start Manual
Creating mailbox
Hide thumbs
Also See for WorkCentre M24:
- User manual (441 pages) ,
- Reference manual (332 pages) ,
- System administrator manual (228 pages)
Advertisement
Table of Contents
Fig. 1
Press Access.
Fig. 2
Enter the System Administrator Password from the Numeric Keypad
and then press Confirm. (See Machine Administration User Guide for
default password)
Fig. 3
Press
System
Settings.
Fig. 4
Press
Setup
Menu.
Fig. 5
Press Mailbox.
Fig. 6
Select the
to be created. Then press Create/Delete.
Mailbox
Creating Mailbox - 1 of 2
Fig. 7
Use the Numeric Keypad to enter the password. (ie. 12345) Then
press Save.
Fig. 8
Select 1.
Mailbox Name
then press
Change
Settings.
Fig. 9
Enter the name for the Mailbox using the keyboard displayed. The
mailbox name may be up to 10 characters. Press
the name.
after entering
Save
Advertisement
Table of Contents

Summary of Contents for Xerox WorkCentre M24
- Page 1 Fig. 7 Fig. 4 Use the Numeric Keypad to enter the password. (ie. 12345) Then Press Setup Menu. press Save. Fig. 1 Press Access. Fig. 5 Fig. 8 Press Mailbox. Select 1. Mailbox Name then press Change Settings. Fig. 2 Enter the System Administrator Password from the Numeric Keypad and then press Confirm.
- Page 2 Quick Start Guide Fig. 10 Fig. 13 Select Close. Select Close. Creating Mailbox Note: Password, Check Password, Delete/Save Documents may be set at this time. Fig. 14 Fig. 11 The Menu Screen is displayed and the Mailbox creation is complete. Select Close.


Need help?
Do you have a question about the WorkCentre M24 and is the answer not in the manual?
Questions and answers