Table of Contents
Advertisement
User manual and parts
manual
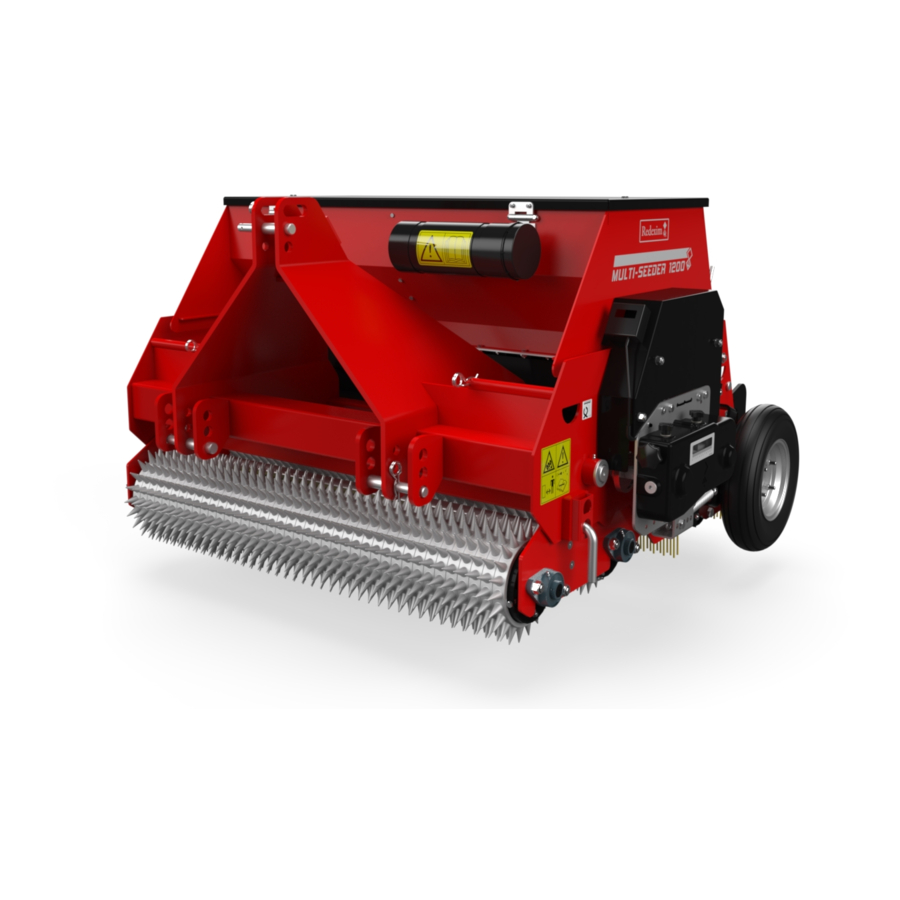
SPEEDSEED
Model 1200 / 1600
2100 / 2400
Serial number:
Translation of the original operating
instructions
ATTENTION:
TO ENSURE SAFE USE OF THIS MACHINE AND TO BE ABLE TO ACHIEVE THE
BEST RESULTS, IT IS OF MAJOR IMPORTANCE TO READ THIS USER
MANUAL THOROUGHLY BEFORE USING THE SPEEDSEED.
1015 English 924.120.200
Advertisement
Table of Contents


Need help?
Do you have a question about the SPEEDSEED 1200 and is the answer not in the manual?
Questions and answers