Advertisement
Quick Links
John Lewis
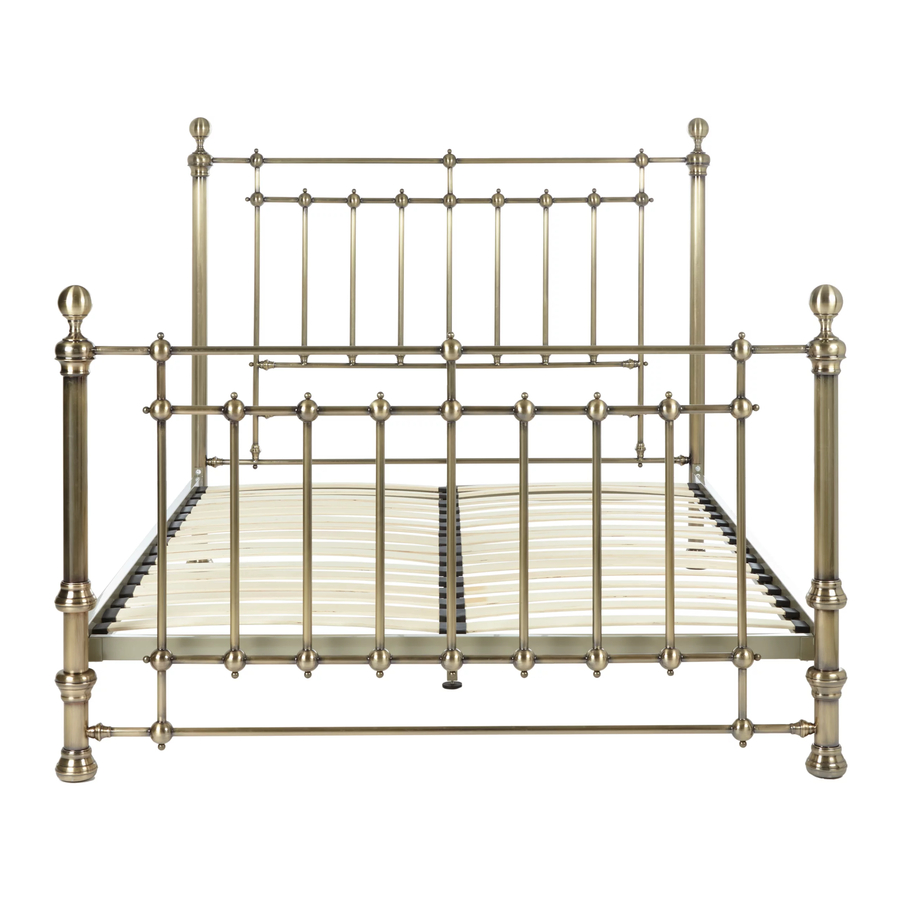
Lansbury Antique Brass Bed
Stock number: 80347201/80347202
Thank you for purchasing this product. Please read the instructions carefully before use to ensure safe
and satisfactory operation of this product
Pre-assembly preparation
Please ensure instructions are read in full before attempting to assemble this product
Necessary Tools
Please check the pack contents before attempting to assemble this product. A full checklist of
components is given in this leaflet. If any components are missing, please contact the retailer from whom
you bought this product.
This product is HEAVY, it should be assembled as near as possible to the point of use. TAKE CARE
WHEN LIFTING to avoid personal injury and (or) damage to the product. (Include if relevant)
This product takes approximately 60 MINUTES to assemble with 2 PERSON.
The fittings pack contains SMALL ITEMS which should be KEPT AWAY FROM YOUNG
CHILDREN
.
Read this leaflet in full before commencing assembly.
1
Advertisement

Related Manuals for John Lewis Lansbury Antique Brass Bed


Summary of Contents for John Lewis Lansbury Antique Brass Bed
- Page 1 John Lewis Lansbury Antique Brass Bed Stock number: 80347201/80347202 Thank you for purchasing this product. Please read the instructions carefully before use to ensure safe and satisfactory operation of this product Pre-assembly preparation Please ensure instructions are read in full before attempting to assemble this product Necessary Tools Please check the pack contents before attempting to assemble this product.
- Page 2 Fittings and parts checklist A M6 x 20mm x 12pcs Headboard x 1pcs B M6 x 55mm x 4pcs Footboard x 1pcs C M6 Nut x 2pcs Side Rail x 2pcs D Plastic Washer x 8pcs Cross Bar x 2pcs E Metal Washer x 18pcs Center Rail x 1pcs 4mm Allen key x 1pcs...
- Page 3 Step by step assembly instructions Step One 1. Attach siderails 3 (x2) to headboard 1 and footboard 2 using 8 x bolts (A), 8 x plastic washers (D) and 8 x metal washers (E), Tighten using Allen key (F). Step Two 1.
- Page 4 Step Three 1. 1. Attach centre rail 5 between the brackets on crossbars 4 (x2) using 2 x bolts (B), 4 x metal washers (E) and 2 x nuts (C). Tighten with Allen key (F) and spanner (G). Step Four 1.
- Page 5 Step Five 1.Insert a sprung wooden slat 6 through the first hole in strap 9. Repeat using another sprung wooden slat 6 and the other strap 9. 2.Attach single sided slat cap 7 onto one end of the sprung wooden slat 6. Attach another single sided slat cap 7 onto the other end of the second sprung wooden slat 6.
- Page 6 It is recommended that before moving heavy objects to a new location they are completely dis-assembled to avoid personal injury or damage to the furniture. Please be careful to retain all fittings when doing this PLEASE KEEP THESE INSTRUCTIONS FOR FUTURE REFERENCE John Lewis Partnership 171 Victoria Street London SW1E 5NN www.johnlewis.com...