Table of Contents
Advertisement
Quick Links
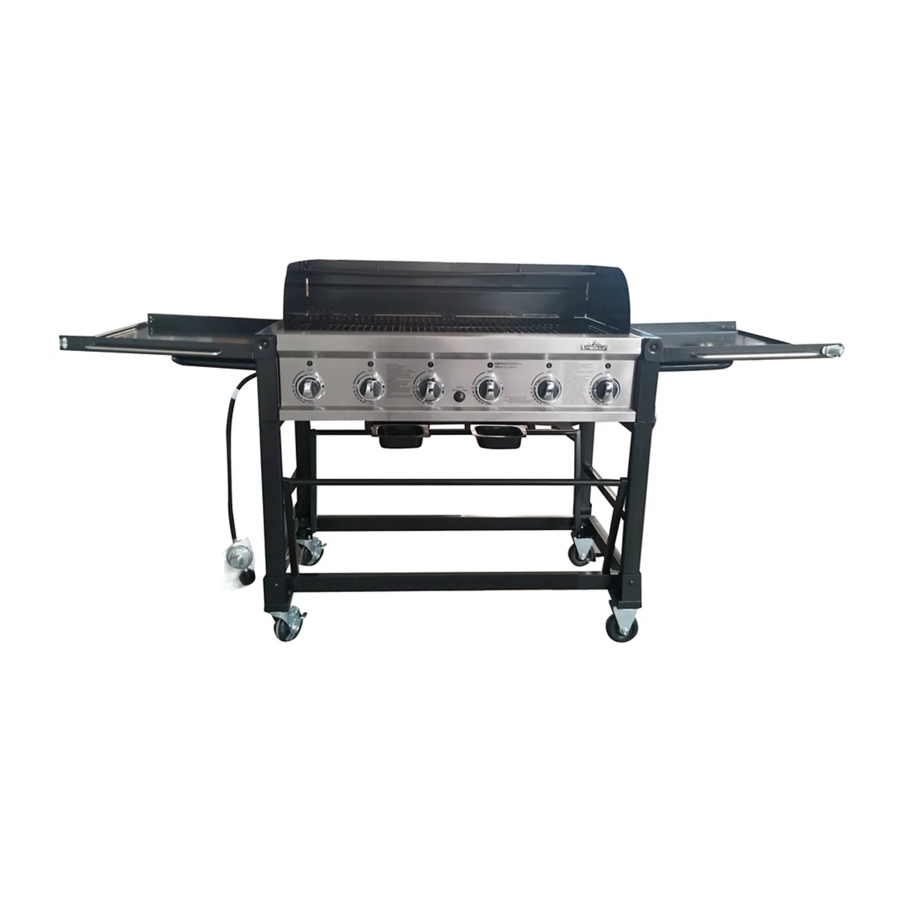
Chuck Wagon 6 Burner Event Grill
Model Number: GR2045401-RG-00/GR2045406-RG-00
Assembly and Operating Instructions
This instruction manual contains important information necessary for the proper
assembly and safe use of this product. Read and follow all warnings and
instructions before assembling and using this product. Failure to follow these
instructions and warnings could result in damage to the product or injury to the
user. Keep this instruction manual for future reference.
GR2045401-RG-00/GR2045406-RG-00
1 of 27
20150831-Ver1
Advertisement
Table of Contents

Related Manuals for RiverGrille Chuck Wagon


Summary of Contents for RiverGrille Chuck Wagon
- Page 1 Chuck Wagon 6 Burner Event Grill Model Number: GR2045401-RG-00/GR2045406-RG-00 Assembly and Operating Instructions This instruction manual contains important information necessary for the proper assembly and safe use of this product. Read and follow all warnings and instructions before assembling and using this product. Failure to follow these instructions and warnings could result in damage to the product or injury to the user.
- Page 2 DANGER If you smell gas: 1. Shut off gas to the appliance. 2. Extinguish any open flame. 3. Open lid. 4. If odor continues, keep away from the appliance and immediately call your gas supplier or fire department. WARNING 1. Do not store or use gasoline or other flammable liquids or vapors in the vicinity of this or any other appliance.
-
Page 3: Table Of Contents
TABLE OF CONTENTS Package Contents ………………………………………………………………….…..4 Hardware List ……………………………….…………………………………………..Replacement Parts List ……………………………………………………..... 5 Safety Information …………………………….…………………………………..... 6 Preparation ………………………………………………….…………………....Assembly Instructions ………………………………………………………………….… 10 Installation Instructions……………………………………………………………….… Operating Instructions ………………………………………………………….………… 20 Care and Maintenance …………………………………………………......22 Troubleshooting …………………………………………………………………………… 25 Warranty …………………………………………………..........27 WARNING DANGER CALIFORNIA PROPOSITION 65... -
Page 4: Package Contents
PACKAGE CONTENTS Parts Description Quantity Parts Description Quantity Grill Body Cooking Grid Cart Warming Rack Handle Grease receptacle Stationary Caster Gas Tank Holder Universal Caster Grease Cup Heat Diffuser Towel Rack GR2045401-RG-00/GR2045406-RG-00 4 of 27 20150831-Ver1... -
Page 5: Hardware List
HARDWARE LIST Hardware Description Quantity Picture (Shown to size) Bolt 1/4” x 12mm Bolt 1/4” x 15mm Bolt 3/16” x 10mm Battery AA REPLACEMENT PARTS LIST For replacement parts, call our customer service department at 888-837-1380 (U.S. only), Mon to Fri, 8:00 a.m. – 5:00 p.m. Pacific Standard Time. Part Description Quantity... -
Page 6: Safety Information
SAFETY INFORMATION WARNING: This outdoor cooking gas appliance shall be used only outdoors and shall not be used in a building, garage or any other enclosed area. This outdoor cooking gas appliance is not intended to be installed in or on boats or recreational vehicles. -
Page 7: Preparation
PREPARATION Before beginning assembly of product, make sure all parts are present. Compare parts with package contents list and diagram above. If any part is missing or damaged, do not attempt to assemble product. Contact customer service for replacement parts. Estimate Assembly Time: Less than 30 minutes. - Page 8 DO NOT insert any foreign objects into the valve outlet, damage to the back-check could result. A damaged back-check can cause a leak, possibly resulting in explosions, fire, severe bodily harm, or death. WARNING FOR FILLING THE LP GAS CYLINDER ...
- Page 9 Cylinders must be stored outdoors out of the reach of children and must not be stored in a building, garage or any other enclosed area. Turn the burner valves off. Turn the tank valve off fully (turn clockwise to stop). Detach the regulator assembly from the tank valve by turning the quick coupling nut counterclockwise.
-
Page 10: Assembly Instructions
is being applied). Soap bubbles will appear where a leak is present. 3. If a leak is present, immediately turn off the gas supply and tighten the leaky fittings. 4. Turn the gas back on and recheck. 5. If it is evident there is excessive abrasion or wear, or the hose is cut, it must be replaced prior to the outdoor cooking gas appliance being put into operation. - Page 11 Step 3 Assemble the gas tank holder (J) to the left side of the grill cart (B) with bolt (AA). HARDWARE USED Bolt 1/4” x 12mm 2 pcs Step 4 1. Locate the Grease Receptacle ( I ) to the supporting brackets on the upper left and upper right bars of cart (B).
- Page 12 Step 6 With the help of other people, place the grill body on the grill cart. Make sure the four latches on the legs and grill body are tightly locked. Latch Step 7 1. Open the side shelves. 2. Open the wind shield. 3.
- Page 13 Step 9 Place heat diffuser (F) onto the grill body. Then place the cooking grid (G) onto the grill body. Step 10 Hang the warming rack (H) on the windshield. GR2045401-RG-00/GR2045406-RG-00 13 of 27 20150831-Ver1...
-
Page 14: Installation Instructions
INSTALLATION INSTRUCTIONS Folding Up Process When the grill is not in use, please follow procedures below to fold up the grill. Step 1 1. Remove the warming rack. 2. Close the side panel of wind shield. 3. Fold down the wind shield. Step 2 Turn the warming rack upside down... - Page 15 Step 3 Once the side shelves are closed, lock the latches on the front and rear of side shelves. Latch Step 4 Unlock the latches on the four legs. With the help of other people, lift the grill body away from the grill cart and put it on a horizontal flat and rigid surface.
- Page 16 Step 5 1. Put the grease receptacle with the grease cups onto the brackets of the bottom frame of the grill cart as shown. 2. Unlock the front and rear horizontal bars and lay them onto the grill cart. Please remind to do step 2 then step 3 accordingly.
- Page 17 Step 7 Lock the 4 latches on the grill cart to the grill body tightly. Latch Unfolding Process To unfold the grill, please follow procedures below. Step 1 Unlock the 4 latches on the grill cart. Unlock Step 2 With the help of other people, lift the grill body up and away from the cart.
- Page 18 Step 3 Turn the grill cart upside down. Open the left and right cart supporting legs and then open the horizontal front and rear bar supports to hold the left and right supporting legs in position. Make sure the bolts at the opposite ends of the horizontal bars go into the locking holes of the legs.
- Page 19 Step 6 Unlock the latches on the front and rear of side shelves. Unlock Step 7 Open the side shelves. Step 8 1. Open the wind shield main panel. 2. Open the side wind shield. 3. Hang the warming rack on the wind shield.
-
Page 20: Operating Instructions
OPERATING INSTRUCTIONS LIGHTING INSTRUCTIONS BEFORE LIGHTING WARNING Inspect the gas supply hose prior to turning the gas “ON”. If there is evidence of cuts, wear, or abrasion, it must be replaced prior to use. Do not use the grill if the odor of gas is present. ... - Page 21 LIGHTING THE MAIN BURNER OF GRILL Before each use, check all hoses for cracks, nicks, cuts, burns or abrasions. If a hose is damaged in any way, do not use your grill before replacing the hose with an authorized part from the Parts List. Also make sure all gas supply connections are securely tightened.
-
Page 22: Care And Maintenance
LIGHTING USING MATCH LIGHT EXTENSION ROD Turn OFF all burner valves. EXTENSION ROD Make sure the lid is open. Place lighted match between the coils on the Match Holder and hold next to the burner. Turn the control knob(s) to the “HIGH”... - Page 23 GRILL BURNERS Extreme care should be taken when removing a burner as it must be correctly centered on the orifice before any attempt is made to re-light the grill. Frequency of cleaning will depend on how often you use the grill. Spiders and small insects occasionally spin webs or make nests in the grill burner tubes during transit and warehousing.
- Page 24 METHOD 2: Use a bottle brush with a flexible handle and run the brush through each Burner Tube and inside the Burner several times to remove any debris. METHOD 3: Use an air hose to force air through each Burner Tube. The forced air should pass debris or obstructions through the Burner and out the Ports.
-
Page 25: Troubleshooting
TROUBLESHOOTING If the grill fails to light: Turn gas off at source and turn Control Knobs to OFF. Wait at least five minutes for gas to clear, then retry. If your grill still fails to light, check gas supply and connections. Repeat lighting procedure. - Page 26 To purge air from your gas line and/or reset the regulator excess gas flow device: Turn Control Knobs to the OFF position. Turn off the gas at the tank valve. Disconnect regulator from LP Gas tank. Let unit stand 5 minutes to allow air to purge.
-
Page 27: Warranty
LIMITED WARRANTY Manufacturer warrants this Product to be free from defects in workmanship and materials for a period of Ninety (90) days from the date of purchase, PROVIDED claims are submitted, in writing, with proof of purchase. If any part of this item fails because of a manufacturing defect within the Limited Warranty Period, Manufacturer offers to replace such part(s) provide that such parts have not been improperly repaired, altered, or tampered with or subject to misuse, abuse or exposed to corrosive conditions.
Need help?
Do you have a question about the Chuck Wagon and is the answer not in the manual?
Questions and answers