
Subscribe to Our Youtube Channel
Related Manuals for Walker Edison BS70SPNC


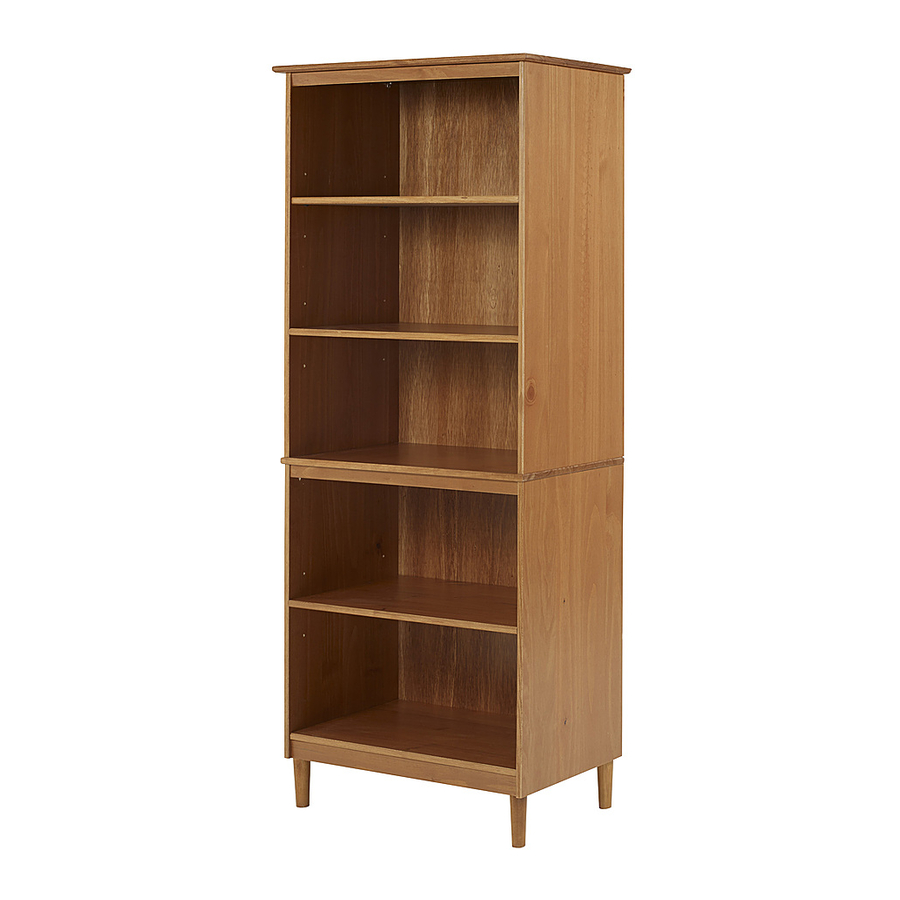
Summary of Contents for Walker Edison BS70SPNC
- Page 1 BS70SPNC Assembly Instructions Please visit our website for the most current instructions, assembly tips, to report damage ® Rev 08/2020 Copyright © 2018, by Walker Edson Furniture Co., LLC, All rights reserved.
- Page 3 Part# Description Part# Description Top panel 01 pcs Left side up 01 pcs Right side low 01 pcs Right side up 01 pcs Left side low Middle base 01 pcs 01 pcs Bottom front crossbeam 01 pcs Move shelf 03 pcs Back crossbeam 01 pcs 01 pcs...
- Page 4 Ø8*30mm Wooden dowel Ø8*50mm Wooden dowel Screw Ø3,5*40mm Ø3,5*30mm Screw Ø3,5*14mm Screw Support Ø10*10 Nail Corner Glue Ø7*90mm Screw Allen key Washer Ø6mm Wall anchor Hammer recommended for assembly (not included)
- Page 5 Step 1 Insert wood dowel (A), (B) and glue (I) into parts (15, 16). Insert wood dowel (A) and glue (I) into part (4, 5, 6, 20). Ø8*30mm Ø8*50mm Please assemble on Glue tube a clean soft surface to avoid damage. Step 2 Insert Support (F) into parts (2, 3, 15, 16).
- Page 6 Step 3 Secure base (20) to panels (3) using screw (D). Ø3,5*30mm Step 4 Use screw (J) to attach part (4, 5) to part (8) and key (K). Ø3,5*30mm Secure front crossbeam (4, 5, 6) to panels Ø7*90mm (2, 3) using screw (D). Allen key...
- Page 7 Step 5 Secure middle base (17) to panels (15, 16) using screw (C). Ø3,5*40mm Step 6 Use screw (E) to attach part (1) to body Use minifix (P, Q) to attach part (1) to body Ø3,5*14mm...
- Page 8 Step 7 Use the screw (D, E) to assemble the bodies Ø3,5*30mm Ø3,5*14mm Step 8 Use screw (D) to attach part (6) to body Two people are required to lift the furniture. Ø3,5*30mm...
- Page 9 Step 9 First secure the back panel (19) with part (G) and than secure the back panel (7) with part (G) After back panels are fixed, use (R+G) to fix back panels in the middle base (17). Ø10*10 Step 10 Step 11 Assembly Complete!
-
Page 10: Back Panel
Wall anchor and hardware are included with this product. Please make sure hardware is suitable for your walls before installing, as different wall materials may require different types of anchors. 1º Back panel 2º Wall Ø6mm Ø3,5*30mm Ø6mm P.11...
Need help?
Do you have a question about the BS70SPNC and is the answer not in the manual?
Questions and answers