
Related Manuals for Walker Edison BS72ARST


Summary of Contents for Walker Edison BS72ARST
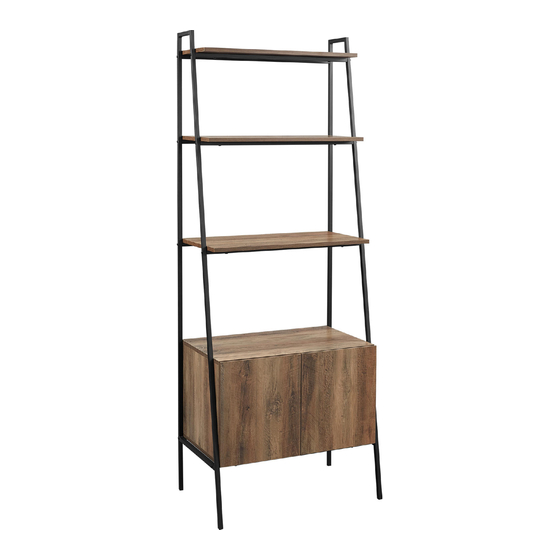
- Page 1 Item # : BS72ARST Assembly Instructions Please visit our website for the most current instructions, assembly tips, report damage, or request parts. www.walkeredison.com Copyright 2018, by Walker Edison Furniture Co., LLC. All rights reserved.
- Page 5 Insert wooden dowel (J) into part ( 6,7), secure cam bolt (L) to part (4) with screwdriver.
- Page 6 Insert part (6,7) to part (4), then secure cam lock (K) to part (6,7) with screwdriver.
- Page 7 Insert part (9) into part (4,6,7) as per diagram.
- Page 8 Attach part (5) to part (6,7) using bolt (H) with hex key (C).
- Page 9 Attach part (11,12) to part (5) using bolt (A,B) with hex key (C).
- Page 10 Attach part (8,11,12) to part (1, 2) using bolt (A,B) with hex key (C).
- Page 11 Attach part (11,12) to part (3) using bolt (A,B) with hex key (C).
- Page 12 Attach part (16) to part (10,15) as per diagram.
- Page 13 Attach part (10,16) to part (6,8,11,12) using bolt (B,T) with hex key (C).
- Page 14 Attach part (15,16) to part (7,8,11,12) using bolt (B,T) with hex key (C).
- Page 15 Place sticker (M) over holes as per diagram.
- Page 16 Attach bracket (E) to part (8) using bolt (A) with hex key (C).
- Page 17 Attach plate (R) to part (4) using screw (P) with screwdriver.
- Page 18 Attach plastic wedge (Q) to part (9) using screw (N) with screwdriver.
- Page 19 Attach hinge (U) to part (13,14) using screw (P) with screwdriver.
- Page 20 Attach part (13) to part (6) using screw (P) with screwdriver.
- Page 21 Attach part (14) to part (7) using screw (P) with screwdriver.
- Page 22 1. Measure height for bracket in desired location. 2. Drill hole using 6mm size bit. 3. Insert wall anchor (G) into wall at desired location. *Wall anchor included for drywall mounting. Use correct wall anchor and hardware for your wall material.
- Page 23 Secure furniture to wall anchor (G) in wall using washer (D) and screw (F) with screwdriver.
Need help?
Do you have a question about the BS72ARST and is the answer not in the manual?
Questions and answers