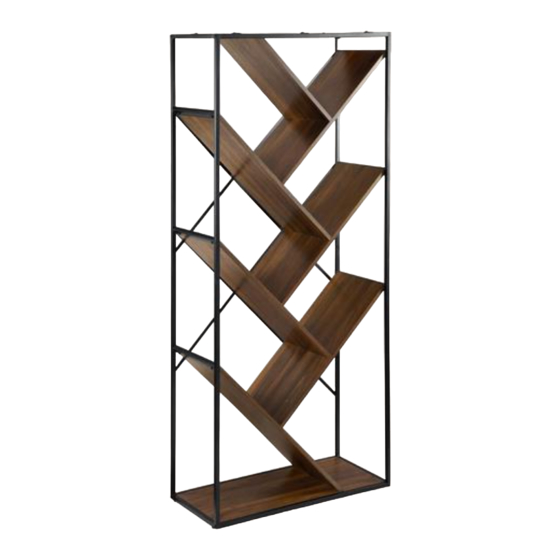
Summary of Contents for Walker Edison BS68VON
- Page 5 Insert wooden dowel (A) into parts (7,8,9,10) as per diagram.
- Page 6 Using bolt (E) connect and secure both parts (6) with Nut (F) and Wrench (Q) as per diagram. Note : Do not fully tighten all the bolts .
- Page 7 Using bolt (B) attach part (3) to parts (4,5) ,then using bolt (H) attach bracket (M) into part (3) with hex key (N) as per diagram.
- Page 8 Secure feet (P) at the bottom of parts (1,2) as per diagram.
- Page 9 Using bolt (C) attach parts (1,2) to part (3) with hex key (N) as per diagram.
- Page 10 Using screw (D) attach part (5) to part (10) ,bolt (B) attach part (10) to part (1) with hex key (N) as per diagram.
- Page 11 Using screw (D) attach part (10) to part (8) ,bolt (B) attach part (8) to part (2) with hex key (N) as per diagram.
- Page 12 Insert part (9) into part (8) ,then using screw (D) attach part (8) to part (9) ,bolt (B) attach part (9) to part (1) with hex key (N) as per diagram.
- Page 13 Insert part (8) into part (9) ,then using screw (D) attach part (9) to part (8) ,bolt (B) attach part (8) to part (2) with hex key (N) as per diagram.
- Page 14 Insert part (9) into part (8) ,then using screw (D) attach part (8) to part (9) ,bolt (B) attach part (9) to part (1) with hex key (N) as per diagram.
- Page 15 Insert part (8) into part (9) ,then using screw (D) attach part (9) to part (8) ,bolt (B) attach part (8) to part (2) with hex key (N) as per diagram.
- Page 16 Insert part (7) into part (8) ,then using screw (D) attach part (8) to part (7) with hex key (N) as per diagram.
- Page 17 using screw (D) attach part (4) to part (7) with hex key (N) as per diagram.
- Page 18 Using bolt (C) attach parts (1,2) to part (3) with hex key (N) as per diagram. Note:Fully tighten all bolts.
- Page 19 Using screw (G) attach parts (6,11) into parts (1,2) with Philips head screwdriver as per diagram.
- Page 20 If necessary, adjust the pre-attached Floor Levelers at the bottom of metal legs to level the unit.
- Page 21 Using screw (K) attach Flat washer (L) to bracket (M) to Wall anchor (J) to wall with Philips head screwdriver as per diagram.


