Advertisement
Quick Links
Advertisement

Related Manuals for Walker Edison BS68FRSW


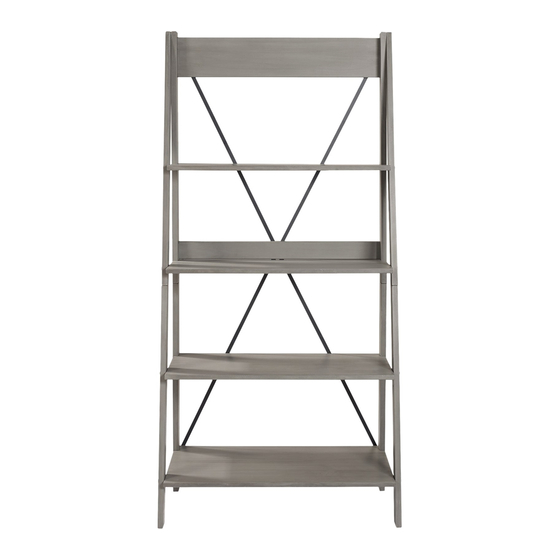
Summary of Contents for Walker Edison BS68FRSW
- Page 1 BS68FRSW Assembly Instructions Revised 04/2019 2018...
- Page 2 A Philips head screwdriver is required for this assembly. We do not recommend using power tools.
- Page 3 Ø8.0x30mm Wooden dowel Ø7x80mm Screw Ø7x60mm Screw Hex Key M4mm Glue tube Ø3.5x16mm Screw W a l l A n c h o r Wall Anchor A Phillips head screwdriver or power tolls is required to assembly this product (Not included).
- Page 4 Step 1 Insert dowel (A) with glue (E) into parts (1,3) Step 2 Attach part (1) to part (2) using screw (C) with hex key (D). Then attach part (3) to part (4) using screw (C) with hex key (D).
- Page 5 Step 3 Attach shelves (5,7,9,10,11) to parts (1,2) using screw (C) and hex key (D). Attach part (6) to part (2) using Step 4 screw (C) and hex key (D).
- Page 6 Step 5 Secure part (3,4) to parts ( 5,7,9,10,11) using screw (B) and hex key (D). Attach parts (5,6,7,9,10,11) to parts (1,2) Step 6 using screw (C) with hex key (D).
- Page 7 Step 7 Secure part (3,4) to parts ( 5,7,9,10,11) using screw (B) and hex key (D).
- Page 8 Step 8 Attach part (8) to parts (5,6,7) using screw (F) and a Philips Screwdriver...
-
Page 9: Back Panel
Wall anchor and hardware are included with this product. Please make sure hardware is suitable for your walls before installing, as different wall materials may require different types of anchors. 1º 2º Wall Back panel Ø6mm WARNING CHECK FOR HIDDEN PIPES AND CABLES BEFORE DRILLING...
Need help?
Do you have a question about the BS68FRSW and is the answer not in the manual?
Questions and answers