Advertisement
Table of Contents
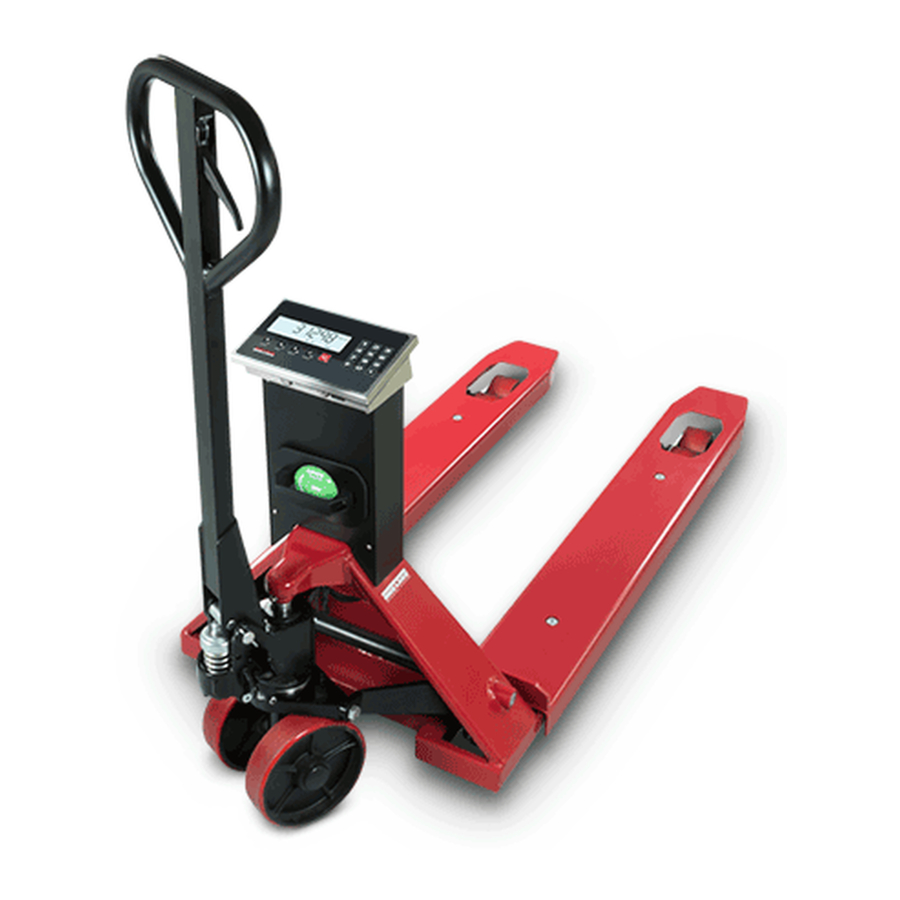
RL-HPJ Hand Pallet Jack Scale
Printer Kit Installation
After unpacking, visually inspect the printer kit to ensure all of the components are included and undamaged. If any parts were
damaged in shipment, notify Rice Lake Weighing Systems and the shipper immediately.
For printer configuration information, see the RL-HPJ Hand Pallet Jack Scale Technical Manual (PN 183812).
Manuals and additional resources are available from the Rice Lake Weighing Systems website at
Warranty information can be found on the website at
RL-HPJ Printer Kit Parts
See
Table 1
for printer kit parts information.
December 8, 2020
Part
Printer Mounting Plate (PN 193292)
RL-HPJ Printer*
Printer Interface Board*
Power Cable*
Battery Backup Board*
Printer Mounting Clips*
Printer Interface Board Spacer*
* Part included in printer subcomponents kit (PN 186637)
Table 1. RL-HPJ Printer Kit Parts List
www.ricelake.com/warranties
Description
Qty.
www.ricelake.com
1
1
1
1
1
1
1
PN 190986 Rev A
Advertisement
Table of Contents

Subscribe to Our Youtube Channel
Related Manuals for Rice Lake RL-HPJ


Summary of Contents for Rice Lake RL-HPJ
- Page 1 Rice Lake Weighing Systems and the shipper immediately. For printer configuration information, see the RL-HPJ Hand Pallet Jack Scale Technical Manual (PN 183812). Manuals and additional resources are available from the Rice Lake Weighing Systems website at www.ricelake.com...
- Page 2 RL-HPJ Printer Kit Installation Installation Procedure 1. Remove and unplug the battery from the indicator stand before beginning printer kit installation. 2. Use a screwdriver to remove the 4 corner screws attaching the indicator display to the stand. 3. Remove the indicator display.
- Page 3 7. Install the new power cable included in the printer kit. Use the nut to secure the charging port from the outside of the indicator stand. 8. Use a screwdriver to connect the ends of the power cable to the main indicator board. Figure 4. Install New Power Cable © Rice Lake Weighing Systems ● All Rights Reserved...
- Page 4 RL-HPJ Printer Kit Installation 9. Peel the yellow backing off of the black printer interface board spacer. 10. Stick the spacer against the back of the printer interface board between the two white adhesive squares. Figure 5. Interface Board Spacer Attachment 11.
- Page 5 16. Mount the battery backup board onto the BOOT port on the main indicator board. Figure 9. Battery Backup Board on BOOT Port 17. Reattach the indicator display to the indicator display stand. © Rice Lake Weighing Systems ● All Rights Reserved...
- Page 6 RL-HPJ Printer Kit Installation 18. Take the new indicator stand front plate and insert the printer into the hole, keeping the connectors oriented towards the top of the plate. Ensure the printer is installed on the front side of the plate; the battery opening should be tilted clockwise when IMPORTANT viewed from the front.
- Page 7 Ensure the front side of the plate is facing outwards; the battery opening should be tilted clockwise when IMPORTANT viewed from the front. 22. Plug in the battery and reinsert it into the indicator stand. Figure 13. RL-HPJ With Printer Installed © Rice Lake Weighing Systems ● All Rights Reserved...
- Page 8 Specifications subject to change without notice. Rice Lake Weighing Systems is an ISO 9001 registered company. 230 W. Coleman St. • Rice Lake, WI 54868 • USA U.S. 800-472-6703 • Canada/Mexico 800-321-6703 • International 715-234-9171 • Europe +31 (0)26 472 1319...
Need help?
Do you have a question about the RL-HPJ and is the answer not in the manual?
Questions and answers