BODY BIKE CLASSIC Instructions Manual
Indoor cycle
Hide thumbs
Also See for CLASSIC:
- Instructions for mechanics manual (20 pages) ,
- Instructions for use manual (19 pages)
Table of Contents
Advertisement
Quick Links
Advertisement
Table of Contents

Related Manuals for BODY BIKE CLASSIC


Summary of Contents for BODY BIKE CLASSIC
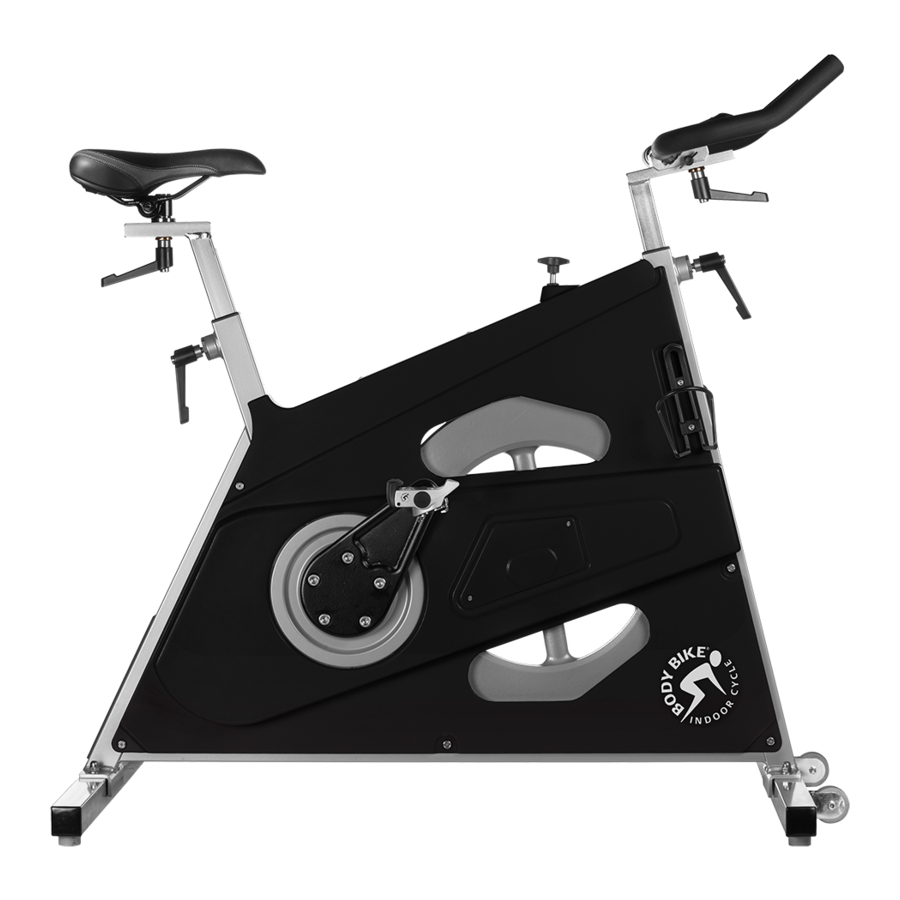
- Page 1 INSTRUCTIONS BODY BIKE INDOOR CYCLE ® BODY BIKE CLASSIC ® ENGLISH...
-
Page 2: Equipment Required
TABLE OF CONTENTS EQUIPMENT REQUIRED Unpacking Adjustment handle Equipment required Introduction Drill bit 5mm Allen Wrench Specifications Drill Screwdriver General information Steel brush Warranty Grease Bottom frame Brush 6 mm allen wrench Assembly 13 mm wrench Unpacking Brake block Handlebar Saddle 8 mm wrench Bottom frame... - Page 3 INTRODUCTION This manual provides information on the assembly and maintenance of the BODY BIKE® indoor cycle. The manual is intended for the owners and service people responsible for cleaning and maintenance. Before assembling the cycle, please read the manual and prepare the correct tools, see equipment required page 2.
-
Page 4: Specifications
SPECIFICATIONS Manufacturer: Length, Width, Height: Patent held for: BODY BIKE® International A/S Assembled size: Crank system Niels Bohrs Vej 2 105cm, 60cm, 100cm DK-9900 Frederikshavn Packed size (5 cycles): Materials Denmark 120cm, 80cm, 114cm Cast iron Phone: +45 9843 9696... -
Page 5: Warranty
WARRANTY As information to our customers we hereby outline the warranty obligations applicable to BODY BIKE Indoor Cycles. ® The warranty comes into force the moment the unit leaves BODY BIKE International A/S. To get an overview see figure 1. - Page 6 BODY BIKE® spare parts. All warranties are cancelled if the cycle has been modified or in any way not used as intended. Warranty repairs are to be carried out by BODY BIKE In- ternational A/S in Denmark. At the expense of BODY BIKE International A/S.
- Page 7 ASSEMBLY Unpacking Bottom frame Handlebar Saddle Pedals 11-12...
-
Page 8: Bottom Frame
UNPACKING BOTTOM FRAME 1) Open the top of the box. A fixing tool can be bought at BODY BIKE® International A/S to ease the mounting of the bottom 2) Remove all the unmounted parts. frame. Go to page 22. 3) Flatten the box on the floor next to the pallet. - Page 9 BOTTOM FRAME LIFTING SPOTS. Be sure that the saddle and handlebar are locked before lifting CAP NUT WASHER Figure 4 Figure 3 Tighten with no more than 12 Nm Front bottom frame with wheels Back bottom frame pointing forward...
- Page 10 HANDLEBAR SADDLE ONLY RELAVENT IF THE SADDLE IS NOT ALREADY 1) Place the handlebar on top of the front post. INSTALLED. 2) Screw an adjustment handle (size 32mm) 1) Place the saddle in the track on the seat post. clockwise into the socket from underneath the post, see figure 5.
- Page 11 PEDALS 1) Place the right pedal arm with the socket pointing upwards, see figure 8. 2) Put maximum resistance on the brake, so the pedalarm is unable to rotate, see figure 7. Clockwise will increase the resistance Please note Counterclockwise will The pedals are marked with R for Right and loosen the resistance L for Left side.
- Page 12 Tighten in the direction of the handlebar Point upwards Figure 9 Figure 8 Figure 10...
-
Page 13: Maintenance
MAINTENANCE Adjustment handles Cleaning the posts Cleaning Removal of side covers 17-18 Service hatch Replacing the brake block 19-20 Poly-V belt... -
Page 14: Adjustment Handle
ADJUSTMENT HANDLE Every 3 months the handles need 3) Lubricate the internal parts with 5) The spring is inserted into the cleaning and grease to protect the grease before reassembling the top of the handle and fixed in parts from sweat, dust, dirt and handle. -
Page 15: Cleaning The Posts
CLEANING THE POSTS Every other week the posts need clean- ing to protect them from sweat etc. Pull out the seat post and the front post and wipe them clean with an oily cloth, see figure 12. 1x oily cloth If there is a slight sideways play in the Herizontal front post you can adjust it on both sides... - Page 16 CLEANING After each workout, wipe the cycle down with tissue paper. If the cycle is covered in sweat or dirt, use water in a spray bottle and if necessary a tissue with some washing-up liquid. Remember handlebar and saddle. PLEASE NOTE NEVER use alcohol or chemicals To make the cycle look its best, use a cloth with a little vaseline oil on all parts except the handlebar...
- Page 17 REMOVAL OF SIDE COVERS The side covers can be removed e.g. if the belt needs to be changed. 1) Dismount the right pedal arm with an 8mm Allen wrench. See figure 14. 2) Loosen the two bolts on the bottle holder with a 4 mm Allen wrench.
- Page 18 Remove the 7 bolts and slide the side cover off in the dirrection of the steer. Figure 15 Figure 16...
-
Page 19: Replacing The Brake Block
REPLACING THE BRAKE BLOCK In order to remove the service hatch, use a PZ2 drill bit The Kevlar® pad on the BODY BIKE Synthetic Brake and a drill. Remove the 2 screws and then the hatch. has an expected durability of a minimum of 1500 See figure 17. - Page 20 Remove 5) Take the new brake block and fasten it to the frame by tightening the screw screws closest to the brake block. Then place the block in the correct position under the brake, see figure 20. 6) Fasten the remaining screw furthest away from the block, and then make sure that both screws are tightened Figure 19...
- Page 21 10 mm wrench. 5: The belt should be tightened to approximately 125 kg/229 Hz. To measure this, a special device can be bought at your local BODY BIKE® distributor. Go to page 22 Figure 22 6: Tighten the counter bolt (2) on both sides of the cycle again.
-
Page 22: Online Information
Need more information? Wanna know more about your BODY BIKE Classic, follow the link below. https://body-bike.com/indoor-bikes/body-bike-classic/ Need an upgrade? Take a look. Upgrade your BODY BIKE Classic with the BODY BIKE Performance. Follow the link below. https://body-bike.com/explore/upgrade-your-body-bike/ Need online support? If you have any questions, problems or anything else regarding your BODY BIKE, you are welcome to contact us on the mail below. - Page 23 INDEX Information, general Wear and tear Adjustment handles Adjustment screw Length Weight Width Assembly 7-12 Maintenance 13-20 Belt 6, 21 Manufacturer Wheel Bottom frame Mounting 8, 11, 14 Bottle holder Patent Brake 19-20 Pedal 11-12 Cleaning 16-17 Poly V-belt Cover 18-19 Post (front and seat) Crank, warranty...
- Page 24 Edition 5.0 BODY BIKE International A/S ® Niels Bohrs Vej 2 DK-9900 Frederikshavn Denmark Phone: +45 9843 9696 www.body-bike.com...
Need help?
Do you have a question about the CLASSIC and is the answer not in the manual?
Questions and answers