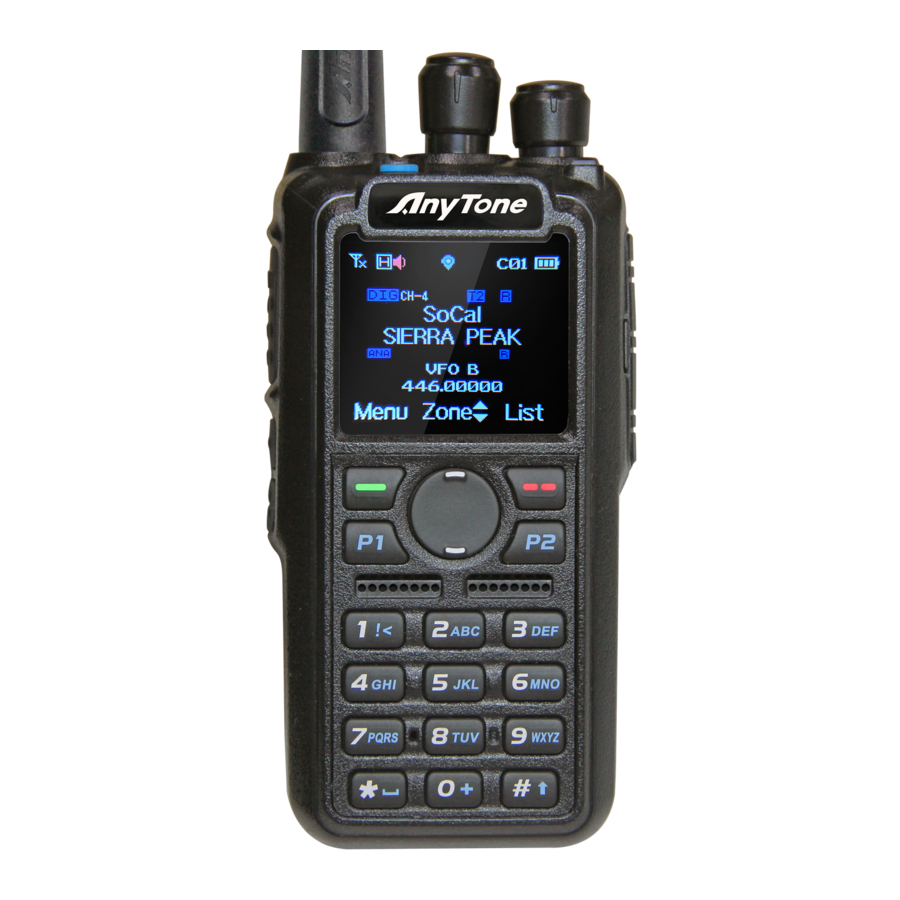
AnyTone AT-D868UV Firmware Update Procedure
Hide thumbs
Also See for AT-D868UV:
- Operating manual (44 pages) ,
- Programming manual (26 pages) ,
- Firmware manual (8 pages)
Advertisement
Turn off the GPS and APRS functions to prevent the radio from going into TX when
connected to the computer, as it may cause damage to the CPU or memory IC
AT-D868UV Firmware Update Procedure
Installation of a Windows driver is required to perform any programming or
firmware updates to this radio. This driver is named
PC_cable_GD_VirtualComDriver 1.0.1.2118 and is part of the down-loadable
file containing the firmware updates. This file only needs to be installed once.
Firmware updates do not need to be installed in order, you can skip right to the
most recent update available. Usually each firmware update file will also include
an updated version of the computer programming software (CPS). After a
radio's firmware is updated, older versions of the CPS should not be used. If a
new version of firmware causes any kind of problems, you can simply revert
back to a previous version by reinstalling an older version.
After writing firmware to the radio, the update will not take affect until the radio is
re-booted. This is a key pad procedure, not just a simple power-on/power-off.
All versions of firmware updates can be found here:
http://www.wouxun.us/category.php?category_id=90
Firmware is installed using a stand-alone program called
QXCodePro_Update_dpinst_Setup_1.02
Download and install this program on your computer.
Download the most recent firmware from the site mentioned above. This file will
be a .zip file. Create a folder on your desktop and extract the contents of this
file into it. If you need a program to extract either a .zip or .rar file, 7-Zip is a free
one available from:
https://sourceforge.net/projects/sevenzip/files/latest/download
Installing Firmware
Start the program QXCodePro.........
You will see this screen.
Advertisement
Table of Contents

Summary of Contents for AnyTone AT-D868UV
- Page 1 Turn off the GPS and APRS functions to prevent the radio from going into TX when connected to the computer, as it may cause damage to the CPU or memory IC AT-D868UV Firmware Update Procedure Installation of a Windows driver is required to perform any programming or firmware updates to this radio.
- Page 2 Click Open Update File and find the update file you saved in the folder you created. You will get a prompt that the file successfully opened. Click OK. Make sure to put a check mark in the Duplex box. Turn your radio off. Attach the programming cable to both the radio and the computer.
- Page 3 After the firmware installs, the radio will proceed to its welcome screen and then to its normal screen showing frequencies and etc. You must now re-boot the CPU for the update to take place. Turn the radio off. Press and hold both the PTT button and the PF1 button (located just below the PTT button), while powering on the radio.
- Page 4 “plug” before you use it. When using a borrowed code plug in the AT-D868UV, you MUST make sure to update the Radio ID List to show your DMR-MARC ID number and name.
- Page 5 The frequency list will fill in, but notice the information in the Radio ID column. This information could even be the call sign and name of the person that loaned you the file. You will need to change this information. Under the Digital drop-down, choose Radio ID List and fill in your specific information as shown in the example below.
- Page 6 If you typically save FM broadcast stations in your radio, you will want to turn that option on under the Optional Settings / FM tab and enter your personal choices in the FM frequency list. The last option that I personally check, is the assignment of button functions. I have my own preference for this assignment and I can check the borrowed file and quickly make changes if needed.
- Page 7 After making these changes, you are now ready to write this personalized code plug to your radio. The first thing you should do is SAVE the modified file with a unique name. Some people like to use a file name that included the date the file was modified.
- Page 8 Click the Write to Radio icon and click OK to confirm. Check both boxes in the next window and click OK. You will see the writing progression on your screen. With a large Digital Contact List, the process will not be quick. After a successful write you will see this screen and your radio will cycle through Power-on and return to its main screen.


Need help?
Do you have a question about the AT-D868UV and is the answer not in the manual?
Questions and answers