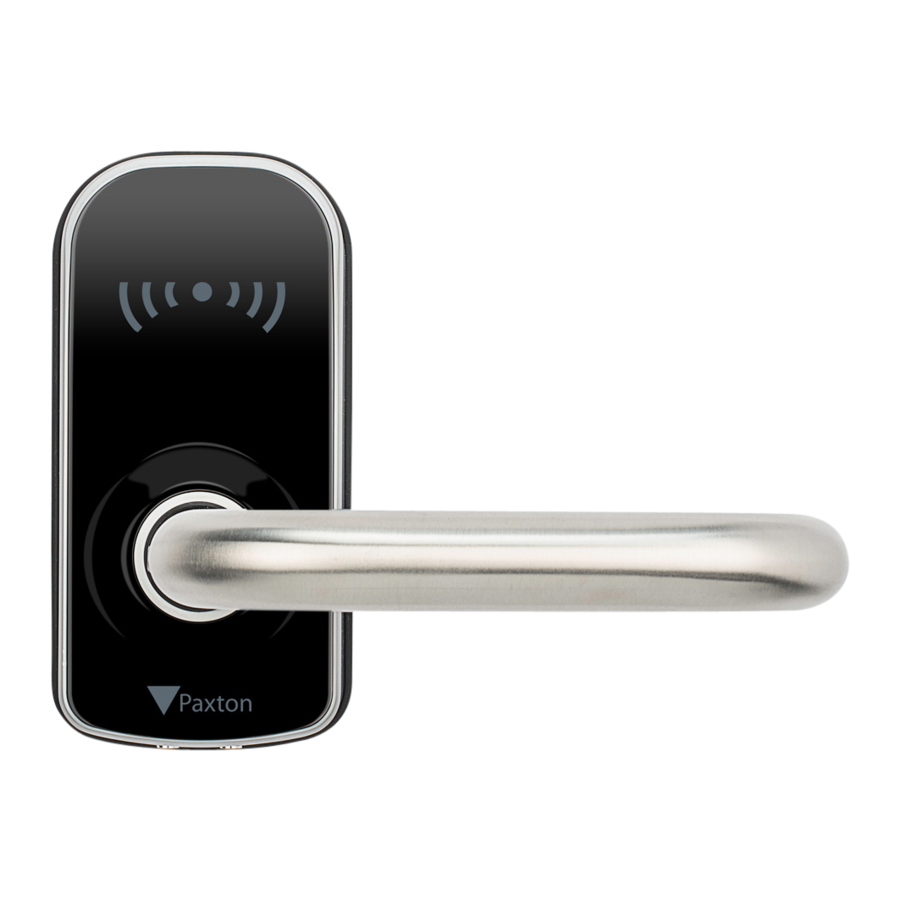
Page 2
? ? ? ? ? ? ? ? ? ? ? ? ? ? ? 2 x m4 x 16mm 1 x Spindle 2 x Through door bolts 2 x m4 Flange nuts 2 x Straws 2 x m4 x 26mm 1 x m4 Box spanner 4 x AA batteries 1 x 3mm Allen key...
Page 3
Insert the spindle into the lockset Using a 5mm drill bit, drill a hole follower and place the template over 7mm deep where indicated. the top. Ensure the measurements are equal to the door edge at the top and Ø5mm 38mm bottom and mark out the applicable holes.
Page 4
Hand the PaxLock Pro to suit the Feed the through door bolts and door. spindle through the lockset ensuring it sits flush against the Then secure the chassis to the body door face. using the 2 m4 x 16mm bolts provided.
Page 5
Insert the 4 supplied AA batteries Feed the rear chassis over the spin- and close the lid to the battery dle and screw in the supplied m4 x compartment. 26mm machine screws. m4 x 26mm Using the Allen key provided tighten Feed the rear fascia over the handle up the grub screw on each handle.
Page 6
NOTE: Make sure Net2 is in commissioning mode via the config utility. The PaxLock Pro will now bind with The PaxLock Pro will now appear as the Net2Air bridge providing the a door in Net2.
Page 7
Low battery warning: If the batteries run out: When the PaxLock Pro’s battery is Present a 9V battery to the jump low the LED will flash red 5 times start pins under the front of the unit, when a token is presented. There is...
Page 8
35 - 60 mm 800mA 10 ft - 50 ft Optimal distance between Net2Air bridge Suitable for installation on doors of widths Battery power usage rated at 6V and and PaxLock Pro 3-15m / 10-50ft from 35mm to 60mm 800mA...
Page 9
To put the unit in Standalone mode, Present the enrolment card to the take out the enrolment card from PaxLock Pro, you will hear a beep the card pack. and the LEDs will flash green once. Paxton Store the enrolment card back in the When presenting a token to the pack for later use.
Page 10
Presenting the Silent Operation card When presenting a token to the associated with that enrolment to the reader again will re-enable PaxLock Pro the LEDs will flash green card. the sound, you will hear a beep and once and it will not beep.
Page 11
Paxton Present the door open time card to The unit will beep and the LEDs will the PaxLock Pro, you will hear a beep flash green once every second. and the LEDs will flash green. After the desired delay, present the...
Page 12
900-100WT 900-100BL 900-200WT 900-200BL Installation jig To help the preparation of doors before installing a Paxlock Pro an installation jig is available to purchase via distribution or the Paxton website. 900-080 900-080 PaxLock Pro - Euro DIN18251 door installation jig.
Page 13
Paxton Access Ltd hereby declares that this product is in conformity with all the essential requirements of the Directive 2014/53/EU. https://www.paxton-access.co.uk/docs/Instructions/ins-181.pdf The full declaration of conformity is provided at: http://paxton.info/3910 Contact details are provided at: http://paxton.info/596...
Need help?
Do you have a question about the PaxLock Pro and is the answer not in the manual?
Questions and answers