Table of Contents

Related Manuals for CPI STEMSHINE

Summary of Contents for CPI STEMSHINE
- Page 1 STEMSHINE – THE GLASS POLISHER Model GP8 OPERATING INSTRUCTIONS IMPORTANT FILL OUT and RETURN ENCLOSED PRODUCT REGISTRATION WARRANTY CARD Sales & Service 2871 Brighton Road Oakville, ON L6H 6C9 (866) 912-3469 www.cpishine.com Rev: Jan 2015...
- Page 2 LIMITED WARRANTY Campus Products, Inc. (“CPI”) warrants to the original purchaser that any original part that is found to be defective in material or workmanship will, at our option, subject to provisions hereinafter stated, be replaced with a new or rebuilt part.
-
Page 3: Table Of Contents
TABLE OF CONTENTS OPERATING INSTRUCTIONS FOR STEMSHINE – THE GLASS POLISHER ......5 WHAT THE MACHINE IS DESIGNED TO DO ...................... 5 HOW THE MACHINE WORKS ..........................6 TECHNICAL FEATURES ............................7 INSTALLATION INSTRUCTIONS ..................... 8 ... -
Page 4: Operating Instructions For Stemshine - The Glass Polisher
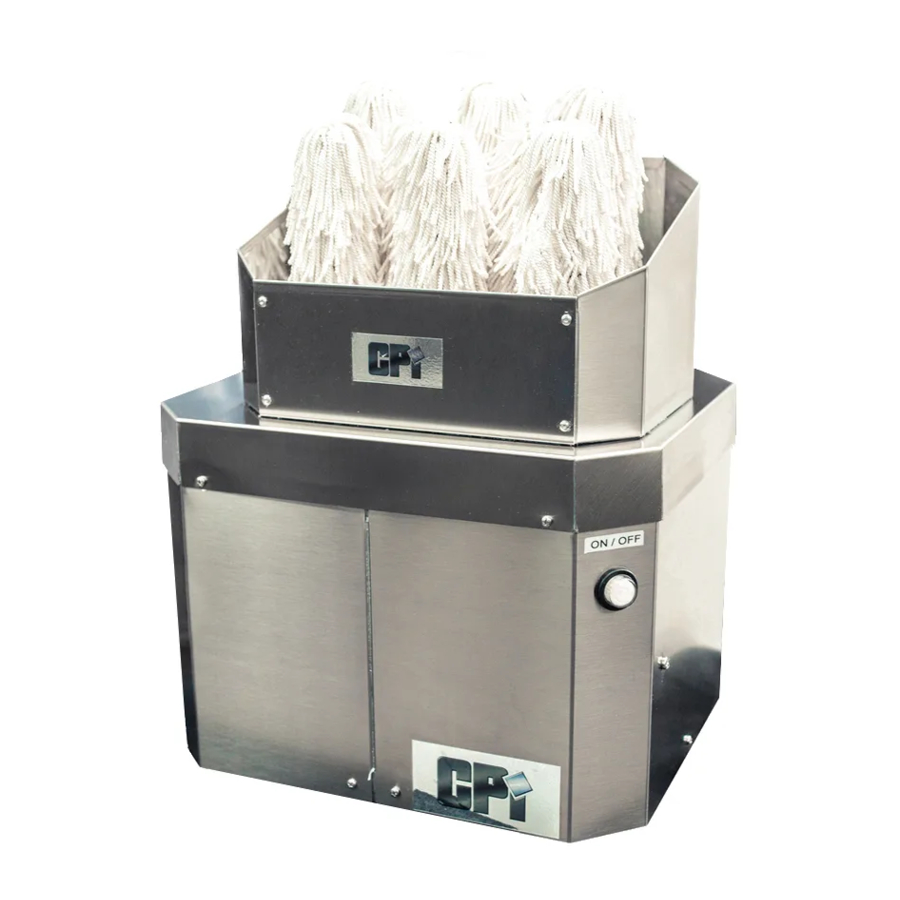
OPERATING INSTRUCTIONS FOR STEMSHINE – THE GLASS POLISHER WHAT THE MACHINE IS DESIGNED TO DO Stemshine – The Glass Polisher was designed with the restaurant operator in mind. Eight high spinning soft-polishing brushes, aided by a heated fan, assists the operator in producing shiny, luminous stemware. -
Page 5: How The Machine Works
HOW THE MACHINE WORKS Stemshine is available in one model size: GP8. The unit is comprised of a polished stainless steel, durable frame; a calrod heat element; a high speed powerful fan to aid in the drying process and synthetic, easy to clean, brushes. -
Page 6: Technical Features
TECHNICAL FEATURES Model Amps 1500 Watts 15 X 18 X 24 (W X D X H) Dimensions 110; 60hZ Volts lbs.) Ship Wt. ( 60 dbA Noise Level 68 dbC Page - 7 SALES + SERVICE CPIGP8AOPINST (866) 912-3469 WWW.CPISHINE.COM... -
Page 7: Installation Instructions
INSTALLATION INSTRUCTIONS UNPACKING THE MACHINE The machine is delivered packed in a cardboard box containing compressed polystyrene. Dispose of the packing material according to the requirements of the local recycling laws. Verify the machine's integrity and in particular the electric cables. If in doubt, ask a technician to check before proceeding with installation. -
Page 8: Electrical Connection
To verify correct placement of the brushes, try to rotate them clockwise and then pull lightly upwards: if the brush does not come off the support, placement is correct. ELECTRICAL CONNECTION First, verify that the power supplied corresponds to the machine's requirement by checking the data on the label attached on the right hand side. -
Page 9: How To Use The Glass Drier
HOW TO USE THE GLASS DRIER The purpose of your “Stemshine” unit is to provide your clients with luminous, spot-free stemware. It accomplishes this feat through the synthetic, easy to clean heated brushes. DAILY OPERATION: Ensure the glass drier is placed in a location where the operator will find it comfortable to operate. - Page 10 Lift the glass and place it on one of the Place the base of the glass against the front four outside brushes. Quickly repeat the three brushes to dry/polish the top and bottom of the base. Using the pinching grip place the rocking action for another 3 to 4 seconds.
-
Page 11: Daily Cleaning
DAILY CLEANING The glass polisher needs to be cleaned on a daily basis. 1. Turn the machine off and unplug it. 2. Remove the brushes as follows: To remove the brush from the support, rotate the brush in a counter clockwise direction while gently pulling it u pwards. Remove the brush completely by slipping it off its support. -
Page 12: Weekly Cleaning
WEEKLY CLEANING Turn the machine off and unplug it. Remove the brushes as follows: To remove the brush from the support, rotate the brush in a counter clockwise direction while gently pulling it u pwards. Remove the brush completely by slipping it off its support. To clean the glass polisher, cool down the polisher and then remove the brushes. -
Page 13: Maintenance Instructions
MAINTENANCE INSTRUCTIONS INTRODUCTION Installing and starting the glass dryer with care ensures long lasting operation with no inconvenience to the user. The guiding principle that the user should follow, and that Campus Products Inc. would like to stress, is that the machine requires frequent cleaning and routine maintenance, a list of operations are indicated below. -
Page 14: Ordinary Maintenance
ORDINARY MAINTENANCE To perform any maintenance on Stem shine – the Glass Polisher, the machine must be turned off and disconnected from the socket. The appropriate t ooling must be used t ogether with indiv idual protection, according to the applicable laws. Ordinary maintenance consists of cleaning the glass polisher on a regular basis with detergents;... -
Page 15: Brush Changeout Procedures
BRUSH CHANGEOUT PROCEDURES : Approximately once per year, the brushes should be replaced due to normal wear and tear. This is an easy task to accomplish. Procedures follow. The GP8 is equipped with 8 colour coded brushes – 3 red; 2 green and 3 yellow. The brushes are comprised of a very durable, absorbent polystyrene. -
Page 16: Replace A Full Set Of Brushes
REPLACE A FULL SET OF BRUSHES: Ensure you have an 8 brush set – colour coded with 3 red; 2 green and 3 yellow Place each brush on top of support (B) (matching the colours) and slide the brush down the support. Ensure that slot (A) is connected by slightly rotating the brush in a clockwise direction. - Page 17 Fit the new tip into the brush and turn until tight. DO NOT HOLD ONTO THE FRINGE WHILE Use the pliers to tighten the tip until the last TURNING AS THIS MAY DAMAGE THE BRUSH. thread is almost flush with the brush edge. Replace the brushes on their color coded supports (red, green and yellow).
-
Page 18: Extraordinary Maintenance
EXTRAORDINARY MAINTENANCE This maintenance must be carried out only by a qualified technician. Extraordinary maintenance is a rare occurrence and consists essentially of replacement.of one of the following items: a damaged component a damaged electric cable (scratched, or compressed) Page - 19 SALES + SERVICE CPIGP8AOPINST... -
Page 19: Gp8 Exploded Diagram
Page 20 Update: 07/10/09... - Page 20 Page 21 Update: 07/10/09...
-
Page 21: Spare Part Codes
GP 8: SPARE PART CODES Motor Rod - complete Brush Rod – complete Cover with venting slits Cover without venting slits Code: 702 Code: 747 Code: 736 Code: 737 Top cover Air funnel Bottom cover Spindles support Code: 741 Code: 742 Code: 740 Code: Motor + capacitor... - Page 22 GP 8: SPARE PART CODES Heating element support Thermostat Light switch + cap Belts Code: 749 Code: 640 Code: 127 Code: (1) 338 + (3) 339 Foot Cablegland Cable + plug Code: 778 Code: 397 Code: 904 Page 23 Update: 07/10/09...
-
Page 23: Quick Start Instructions
QUICK START OPERATING T: 866-912-3469 PROCEDURES FOR “STEMSHINE” - THE GLASS POLISHER Model GP8A Press the illuminated POWER button to Position the unit at waist height on a clean surface - turn on the machine. remove the dust cover. - Page 24 QUICK START OPERATING T: 866-912-3469 PROCEDURES FOR “STEMSHINE” - THE GLASS POLISHER CLEANING INSTRUCTIONS TO BE DONE DAILY . In order to clean the glass polisher, turn the unit off and unplug it. . Remove the brushes from the support...
Need help?
Do you have a question about the STEMSHINE and is the answer not in the manual?
Questions and answers