
Subscribe to Our Youtube Channel
Related Manuals for Midea HC-683WEN(ESNY)


Summary of Contents for Midea HC-683WEN(ESNY)
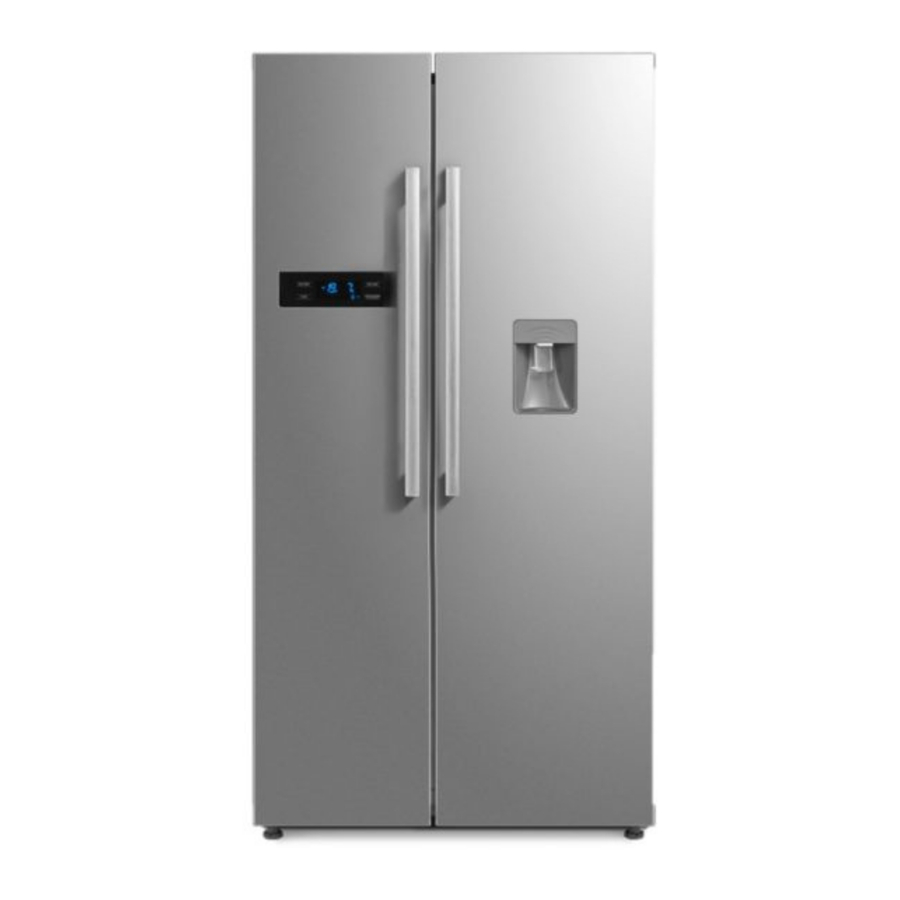
- Page 1 USER MANUAL REFRIGERATOR Side By Side Please read the Manual carefully before use. The Manual shall be kept in good custody for later reference MODEL: HC-683WEN(ESNY) version:001 www.midea.com...
- Page 2 Warning Warning:connect to potable water supply only. This appliance can be used by children aged from 8 years and above and persons with reduce physical sensory or mental capabilities or lack of experience and knowledge if they have been given supervision or instruction concerning use of the appliance in a safe way and understand the hazards involved.
- Page 3 Please read it carefully and keep for future reference Thanks for you purchasing Refrigerator of Midea. NOTICE Before it is used,please notice important safety instruction Please read this guide thoroughly before operation and keep it handy for reference at all time.
- Page 4 Freezer and refrigerator's rack designed as gliding and stretching ,it's convenient to stored. Preparing before using Sepecification of product • Invariable keeping fresh technology Separate windy system in refrigerator compartment, separate temperature control, stable storage temperature, long time fresh. • Defrost pre-cold Technology of defrost pre-cold with purpose of keeping temperature stable in refrigerator, suitable for keep food fresh.
- Page 5 ng wire. Before adjusting the height of the door, rotate the downward adjusting nut clockwise (as shown in Figure I) for 2 circles with a wrench, and loosen the downward adjusting nut. Rotate the upward adjusting nut (as shown in Figure I) to adjust the height, and then tighten the downward Left adjusting nut counterclockwise again.
-
Page 6: Start Using
Refrigerators transpoction and location Transportion Please don't inverted,squeezed, virbration refrigertor. when moving, the tilt angle can't larger than 45 degree. When moving, dont cling the door or coping. Location Ensure proper air circulation around refrigerator , dont place the unit near heat source, direct sunlight , moisture or water, avoid rust and weakening the insulation. -
Page 7: Refrigerator Compartment
full cooling. Then you can put the food into the refrigerator and start using the refrigerator. Tips: When the temperature is set to change or put new food into the refrigerator, It takes some time to balance the inside temperature. The length of this period depends on the size of the temperature change , the temperature of surrounding environment , the frequency of opening door and the number of food,and so on. - Page 8 Refrigerator compartment Recommend ati ons of storage area for all kinds of food As the cycle of air-conditioning in the refrigerator, it makes the temperature of all area differences. So different kinds of food should be placed on different temperature region.
- Page 9 grilles Freezer compartment Freezer compartment is for food storage for a long time The temperature of freezer compartment is very low, so it can keep food fresh state for a long time.You'd better put the food whichneed long period of time to save in this space.
-
Page 10: Introduction Of Function
Introduction of Function FRZ.TEMP. REF.TEMP. LOCK/UNLOCK MODE HOLD 3S UNLOCK 1. Button operation B.Mode Settings A.Freezer compartment temperature adjustment D.Lock/Unlock C.Refrigerator compartment temperature adjustment 2.Display I.Vocation mode 2.Quick-freezer mode 3.Quick-cold mode 4.Lock icon 5.Freezer compartment temperature 6.Refrigerator compartment temperature 7 .Close icon 3.Lock/Unlock At non-lock state (the 4 icon shows ),Press D key for 3seconds,the refrigerator... - Page 11 5 . Rapid cooling mode Press B key to select Rapid cooling mode , the 3 icon shows, then press D key to confirm, the refrigerator will be running according to Rapid cooling mode. 6 . Quick-freeze mode Press B key to choose Quick-freeze mode, the 2 icon shows, then press D key to confirm, the refrigerator will be running according to Quick-freeze mode.
-
Page 12: Maintenance And Care Refrigerator
eWhen inflammable gas is leaked, such as coal gas,close the gas valve,Open the doors and windows, Do not pull out or plug in plugs of the refrigerator and other appliances. • Do not store explosive substances such as aerosol cans with a flammable propellant in this appliance. -
Page 13: When Shutting Off The Refrigerator
Replacement on lights in freezer and refrigerator, and specification of lights • Specificati on: direct current 12v, LED eshut off the power eAs per the ph oto, rem ove the shade a l ong the drive directi on of the arrow, and then tighten the screws, rem ove the LED lights;... - Page 14 electrical company not working temperature be adjusted too high (make it lower) too much food stored hot or warm food stored recently not perfectly cooling doors are opened too frequently or too long heat source nearby plain floor or refrigerator be placed firmly too much noise check the appurtenance putting the right...
- Page 15 Energy Saving Tips · The appliance should be located in the coolest area of the room, away from heat producing appliances or heating ducts, and out of the direct sunlight. · Let hot foods cool to room temperature before placing in the appliance. Overloading the appliance forces the compressor to run longer.
- Page 16 How to Use this Water Dispenser Warning 1.Only purified and cold boiled water have access to this water dispenser, and the two kinds must free from any impurity. Coke, apple juice and other soft drinks that contain Carbon dioxide are forbidden. 2.It is not allowed to fill water when the water boxes is removed from the machine door.
- Page 17 How to Get the Drinking Water Push the water shank inward by the cup When you put the hand shank inward, there will be some water outflows, when the hand shank is in its original position, no water outflows. How to Remove and Clean up the Water Dispenser First Step: remove Take out the elements of the water box Stick to both sides of the water box elements with both of your hands,...
- Page 18 3.Step to remove the elements of water valve Use the screwdriver and make the edge directs to the water valve elements and then insert it in the free place that highlights outskirt, rotates the screwdriver clockwise or anticlockwise, with the screwdriver moving, when it tops the penstock, extracts the water valve elements by hands at the direction of above 45°(You can not remove the elements of water valve) Step 2: Clean up...
- Page 19 2.Installation of seal ring of the water box Put the seal ring to the bottom of the water box, and be sure that the seal ring is in place. Avoid that wrinkle seal ring or in wrong place. 3.The Installation of water box elements To keep the hanging slot of the water box elements direct to the hangers on the door liner.
- Page 20 make yourself at home...
Need help?
Do you have a question about the HC-683WEN(ESNY) and is the answer not in the manual?
Questions and answers