
Subscribe to Our Youtube Channel
Related Manuals for Rangemaster Classic 60


Summary of Contents for Rangemaster Classic 60
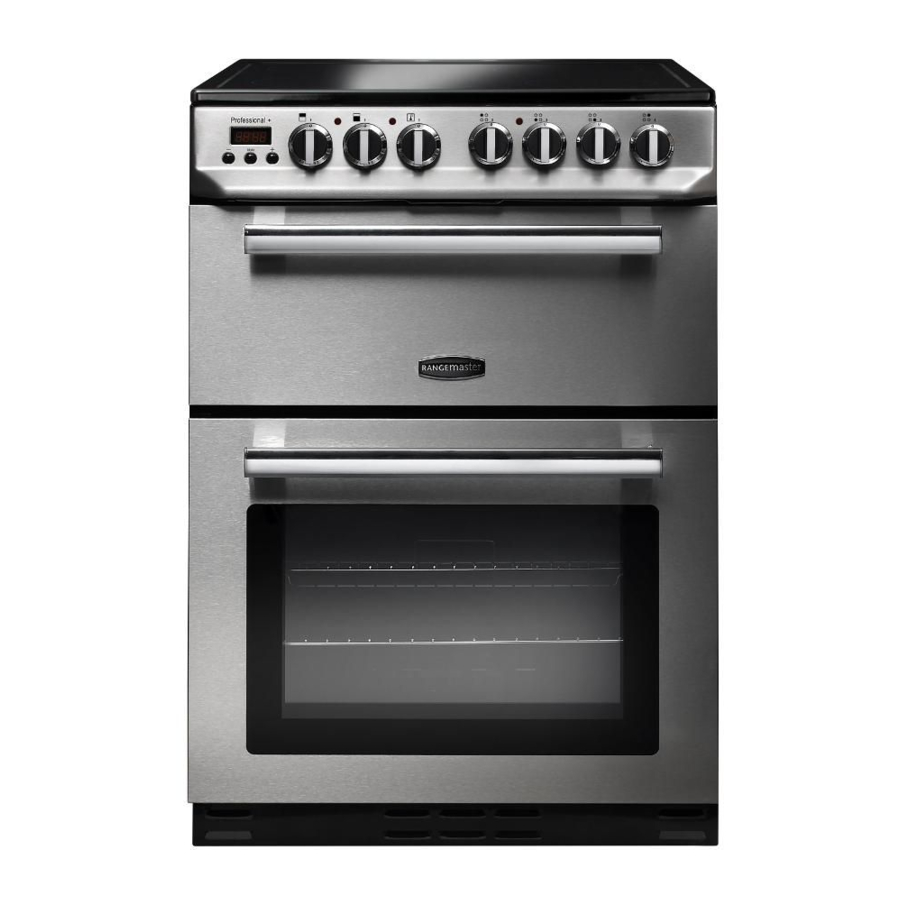
- Page 1 Classic 60 Ceramic Professional+ 60 Ceramic User Guide Installation & Service Instructions U111326-02...
-
Page 2: Table Of Contents
Contents Before You Start... Troubleshooting Installation and Maintenance Installation Peculiar smells Dear Installer Ventilation Safety Requirements and Regulations Personal Safety Provision of Ventilation Hob Care Location of Cooker Cooker Care Positioning the Cooker Cleaning Levelling the Cooker If a Fault Occurs Moving the Cooker Cooker Overview Anti-tilting kit... -
Page 4: Before You Start
Before You Start... This User Guide covers a number of different models. Personal Safety Although some of the illustrations will look different to DO NOT modify this appliance. your particular model the functions will be the same. We hope the meaning is clear. This appliance is not intended for use by persons (including children) with reduced physical, sensory Your cooker should give you many years of trouble-free... -
Page 5: Hob Care
Make sure to use adequately sized pans with flat Fig. 1.1 bottoms that are large enough to cover the surface of the hotplate heating area. Using undersized pans will expose a portion of the hotplate surface to direct contact and may result in the ignition of clothing. -
Page 6: Cooker Care
Do not stand or rest heavy objects on the hob. Although the Fig. 1.3 ceramic surface is very strong, a sharp blow or sharp falling object (e.g. a salt cellar) might cause the surface to crack or break (Fig. 1.3). ArtNo.312-0001 Not cooking surface Should a crack appear in the surface, disconnect the appliance immediately from the supply and arrange... -
Page 7: Cooker Overview
Cooker Overview DocNo.020-0002 - Overview - 90 Ceramic - Generic TOP OVEN 1 at shelf Fig. 2.1 Shelf Position 4 Shelf Position 3 Shelf Position 2 Shelf Position 1 Shelf Position 5 Shelf Position 4 Shelf Position 3 Shelf Position 2 Shelf Position 1 MAIN OVEN 2 at shelves... - Page 8 Pots and pans should have thick, smooth, flat bottoms Fig. 2.4 (Fig. 2.2). This allows the maximum heat transfer from the hob to the pan, making cooking quick and energy efficient. Never use a round-bottomed wok, even with a stand. The very best pans have bases that are very slightly curved up when cold.
- Page 9 The ceramic heater is controlled by a 6 position knob (Fig. Fig. 2.8 2.8). The ceramic heater is operated by turning the control knob to the required setting (Fig. 2.9). Near each control knob is a symbol which indicates the heater that is controlled by that knob.
- Page 10 Preheating We recommend you preheat the oven for 10 minutes before use. For recipes needing high temperatures, such as bread, pastries, scones or soufflés, best results are achieved if the oven is preheated first. For best results when cooking from frozen or cooking chilled ready meals, always preheat the oven first.
-
Page 11: The Ovens
The Ovens Please note: Level is 3 recommended for grill cooking. Bottom Oven Shelves (Fig. 2.17) Before using the ovens for the first time and to dispel manufacturing odours turn them to the maximum Clean the accessories thoroughly with warm water, detergent temperature setting and run them empty for 45 minutes. - Page 12 Fig. 2.17 Fig. 2.10 Grill pan handle Grill pan Fig. 2.14 Fig. 2.11 Fig. 2.15 Fig. 2.12 Fig. 2.16 Fig. 2.13...
-
Page 13: Multifunction Modes
Multifunction Modes DocNo.020-0002 - Overview - 90 Ceramic - Generic * The functions available on your oven may differ from those Conventional Oven (Top and Base Heat) listed below depending on the model purchased. Switch on the Conventional Oven function using the main oven function control knob. - Page 14 Top Oven Control knobs Top Oven Functions *The functions available on your oven may differ from those Top Oven Symbols listed below depending on the model purchased. Conventional Oven (Top and Base Heat) Switch on the Conventional Oven function using the top oven function control knob.
-
Page 15: Clock
Clock DocNo.020-0002 - Overview - 90 Ceramic - Generic Key Lock The time must be set before you start using the oven. Following the power connection, the symbol “A” and “00:00” The key lock automatically activates after the timer has not or “12:00”... - Page 16 Setting the cooking duration Setting the finishing time (main oven only) (main oven only) You have set the required temperature and function mode You have set the required temperature and function mode and you would like the oven to automatically stop. Note: The and you would like the oven to automatically stop at a later time.
- Page 17 To start and stop the oven automatically Step. 6 (main oven only) Once the specified time has elapsed an You have set the required temperature and function mode alarm will sound. To and you would like the oven to automatically stop at a later stop the alarm press time.
-
Page 18: Cooking Tips
Cooking Tips Tips on Cooking with the Timer General Oven Tips If you want to cook more than one dish, choose dishes that The wire shelves should always be pushed firmly to the back require approximately the same cooking time. However, of the oven. -
Page 19: Cooking Table
Cooking Table The oven control settings and cooking times given in the table below are intended to be used as a Top (T) guide only. Individual tastes may require the temperature to be altered to provide a preferred result. ArtNo.050-0007 Centre (C) Oven shelf positions Food is cooked at lower temperature in a fan oven than in a conventional oven. -
Page 20: Cleaning Your Cooker
Cleaning Your Cooker DocNo.042-0003 - Cleaning - CE 90 - GENERIC Isolate the electricity supply before carrying out any major Fig. 7.1 cleaning. Allow the cooker to cool. Never use paint solvents, washing soda, caustic cleaners, biological powders, bleach, chlorine based bleach cleaners, coarse abrasives or salt. -
Page 21: Grill
Grill Fig. 7.2 The grill pan can be easily removed for cleaning. The grill pan and trivet should be washed in hot soapy water. After grilling meats or any foods that soil, leave to soak for a few minutes immediately after use. Stubborn particles may be removed from the trivet using a nylon brush. - Page 22 Catalytic Cleaning Fig. 7.7 Catalytic liners are installed within the oven cavity. These are the matte-finished, light-coloured panels on the sides and/ or matte-finished panel at the rear of the oven. They work by collecting any grease and oil residue during cooking. The liner self-cleans by absorbing fats and oils and burning them to ash, which can then be easily removed from the floor of the oven with a damp cloth.
- Page 23 Cleaning the Enamelled Parts • Clean the enamelled parts of your appliance on a regular basis. • Wipe the enamelled parts with a soft cloth soaked in soapy water. Then, wipe them over again with a wet cloth and dry them. Do not clean the enamelled parts while they are still hot from cooking.
-
Page 24: Troubleshooting
Troubleshooting Problem Possible Cause Solution • There is no power supply. • Check the household fuse for the The hob or cooking zones cannot be switched on. appliance. • Check whether there is a power cut by trying other electronic appliances. -
Page 25: Installation
INSTALLATION Check the appliance is electrically safe when you have finished. Installation Dear Installer Safety Requirements and Regulations Before you start your installation, please complete the details below, so that, if your customer has a problem relating to Do not operate the appliance before it is fully your installation, they will be able to contact you easily. -
Page 26: Positioning The Cooker
INSTALLATION Check the appliance is electrically safe when you have finished. Positioning the Cooker Fig. 9.1 Fig. 9.1 shows the minimum recommended distance from the cooker to nearby surfaces. ArtNo.090-0028 - 90 cooker min spacing GENERIC The cooker should not be placed near the fridge or on a base. The hotplate surround should be level with, or above, any adjacent work surface. -
Page 27: Electrical Connection
INSTALLATION Check the appliance is electrically safe when you have finished. Electrical Connection Current Operated Earth Leakage Breakers All external wiring must comply with the IEE Regulations The combined use of your cooker and other domestic for the Electrical Equipment of Buildings. Connection to the appliances may cause nuisance tripping, so we recommend electrical supply is via a plug and socket. -
Page 28: Adjusting The Feet
INSTALLATION Check the appliance is electrically safe when you have finished. • Brown (Live) wire to the terminal marked “L”. Fig. 9.6 • Blue (Neutral) wire to the terminal marked “N”. The installer should be responsible for selecting the correct cable rating for this appliance. Adjusting the feet Your product stands on four adjustable feet (Fig. -
Page 29: 10. Circuit Diagrams
10. Circuit Diagrams... -
Page 30: 11. Technical Data
600 mm (to fascia inc. splashback); 610 mm (over hotplate) Minimum space above hotplate 650 mm Refer to 'Positioning the Cooker' . Ratings Trademark Rangemaster Classic 60 Ceramic Models Professional + 60 Ceramic Hob Type Electric Number of Cooking Zones Heating Technology - 1... - Page 31 Oven Efficiency Trademark Rangemaster Classic 60 Ceramic Models Professional + 60 Ceramic Type of Oven Electric Mass Number of cavities Heat source Electric Volume Litres Energy consumption (electricity) - conventional kWh / cycle 0.75 Energy consumption (electricity) - forced air convection...
- Page 32 • DocNo.000-0001 - Back cover Rangemaster Clarence Street, Royal Leamington Spa, Warwickshire, CV31 2AD, England. Tel: +44 (0) 1926 457400 Fax: +44 (0) 1926 450526 E-mail: consumers@rangemaster.co.uk w w w.ran gemaster.co. uk...
Need help?
Do you have a question about the Classic 60 and is the answer not in the manual?
Questions and answers