Advertisement
K9
Installation Instructions
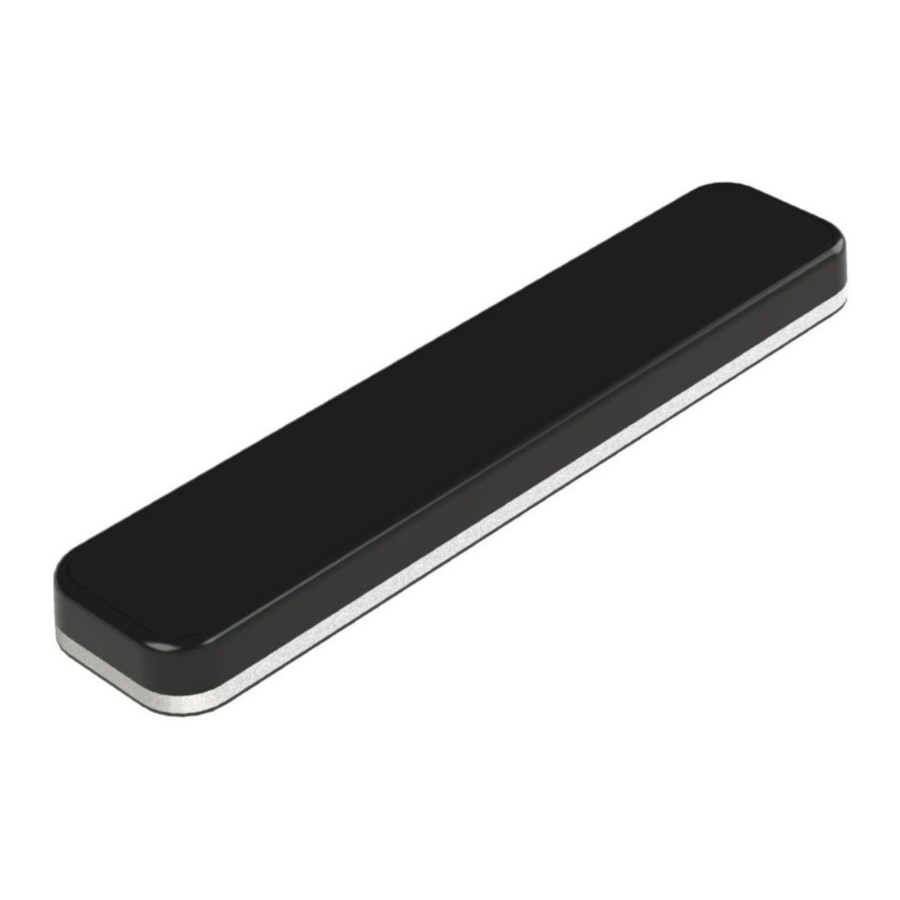
The K9 PRO Series antennas are rugged, high
performance, 5G, CAT18 (600 MHz to 6 GHz) antennas,
available with up to 4x4 MIMO LTE, up to 4x4 MIMO WiFi,
CBRS, LTE LAA, and GPS/GNSS. The K9 antennas are
IP67- rated antennas and perfect for mobile and fixed
wireless applications.
OPTIONAL ACCESSORIES
PTA0257 - 1.5 inch Star Lock Washer
PTA0347 – Heavy Duty Hardware Kit ( Nut, Lock Washer and Flat Washer)
REQUIRED TOOLS
Hammer / Rubber Mallet
Drill and 0.1 in Drill Bit
Phillips Screwdriver
1.5 in Hole Saw
SMA Wrench
Mounting Options
Step 1.
Select a mounting location where there is no obstructions within a radius of
24in. and is easily accessible.
Step 2.
Select one of the mounting options below, depending on your use.
- Roof Mount
(Included)
K9 antennas can be mounted on an automobile roof or any flat surface
using the hardware provided with it.
- Magnetic Mount
(Optional Part Number: PTA0329)
For temporary use. K9 antennas can be mounted on any ferrous metal
surface using magnetic mount brackets.
- Pole Mount
(Optional Part Number: PTA0149H)
Antennas can be mounted on a pole with an optional bracket. For more
information on mounting, view the pole mount instructions listed on our website.
Figure 1
Figure 2
Advertisement
Table of Contents

Related Manuals for Parsec Technologies K9 PRO Series


Summary of Contents for Parsec Technologies K9 PRO Series
- Page 1 Installation Instructions The K9 PRO Series antennas are rugged, high performance, 5G, CAT18 (600 MHz to 6 GHz) antennas, available with up to 4x4 MIMO LTE, up to 4x4 MIMO WiFi, CBRS, LTE LAA, and GPS/GNSS. The K9 antennas are IP67- rated antennas and perfect for mobile and fixed wireless applications.
- Page 2 Preparing the Hole Step 1. After selecting the location to mount the Antenna, mask the mounting location to avoid paint damage. Then mark the hole center with ink or scribed cross hairs. Step 2. Use a center punch to make a dimple on the marked location to avoid drill bits from walking across the sheet metal. Then use a Twist drill of diameter about 0.1”...
- Page 3 Mounting the Antenna Step 1. Feed the coaxial cables from the antenna through the hole from the outside surface to the inside surface and thread the entire length of the cable through the hole. Step 2. Clean debris off the vehicle surface and then mark the desired antenna orientation by placing the antenna flat on the vehicle surface.
- Page 4 Magnetic Mount Instructions (PTA0329) Step 1. Choose a mounting location. The magnetic mount can be mounted on ferromagnetic metals like iron, steel, nickel etc but not aluminum, copper etc. Step 2. Make sure all of the magnets stick firmly to the base. If the surface is a curve adjust the magnets heights using washer. Step 3.
- Page 5 Cable Connection Instructions Step 1. Clean the connector such that there is no dust in the terminals. Step 2. Connect the cables from the antenna to the designated connector on the antenna as shown in the table below. S.No CABLE FROM ANTENNA CONNECTOR ON ROUTER LTE 1 MAIN0...
Need help?
Do you have a question about the K9 PRO Series and is the answer not in the manual?
Questions and answers