Advertisement
Quick Links
PIR Adjustment
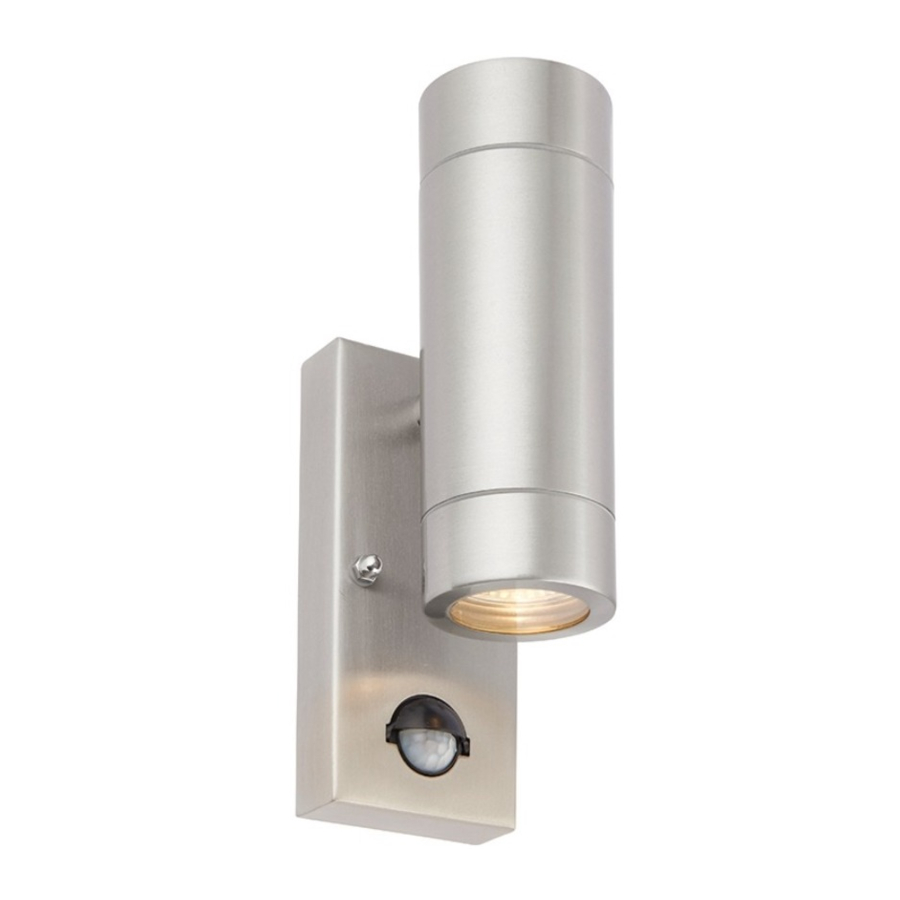
To access the adjustment screws flip down the black cover over the PIR sensor. Take great care when adjusting the
sensor screws not to over tighten as they can be easily broken.
• The unit must be installed in a vertical position, and fitted 1.8-2.5m above the ground.
• The PIR sensor can be adjusted, allowing the detection
distance to be altered to suit the location. The detection
angle is set at 110º. The duration that lamp stays on can
also be altered from 5 seconds - 5 minutes. The LUX
rang is 10-2000 lux. Use a small screwdriver to adjust
the "TIME" and "SENS" screws. When adjusting the
sensitivity (detection distance) in daylight it will be
necessary to cover the sensor to simulate night time.
The PIR sensor has a manual override function which can be operated by taking the following steps:
• When power on, the PIR detector enters into the "WARM-UP" periods for about 1 minute, then automatically change into
AUTO MODE.
• During AUTO MODE, by switching the ON/OFF main switch for 2 times within 3 seconds then switch on, the PIR detector will
automatically change to MANUAL MODE. In MANUAL MODE, the Lamp(s) will remain ON, in MANUAL MODE the PIR
detector is not affected by duration time and Lux control level.
• During MANUAL MODE or AUTO MODE, by switching off the ON/OFF
main switch over 6 seconds and then on again, the PIR detector will
reset to WARM-UP. Please note: the period of "WARM-UP" maybe be
shorter than 1 minute.
Care and Safety
For your safety, always switch off the power supply before changing lightbulbs, adjusting spotlight heads or cleaning.
Do not use solvents or abrasive cleaners as these could damage the finish.
For 75430 and 75431, in normal circumstances, stainless steel is very resistant to corrosion. It does however require
maintenance to preserve the high quality appearance. Wash the product with warm soapy water, removing all surface
deposits. Rinse with clear water and with a soft cloth, wipe dry.
In some cases, surface corrosion may arise after installation. This is normally caused by tiny iron particles left behind after
the brushing process when finishing.
Wash and dry as detailed above. Then with a soft cloth soaked with a protective oil, wipe all over. However if the
product is subject to extreme environmental conditions such as marine locations, industrial pollution and acid rain these
maintenance procedures should be carried out around four times a year. For severe corrosion, non-abrasive cream
cleaners or proprietary stainless steel cleaners should be used to remove the corrosion. Wash and dry as detailed above.
Then with a soft cloth soaked with a protective oil, wipe all over.
Do not clean the units with a pressure washer.
V2 23/10/2020
Saxby Lighting. BH17 7BY
Adjustable up to 8 metres
PIR Adjustment
appro. 110º
4M
6M
8M
POWER ON
AUTO MODE
1
3
MANUAL MODE
Instruction manual
Palin LED PIR Wall
75430, 75431, 75433, 75435, 75440, 75442, 94793
2
75431, 75435,
75442
www.saxbylighting.com
75430, 75433,
75440, 94793
Advertisement

Summary of Contents for Saxby Lighting 75430
- Page 1 75442 75440, 94793 For 75430 and 75431, in normal circumstances, stainless steel is very resistant to corrosion. It does however require maintenance to preserve the high quality appearance. Wash the product with warm soapy water, removing all surface deposits. Rinse with clear water and with a soft cloth, wipe dry.
- Page 2 1 x Max. 7W LED GU10 Bulb Type: 75430/75433/75440/94793 : 2 x Max. 7W LED GU10 Fitting/replacing bulbs (Max. 7W LED GU10) Conformity with all relevant EC Directive requirements. When changing a bulb, always switch off at the mains and allow the bulb to cool before handling.


Need help?
Do you have a question about the 75430 and is the answer not in the manual?
Questions and answers
How to set the light
To set the Saxby Lighting 75430 light:
1. Turn on the power. The PIR (Passive Infrared) sensor enters a WARM-UP mode for about 1 minute, then switches to AUTO MODE.
2. In AUTO MODE, the light activates based on motion and light level.
3. To switch to MANUAL MODE (light stays ON continuously), toggle the ON/OFF switch twice within 3 seconds, then switch ON.
4. To return to AUTO MODE from MANUAL MODE, switch OFF the main power for over 6 seconds, then switch ON. This resets the unit to WARM-UP, followed by AUTO MODE.
Always switch off power before changing bulbs or cleaning.
This answer is automatically generated