Table of Contents
Advertisement
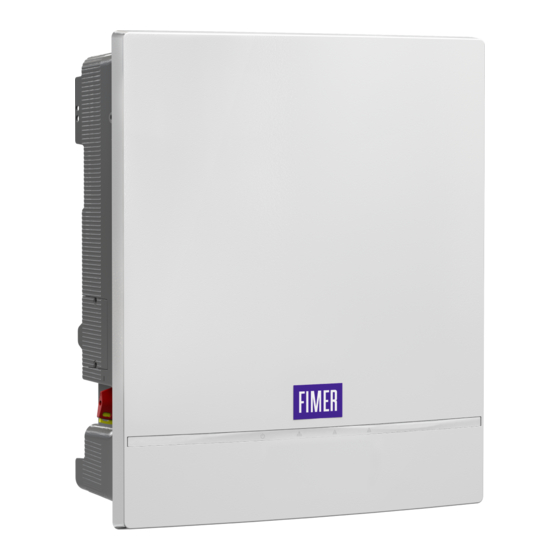
Solar Inverter
PVS-20/30/33-TL
Quick Installation Guide
In addition to what is explained in this quick installation guide, the safety
and installation information provided in the product manual must be read
and followed. The technical documentation for the product is available at
APPLY HERE
the website.
The device must be used in the manner described in the manual. If this
THE WIRELESS
is not the case the safety devices guaranteed by the inverter might be
ineffective.
IDENTIFICATION LABEL
Advertisement
Table of Contents

Related Manuals for Fimer PVS-20-TL


Summary of Contents for Fimer PVS-20-TL
- Page 1 Solar Inverter PVS-20/30/33-TL Quick Installation Guide In addition to what is explained in this quick installation guide, the safety and installation information provided in the product manual must be read and followed. The technical documentation for the product is available at APPLY HERE the website.
- Page 2 This Quick Installation Guide is related to the following inverter models: Inverter model Input channels DC switch DC SPD DC connection AC SPD AC connection PVS-20-TL-SXD PVS-30-TL-SX Type 2 8 string input Type 2 Pluggable Terminal Block PVS-33-TL-SX PVS-30-TL-SY Type 1+2...
- Page 3 Inverter from both DC side and AC side. Distances • Maintenance operations from FIMER service could entails removing the front cover. Always observe the required installation safety distances in order to allow routine check and maintenance operations.
- Page 4 5. Supplied Component list • Provide a sufficient working space in front of the inverter that allows to removing the front cover (FIMER service only) and to allows wiring connections. • Install at a height which takes into consideration the weight of the unit and Component Q.ty...
- Page 5 • A padlock can be installed to lock the inverter to the bracket so that it installation of a protection device against overcurrent and earth leakages cannot be disassembled by outsiders. with the following features: Load protection breaker PVS-20-TL PVS-30-TL PVS-33-TL Automatic circuit breaker with thermal-...
- Page 6 8. Input connection (DC) Based on the AC connection type could be possible 3 scenarious: • Connection to the AC connector with PE on the Protective earth (PE) internal connection point (24) For the string connections it is necessary to use the DC input quick fit •...
- Page 7 10.1 COMMISSIONING WIZARD remains fully functional, you are advised to check for any firmware updates in the download area of the website www.fimer.com or at 10.1.1 Network configuration. https://registration.solar.fimer.com (instructions for registering on the website and updating the firmware are given in the product manual).
- Page 8 Marking 1. The AC voltage range may vary depending on specific country grid standards. 5. Hereby, Fimer S.p.A. declares that the radio equipments (radio module combined with 2. The Frequency range may vary depending on specific country grid standards. the inverter), to which this user manual refers, are in compliance with the Directive 3.
Need help?
Do you have a question about the PVS-20-TL and is the answer not in the manual?
Questions and answers