Advertisement
Quick Links
Advertisement

Related Manuals for SportsPlay MUSHROOM KOTTAGE


Summary of Contents for SportsPlay MUSHROOM KOTTAGE
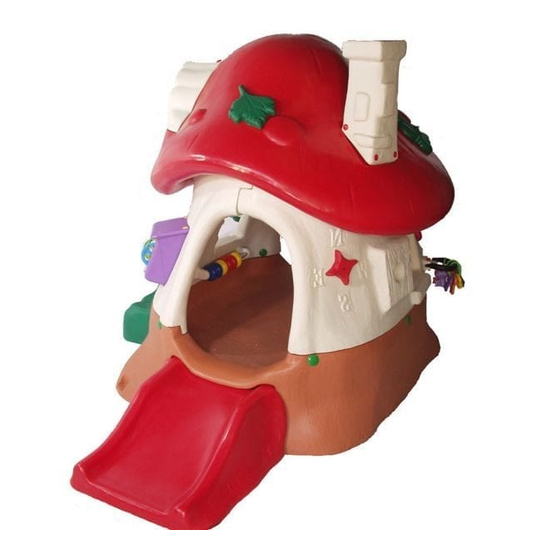
- Page 1 MUSHROOM KOTTAGE ASSEMBLY PLAN...
- Page 2 • Place the platform flat on the floor.
- Page 3 Slightly lift the platform and place it on the • ledge in the entrainment platform on the bench.
- Page 4 Slightly lift the platform and place the ledge in • the recessed platform on the slide.
- Page 5 Lift the platform lightly and place it on the • ledge in the intrusion platform located on the ladder.
- Page 6 Place the wall where the phone and abacus are • located on the bank.
- Page 7 • Place it against the second wall.
- Page 8 Make sure that 3 holes under each wall come in • line with the platform holes. Place the plastic nut and bolt in a total of 6 holes facing each other.
- Page 9 • Tighten the plastic nuts and bolts. Use L key switch for this operation. (Do not squeeze the nut too much. Just enough to hold the walls in place will suffice.)
- Page 10 Wear toy circles rubber half circle. Pass the rubber semi-circles • to the recess in the Right and Left wall. Red colored plastic plugs. Finally fix it with 4.2x32 screws.
- Page 11 Place the mail box in the slot on the wall, then secure it with • 4.2x32 screws. Install plastic bayonet pins in the connection holes.
- Page 12 Place the two walls in such a way that the recesses and • protrusions fit together. • Attach the M10x250 to the M12x250 Liquor Bolts by inserting the M10 washer in such a way that they pass through the two wall holes from top to bottom. The bolt will stay on the wall for the longest roof connection.
- Page 13 • Place on roof walls. • The heart on the roof will be in the direction of the stairs • In the previous step, place each of the two walls in a way that matches the roof holes that you have passed.
- Page 14 On the roof there is a hole • already opened to make roof connection under the heart and leaf • Insert your hand into this hole and tighten the bolt with 10x40 washers and M10 nut.
- Page 15 • Insert your hand into this hole and tighten the bolt with 10x40 washers and M10 nut.
- Page 16 Put it on top of the leaf frame so that it matches one • with the convex height, then turn it over, then secure it with 4.2x32 screws.
- Page 17 Place it on the top of the chimney frame, then secure it with • 4.2x32 screws. Install plastic bayonet pins in the connection holes.
- Page 18 Place it in the slot on the window frame, then secure it with • 4.2x32 screws. Install plastic bayonet pins in the connection holes.
- Page 19 • Attach 4 mm plastic plugs to the connection holes of the butterfly, heart and bladder.
- Page 20 Place the phone on the hook on the inside of the wall. •...
- Page 21 Use nails or dowels to secure the holes in the platforms, • benches and stools. So you have fixed the product as a whole. The fungal home stool should be placed at least 1.5 m away • from the play area.
- Page 22 • You have completed the installation.
Need help?
Do you have a question about the MUSHROOM KOTTAGE and is the answer not in the manual?
Questions and answers