Advertisement
Advertisement
Table of Contents

Related Manuals for Bang & Olufsen BeoLab 2


Summary of Contents for Bang & Olufsen BeoLab 2
- Page 1 BeoLab 2 Guide...
- Page 2 CAUTION: To reduce the risk of electric shock, do not remove cover (or back). No User-serviceable parts inside. Refer servicing to qualified service personnel. WARNING: To prevent fire or electric shock, do not expose this appliance to rain or moisture. This symbol indicates that a dangerous voltage constitut- ing a risk of electric shock is...
-
Page 3: Contents Of The Guide
6 Connection to the mains 7 Setup examples – Dolby Digital system – Dolby Pro Logic system – Stereo system Adapt BeoLab 2 to your setup 8 Setting the SETUP switch 8 Placement guidelines 9 Setting the POSITION switch Daily use 10 Switching on and off –... -
Page 4: Before You Start
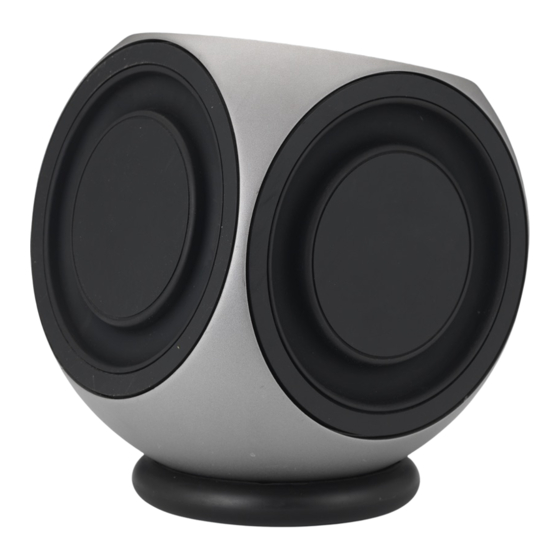
BeoLab 2 speaker units, and do not apply any force to them, as this may result in permanent damage! Place your BeoLab 2 on the floor on its black rubber foot. The BeoLab 2 is designed for indoor use in dry, domestic environments only, and for use within a temperature range of 10–40º... - Page 5 SETUP SETUP switch For safety reasons you must fasten the mains lead behind the mains cord bracket. Rear view of BeoLab 2 showing the location of the socket and switch panel. Overview of the socket and switch panel.
-
Page 6: Speaker Connections
Connect your speaker system Speaker connections Connect the BeoLab 2 to your system using the enclosed 8-pin Power Link cable. On the next page you can see examples of three different setups: two surround sound setups, and a stereo setup. -
Page 7: Setup Examples
Setup examples Dolby Digital system: > Connect one end of the cable to the socket marked IN on BeoLab 2, and the other end to the socket marked SUBWOOFER on your Bang & Olufsen system. > Connect your front set of speakers to the sockets marked FRONT on your Bang &... -
Page 8: Placement Guidelines
SETUP switch to 3. Placement – guidelines Placement is flexible and easy with BeoLab 2. Due to its relative small size it can easily be integrated in most home environments, and may be placed almost anywhere you wish in the room. - Page 9 ~ 50 cm 20" The POSITION switch has three settings: CORNER: Use this setting if BeoLab 2 is placed in a corner – shown by the dark grey areas in the illustration. WALL: Use this setting if BeoLab 2 is placed closer than approx.
-
Page 10: Daily Use
BeoLab 2 is in stand-by and ready to be used. BeoLab 2 is designed to be left in stand-by mode when not in use, i.e. the power should not be switched off at the mains. - Page 11 NOTE: This equipment has been tested and found to comply with the limits for a class B digital device, pursuant to part 15 of the FCC Rules. These limits are designed to provide reasonable protection against harmful interference in a residential installation. This equipment generates, uses and can radiate radio frequency energy and, if not installed and used in accordance with the...
Need help?
Do you have a question about the BeoLab 2 and is the answer not in the manual?
Questions and answers