Table of Contents
Advertisement
Quick Links
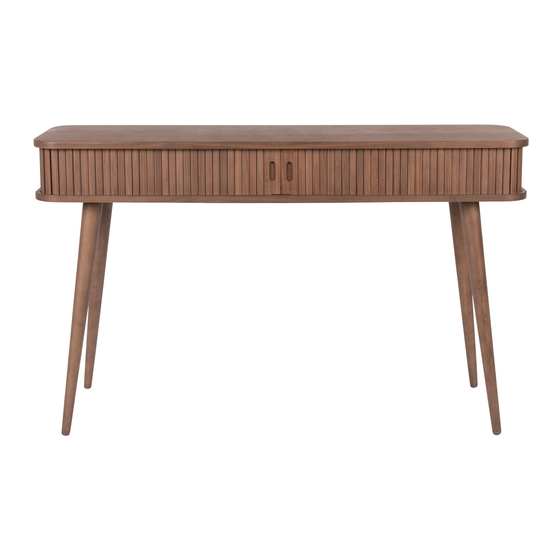
Thank you for purchasing this console table barbier. Please read the instructions carefully before use
to ensure safe and satisfactory operation of this product.
Pre-assembly preparation
Please ensure instructions are read in full before attempting to assemble this product
Necessary tools
Please check the pack contents before attempting to assemble this product. A full checklist of
components is given in this leaflet. If any components are missing, please contact the retailer from
whom you bought this product.
This product is HEAVY, it should be assembled as near as possible to the point of use. TAKE CARE
WHEN LIFTING to avoid personal injury and (or) damage to the product.
This product takes approximately 15 MINUTES to assemble with 2 PEOPLE.
The fittings pack contains SMALL ITEMS which should be KEPT AWAY FROM YOUNG CHILDREN.
Read this leaflet in full before commencing assembly.
PLEASE KEEP THESE INSTRUCTIONS FOR FUTURE REFERENCE
03/16
1
Advertisement
Table of Contents

Subscribe to Our Youtube Channel
Related Manuals for Zuiver BARBIER CONSOLE TABLE


Summary of Contents for Zuiver BARBIER CONSOLE TABLE
- Page 1 Thank you for purchasing this console table barbier. Please read the instructions carefully before use to ensure safe and satisfactory operation of this product. Pre-assembly preparation Please ensure instructions are read in full before attempting to assemble this product Necessary tools Please check the pack contents before attempting to assemble this product.
- Page 2 Fittings and parts checklist Cabinet x 1 Legs x 4 Support bar x 1 Allen key x 1 Allen bolts x 4 Screw x 1 Washer x 2 Plastic loop bracket x 2 Cable tie x 1 03/16...
- Page 3 Step by step assembly instructions Step One With 2 people, carefully place the cabinet (part A) upside down on a soft, flat surface near where the unit will be used. Locate the support rail (part C) and secure using the allen bolts (part E) and allen key (part D).
- Page 4 Wall fixing - if in doubt seek professional advice Please ensure to use the correct size rawl plug when installing the plastic loop bracket to a wall. If your wall is cavity construction or wood you may need to seek appropriate wall fixings. Wood Brick or Masonry Cavity wall...
- Page 5 Step Four Before drilling, ensure the size of hole will be correct to fit your wall fixing (not included). Warning: Ensure the area to be drilled is free from hidden electrical wires, water and gas pipes. Mark the hole position shown below and drill using a masonry bit. Push the wall fixing into position. With a screwdriver secure the plastic loop bracket (part H) to the wall using the washer (part G) and screw (not included).
- Page 6 PLEASE READ! This veneered cabinet top has a natural open grain finish. Please read the care guide thoroughly. We recommend using mats and wiping up spilled liquids. Avoid placing plant pots or vases without waterproof mats to prolong the life of this product. Care and Maintenance Wood furniture ...
Need help?
Do you have a question about the BARBIER CONSOLE TABLE and is the answer not in the manual?
Questions and answers