Advertisement
Quick Links
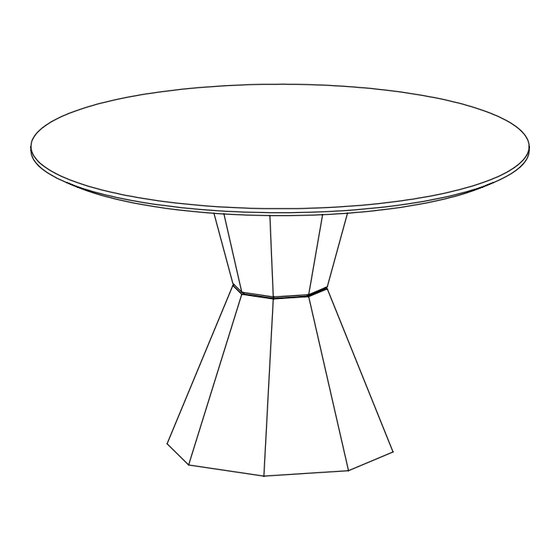
Thank you for purchasing this Table Lotus 120'. Please read the instructions carefully before use to ensure safe
and satisfactory operation of this product.
Pre-assembly preparation
Please ensure instructions are read in full before attempting to assemble this product.
People to assemble
Tools required
Please check the pack contents before attempting to assemble this product. A full checklist of components
is given in this leaflet. If any components are missing, please contact the retailer from whom you bought this
product.
This product is HEAVY, it should be assembled as near as possible to the point of use. TAKE CARE
WHEN LIFTING to avoid personal injury and (or) damage to the product.
This product takes approximately 20 MINUTES to assemble with 2 PERSON.
The fittings pack contains SMALL ITEMS which should be KEPT AWAY FROM YOUNG CHILDREN.
Read this leaflet in full before commencing assembly.
PLEASE KEEP THESE INSTRUCTIONS FOR FUTURE REFERENCE
TAN120-CNLM-06/23
1
Advertisement

Summary of Contents for Zuiver Lotus Table
- Page 1 Thank you for purchasing this Table Lotus 120’. Please read the instructions carefully before use to ensure safe and satisfactory operation of this product. Pre-assembly preparation Please ensure instructions are read in full before attempting to assemble this product. People to assemble Tools required Please check the pack contents before attempting to assemble this product.
- Page 2 Fittings and parts checklist Parts checklist Table top Upper octagon cone Lower octagon cone Middle octagon plate Fitting checklist Long thread stud M8x380mm Wooden dowel Spring washer Dia8x30mm Flat washer Hexagon nut Spanner TAN120-CNLM-06/23...
- Page 3 Step by step assembly instructions Step One Insert 4x hexagon nut (part I) onto 4x long thread stud (part E) and screw a little as shown below. Step Two With 2 people, carefully place the table top (part A) upside down onto a soft surface. Insert the flat washer (Part H) then screw the long thread stud (part E) into the fixing point on the underside of the table top (part A) until finger tight.
- Page 4 Step by step assembly instructions Step Three Using spanner (part J), tighten hexagon nut (part I) in a clockwise direction so that the hexagon nut (part I) and long thread stud (part E) are fixed tightly in place. Step Four Carefully locate the upper octagon cone (part B) with 2x wood dowels (part F) as shown below.
- Page 5 Step by step assembly instructions Step Five Insert the middle octagon plate (part D) carefully over the studding (part E) as shown below. Step Six With 2 people, carefully insert the lower octagon cone (part C) over the studding (part E) as shown below. Please note that the studs and the holes in the lower octagon cone (part C) should align.
- Page 6 Step by step assembly instructions Step Seven Using spanner (part J), tighten hexagon nut (part I) in a clockwise direction with spring washer (part G), flat washer (part H) as shown below. IMPORTANT: Nut (part I) must be tightened very securely before use.
-
Page 7: Care And Maintenance
Care and Maintenance Wood furniture • Wood displays different grain patterns depending on which way they cut - for example, the ‘medullary rays’ which can appear is a mark of good quality timber - these are just characteristics of the natural beauty of the wood. - Page 8 Experiencing problems with your new product? Before calling customer service, please have your item’s batch code ready. You can find the batch code on the back or bottom of your product as below shown. (example batch code: 190510) Batch Code Placement TAN120-CNLM-06/23...


Need help?
Do you have a question about the Lotus Table and is the answer not in the manual?
Questions and answers