Advertisement
Quick Links
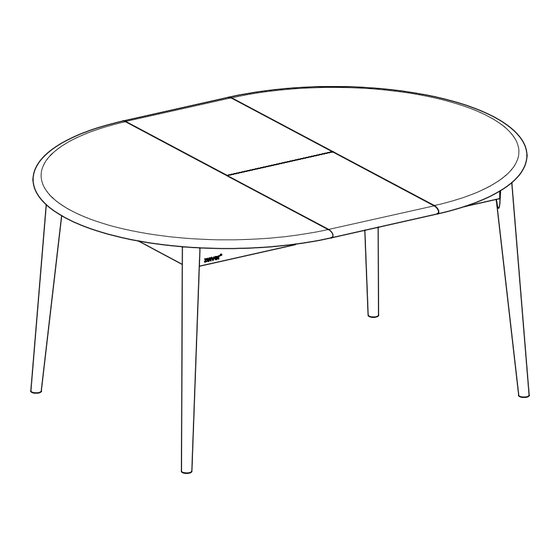
Thank you for purchasing this Table Twist Round. Please read the instructions carefully before use to ensure safe
and satisfactory operation of this product.
Pre-assembly preparation
Please ensure instructions are read in full before attempting to assemble this product.
People to assemble
Tools required
Please check the pack contents before attempting to assemble this product. A full checklist of components
is given in this leaflet. If any components are missing, please contact the retailer from whom you bought this
product.
This product is HEAVY, it should be assembled as near as possible to the point of use. TAKE CARE
WHEN LIFTING to avoid personal injury and (or) damage to the product.
This product takes approximately 20 MINUTES to assemble with 2 PEOPLE.
The fittings pack contains SMALL ITEMS which should be KEPT AWAY FROM YOUNG CHILDREN.
Read this leaflet in full before commencing assembly.
PLEASE KEEP THESE INSTRUCTIONS FOR FUTURE REFERENCE
RIS120/159-CNLM-09/23
1
Advertisement

Related Manuals for Zuiver Table Twist Round


Summary of Contents for Zuiver Table Twist Round
- Page 1 Thank you for purchasing this Table Twist Round. Please read the instructions carefully before use to ensure safe and satisfactory operation of this product. Pre-assembly preparation Please ensure instructions are read in full before attempting to assemble this product. People to assemble Tools required Please check the pack contents before attempting to assemble this product.
- Page 2 Fittings and parts checklist Parts checklist Table top assembly Leg x4 Fitting checklist Bolt x8 M8x60mm Spring washer Flat washer Allen key #5 Felt pad RIS120/159-CNLM-09/23...
- Page 3 Step by step assembly instructions Step 1 With 2 people, carefully place the table top assembly (part 1) upside down on a soft, flat surface near where the unit will be used. Locate position the legs (part 2) as shown below. Use the allen key (part D) to insert 2 x spring washers (part B) and 2 x flat washers (part C) with 2 x bolts (part A) to secure each leg.
- Page 4 Step by step assembly instructions Step 2 With 2 people, carefully turn the product over and place in position. If the product will be placed on a hard floor, we advise applying the felt pads (part E) to the bottom of the legs to prevent damage to the floor and the product.
- Page 5 Step by step assembly instructions Step 4 Pull end of table to oposite direction by 2 people, open to the end position. Step 5 Carefully lift the extension leaves out together as shown below. Hold 2 leaves together! RIS120/159-CNLM-09/23...
- Page 6 Step by step assembly instructions Step 6 Carefully open the leaves as shown below so they are now level with the table top. Step 7 With 2 people, ensure all locating pins are aligned before pushing the table closed as shown below. RIS120/159-CNLM-09/23...
- Page 7 Step by step assembly instructions Step 8 Ensure the 4x securing clips on the underside of the table top are fastened before using the table. To store the leaves perform this operation in reverse. 50 KG RIS120/159-CNLM-09/23...
-
Page 8: Care And Maintenance
Care and Maintenance Wood furniture • Wood displays different grain patterns depending on which way they cut - for example, the ‘medullary rays’ which can appear is a mark of good quality timber - these are just characteristics of the natural beauty of the wood. - Page 9 Experiencing problems with your new product? Before calling customer service, please have your item’s batch code ready. You can find the batch code on the back or bottom of your product as below shown. (example batch code: 190510) Batch Code Placement RIS120/159-CNLM-09/23...
Need help?
Do you have a question about the Table Twist Round and is the answer not in the manual?
Questions and answers