Advertisement
ASSEMBLY INSTRUCTIONS
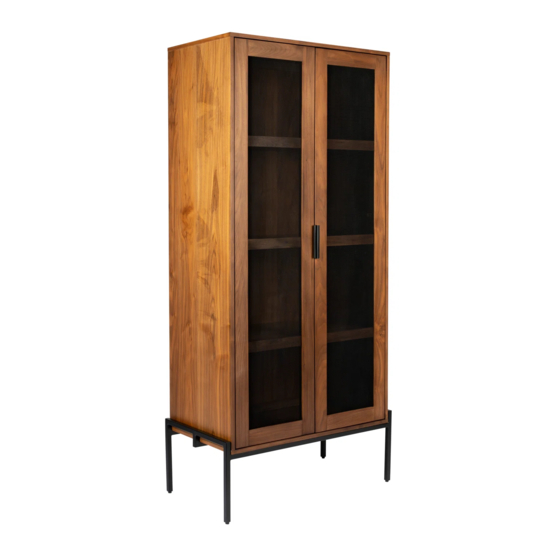
CABINET HARDY
A
- PLEASE DO NOT DISCARD ANY OF THE PACKAGING UNTIL YOU
HAVE CHECKED ALL THE PARTS AND THE PACKS OF HARDWARE.
- BEFORE YOU BEGIN TO ASSEMBLE YOUR NEW PIECE OF
FURNITURE, PLEASE CHECK TO ENSURE THAT ALL PARTS HAVE
BEEN SUPPLIED.
- FOLLOW INSTRUCTIONS CLOSELY AS DEVIATION FROM THEM
MAY VOID YOUR WARRANTY AND PRESENT A POSSIBLE SAFETY
RISK.
- IT IS RECOMMENDED THAT ASSEMBLY IS DONE ON A SOFT
SURFACE LIKE CARPET TO AVOID ANY DAMAGE.
- PERIODICALLY CHECK AND RE-TIGHTEN ANY FASTENERS. WIPE
DOWN ALL SURFACES WEEKLY WITH A CLEAN CLOTH. DO NOT
CLEAN ANY SURFACES WITH HARSH ABRASIVES OR CHEMICALS.
1.
A
B
B
B
Parts Check List
Components
Code
A
BODY
B
SHELF
Hardware Check List
code
01 Metal bracket
B
02 Screw
03 Plastic strap
04 Nylon wall strap
Tools required
Not supplied
2.
description
Qty
x01
x02
qty
x04
x04
x02
x02
Advertisement
Table of Contents

Related Manuals for Zuiver Hardy Cabinet


Summary of Contents for Zuiver Hardy Cabinet
- Page 1 ASSEMBLY INSTRUCTIONS CABINET HARDY Parts Check List Components Code BODY SHELF Hardware Check List code description 01 Metal bracket 02 Screw 03 Plastic strap 04 Nylon wall strap - PLEASE DO NOT DISCARD ANY OF THE PACKAGING UNTIL YOU HAVE CHECKED ALL THE PARTS AND THE PACKS OF HARDWARE. - BEFORE YOU BEGIN TO ASSEMBLE YOUR NEW PIECE OF FURNITURE, PLEASE CHECK TO ENSURE THAT ALL PARTS HAVE BEEN SUPPLIED.
- Page 2 Back view Drill a hole on the wall The wall Push to tighten...
- Page 3 ASSEMBLY INSTRUCTIONS HINGE ADJUSTMENT Side to Side Adjustment loosen screw A, adjust gap with screw B and re-tighten Screw A. The door will not be flush with the side panel. Depth Adjustment loosen screw A, push hinge arm forwards or backwards, re-tighten screw A and secure Screw B with a 1/4 turn clockwise.
Need help?
Do you have a question about the Hardy Cabinet and is the answer not in the manual?
Questions and answers