Mellanox Technologies SX1710 Quick Start Manual
Air duct rail kit
Hide thumbs
Also See for SX1710:
- User manual (103 pages) ,
- Quick installation manual (8 pages) ,
- Quick reference manual (2 pages)
Advertisement
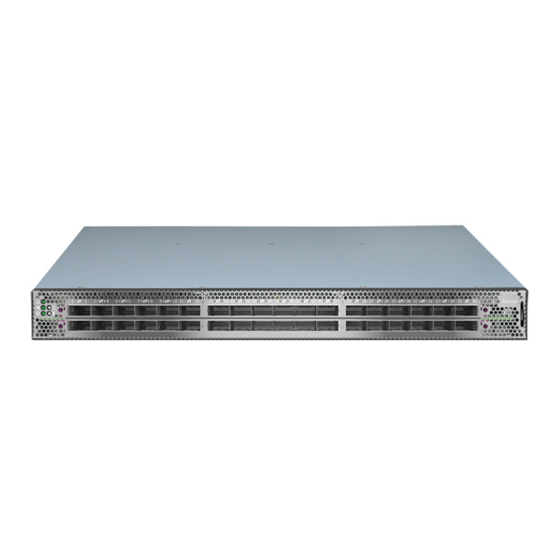
SX1710/SX6710/SB77X0
Air Duct Rail Kit
Quick Start Guide
Mechanical Installation
Installing the Switch
At least two people are required to safely mount the system in the rack
Planning the system's placement in the rack
Since the air duct unit is attached to the brackets, the
brackets must be installed on the rear side of the
chassis (the FRUs side). See Figure 2 and Figure 3.
Figure 1: Rail Kit Components
1. Attach the left and right rack mount rails (A) to the switch, by gently pushing the switch chassis'
pins through the slider key holes, until locking occurs. Secure the chassis in the rails, screwing
4 flat head Phillips screws (F) with a 1.5 +/- 0.2 Nm torque in the designated points. See
Figure 2.
2. Attach the left and right rack mount brackets (B) to the switch, by gently pushing the switch
chassis' pins through the slider key holes, until locking occurs. Secure the system in the
Doc Number: MLNX-15-5262
While your installation partner is supporting the system's weight, perform Steps 4-6:
4. Mount the system into the rack enclosure and attach the brackets installed on the system to the
rack's posts. Secure the brackets to the rack's posts by inserting four M6 screws in the desig-
nated cage nuts. See Figure 4. Do not tighten the screws yet.
Figure 4: Attaching the Brackets to the Rack
5. Slide the two blades into the left and right rails (see Figure 5), and adjust them to fit your rack's
depth. Use four M6 screws (E) to fix the blades into the rack. Do not tighten the screws yet.
6. Secure the system in the rack by tightening the 8 screws inserted in Step 4 and Step 5 with a
4.5 +/- 0.5 Nm torque.
Figure 5: Sliding the Blades in the Rails
7. Plug in the required cables, and route them through one of the designated windows in the
brackets, as shown in Figure 6.
Figure 6: Routing the Cables
Rail Kit OPN:
00RR851
Customized for IBM racks with
720mm depth
Rail Kit Components
2x Rack mount rails (A)
2x Rack mount brackets (B)
2x Rack mount blades (C)
1x Air duct unit (D)
A
M6 screws and nuts (E):
8x M6 Standard cage nuts
8x M6 standard G-nuts
C
8x M6 Standard pan-head Phillips
screws
8x Phillips 6-32 X 1/4 screws with a
B
round patch (F)
E
D
F
brackets by screwing the remaining 4 flat head Phillips screws (F) with a 1.5 +/- 0.2 Nm torque
in the designated points. See Figure 3.
For the next step, make sure to choose the nuts that suit your rack's holes: use cage nuts for
square holes, and G-nuts for round holes.
3. Install 8 nuts in the desired 1U slots of the rack: 4 nuts in the rear (FRU) side and 4 nuts in the
front side. In case you are installing cage nuts, note that while each rack U (unit) consists of
three holes, the cage nut should be installed vertically with its ears engaging the top and
bottom holes only.
Figure 2: Attaching the Rails to the Chassis
Figure 3: Attaching the Brackets to the Chassis
8. Mount the air duct unit to the rack by sliding it forward through the brackets' walls. The air duct
unit has two slotted foam panels to block air recirculation within the rack, while ensuring a
smooth passage of the cables.
The unit should slide smoothly. If it does not, inspect the area for the cause of the blockage.
Forcing the unit could result in cable damage.
9. Lock the two captive screws to secure the unit to the brackets.
Figure 7: Mounting the Air Duct Unit
Figure 8: Securing the Air Duct Unit
Grounding the Switch
1. Make sure that the rack is properly grounded and that there is a valid ground connection
between the chassis of the switch and the rack. Test the ground using an Ohm meter.
2. Some national and/or local codes may require IT components to be bonded and externally
grounded (not including the power cord ground). You must follow all national and local codes
when installing this equipment.
Connecting Switch to Power
1. Plug in the power cables into power outlets.
2. Check the Status LEDs and confirm that all of the LEDs show status lights consistent with nor-
mal operation.
Advertisement
Table of Contents

Related Manuals for Mellanox Technologies SX1710


Summary of Contents for Mellanox Technologies SX1710
- Page 1 SX1710/SX6710/SB77X0 Air Duct Rail Kit Quick Start Guide Mechanical Installation brackets by screwing the remaining 4 flat head Phillips screws (F) with a 1.5 +/- 0.2 Nm torque in the designated points. See Figure 3. Installing the Switch For the next step, make sure to choose the nuts that suit your rack’s holes: use cage nuts for square holes, and G-nuts for round holes.
- Page 2 4. Go through the Mellanox configuration wizard. Table 2 shows an examples of DHCP, zeroconf, 3. You can start connecting all of the cables to the switch. and static IP wizard sessions. Table 2 - Configuration Wizard Session - IP Configuration by DHCP Example Any yellow or red status LEDs are cause for concern and must be dealt with immediately.
Need help?
Do you have a question about the SX1710 and is the answer not in the manual?
Questions and answers