
Related Manuals for Austin Hughes Electronics RK-1 Series


Summary of Contents for Austin Hughes Electronics RK-1 Series
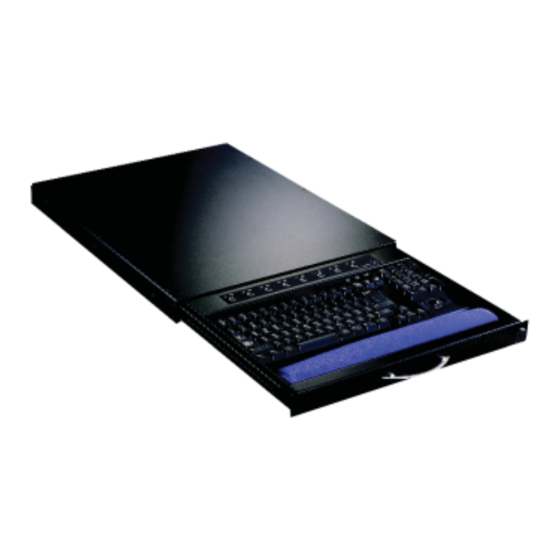
- Page 1 User Manual Rackmount Keyboard Drawer Models RK-1 Series - With KVM options Models RK-2 Series - Short depth version - Without KVM options...
-
Page 2: Table Of Contents
Chapter 1 Getting Started Package Contents...1 Before Installation...2 Unpacking...2 Optional Accessories...2 Peripheral Products...3 Structure Diagram...3 Installation...4 Chapter 2 Keyboard and Mouse Chapter 3 Optional Specifi cation KVM Options for RK-1 Series...6 Chapter 4 Dimensions Contents ...5 ...6... -
Page 3: Package Contents
Keyboard drawer x 1 pc Fasteners for rear L-bracket x 4 pcs 330mm rear mounting L-bracket x 1 pair * RK-1 series mounting depth-adjustable from 220 to 820mm * RK-2 series maximum mounting depth is 660mm USB keyboard cable x 1 pc... -
Page 4: Before Installation
1. SUN / iMAC USB to PS/2 adapter 1.1 SUN-31 2. Extended rear mounting L-bracket 2.1 430mm (16.9") extended rear L-bracket for : RK-1 series up to 920mm RK-2 series up to 740mm *Extended rear L-bracket in tailor-made length on request Chapter 1... -
Page 5: Peripheral Products
Cat5 USB KVM Extender 1U 15" / 17" / 19" LCD drawer 2U 20" LCD drawer 6U 15" / 7U 17" / 8U 19" LCD display 9U 20" LCD display Membrane switch (for RK-1 with Lock with keys KVM option) -
Page 6: Installation
1.7 Installation Figure 1. Installing the rear L-bracket to the LCD keyboard drawer. Figure 2. Aligning the rear L-brackets to a suitable length for the rack. Figure 3. Fixing the LCD keyboard drawer into the rack. ■ Install each rear L-bracket using two fasteners shown in Figure 1. -
Page 7: Chapter 2 Keyboard And Mouse
2.1 Keyboard & Mouse Notebook type keyboard with touch-pad mouse Supporting layouts Compact keyboard with touch-pad mouse Supporting layouts Cherry keyboard with trackball only Supporting layouts Notebook type keyboard with trackball Supporting layouts Compact keyboard with touch-pad mouse... -
Page 8: Kvm Options For Rk-1 Series
The company reserves the right to modify product specifi cations without prior notice and assumes no reponsibility for any error which may appear in this publication. All brand names, logo and registered trademarks are properties of their respective owners. Copyright 2007 Austin Hughes Electronics Ltd. All rights reserved. Packing Dimension (W x D x H)
Need help?
Do you have a question about the RK-1 Series and is the answer not in the manual?
Questions and answers