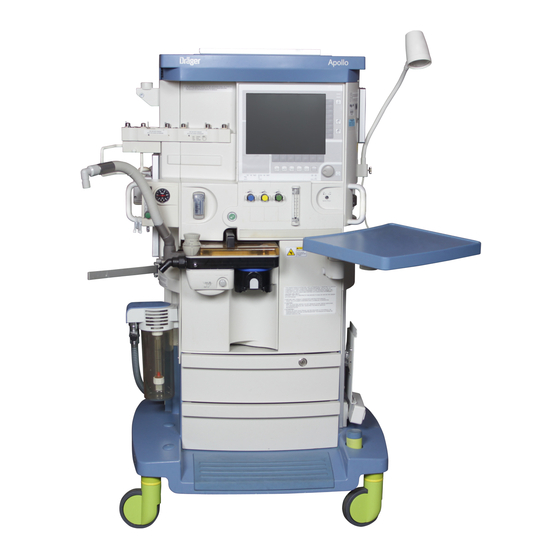
Dräger Apollo Quick Reference Manual
Hide thumbs
Also See for Apollo:
- Instructions for use manual (310 pages) ,
- Operating instructions manual (232 pages) ,
- Manual (13 pages)
Table of Contents
Advertisement
Quick Links
Apollo Quick Reference Guide
Start of Day
Turn machine on and prepare to perform pre-use check
This will checks the system's diagnostics, compliance, and leak (both manual and ventilator systems)
Turn on the Apollo with the on/off switch on the front of the machine.
Read the FDA recommendations and follow instructions to prepare for self test.
-Occlude patient Y-piece on 'Draeger thumb' and ensure that sample line is connected.
-Set APL valve to 30 cmH20, press and hold flush bottom until system pressure stabilizes (don't go
over 45 cm H2O) and make sure pressure stabilizes above 15 cmH2O.
Press 'Start Self Test' - this will take about 3 minutes.
Green
Yellow
Red
To start Apollo, simply turn on Fresh Gas and machine will come on in Man/Spont.
Manual Ventilation-(For more information about the ventilation- refer to Chapter 7 in the Operator's
Manual)
Adjusting Flows
reached. This will activate the monitor and when the fresh gas is on, the Apollo goes automatically in the
"Man/Spont" which allows you to manually ventilate the patient.
APL Valve
- Adjust the APL valve to the desired pressure by turning right to tighten or left to loosen.
Mechanical Ventilation
Volume Ventilation
appear. To change a setting, simply depress the soft key below the parameter, turn the rotary knob and
confirm. Once the desired settings are present, confirm the rotary knob once more to activate the
ventilator. (If you choose to do so, you may select the 'Weight' while still in Man/Spont and enter the
patients IBW in Kg. This will set the default parameters within the reasonable limits).
Pressure Control Ventilation
control ventilation appear. To change a setting, simply depress the soft key below the parameter, turn the
rotary knob and confirm. Once the desired settings are present, confirm the rotary knob once more to
activate the ventilator.
(A good indication for Pressure Control Ventilation (PC)
Pressures (PIP) are higher than desired, changing over to PC will now limit the pressure to the value that
is safe for ventilation. Now instead of monitoring the PIP as during Volume Ventilation, the V
ventilation can now be monitored and adjusted to ensure adequate gas exchange at lower Peak
Inspiratory Pressures).
Options in both Pressure and Volume Control Ventilation
-Synchronizing the patients spontaneous breathing with the mandatory set rate by going to 'Extra
Settings' and setting the 'Trigger'. If the surgery 'falsely' triggering the breath instead of the patient,
increase you amount of trigger required.
Test completed successfully.
Workstation can be used with restrictions.
Operation of the workstations is impossible or not permitted.
– While in "Standby", turn on O2 flow meter counter-clockwise until desired setting is
– Depress the "Vol. Mode" soft key. The default parameters for volume ventilation
– Depress the "Press. Mode" soft key. The default parameters for pressure
- During surgery when Peak Inspirations
and minute
T
Advertisement
Table of Contents

Related Manuals for Dräger Apollo


Summary of Contents for Dräger Apollo
- Page 1 – While in “Standby”, turn on O2 flow meter counter-clockwise until desired setting is reached. This will activate the monitor and when the fresh gas is on, the Apollo goes automatically in the “Man/Spont” which allows you to manually ventilate the patient.
- Page 2 – Power switch on front of machine. Assure all flow meters are off. Soda Lime – The Apollo scrubs CO2 from the bottom-up. If the granules are depleted by ¾, replace. Vaporizers – Check site glass for fill level. Fill as needed.
Need help?
Do you have a question about the Apollo and is the answer not in the manual?
Questions and answers