Advertisement
Quick Links
Advertisement

Subscribe to Our Youtube Channel
Related Manuals for Knight Team Flip


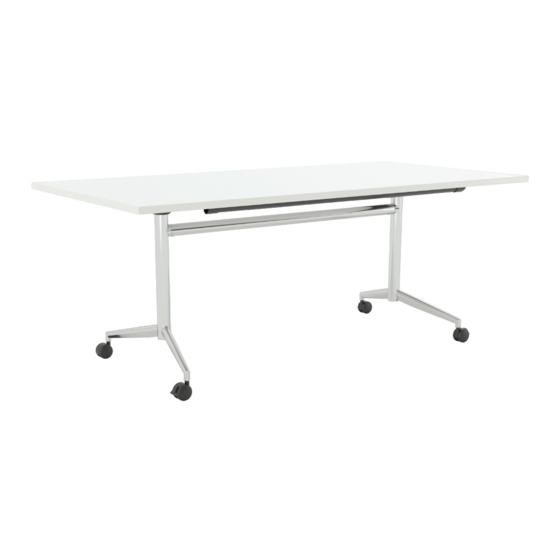
Summary of Contents for Knight Team Flip
- Page 1 Team Flip Assembly Instructions Tools Required: Powered Screwdriver knightgroup.co.nz...
- Page 2 Team Flip Page 1 Assembly Instructions • To prevent possible scratches or damage, assemble the table upside down on a soft surface such as a blanket, carpet or packaging. • Attach leg to the top assembly by using bolts, spring washer, flat washer.
- Page 3 Team Flip Page 2 Page 2 Assembly Instructions Assembly Instructions Step 1 Step 2 Place the pull bar (a) and cross tube (b) in the cor- Fit the pull bar to the top side of the mechanism according to the number corresponding to your rect location pictured below, slide the 2 end legs in worksurface depth.
- Page 4 Team Flip Page 3 Page 3 Assembly Instructions Assembly Instructions Drilling Patterns for Team Flip Tables 170mm 2x 2mmØx12mm h 12x 2.5mmØx15mm h 138mm 138mm 25mm Table Length Width - 700mm Width - 800mm 1200-1600mm 1200-1600mm 1500-1900mm 1096 1500-1900mm 1096...
Need help?
Do you have a question about the Team Flip and is the answer not in the manual?
Questions and answers