
Related Manuals for NOVOFLEX VR-SYSTEM SLIM


Summary of Contents for NOVOFLEX VR-SYSTEM SLIM
- Page 1 MANUAL © Jan Röpenack © NOVOFLEX Präzisionstechnik GmbH Brahmsstrasse 7; D - 87700 Memmingen; Germany phone +49 8331 88888; fax +49 8331 47174 mail@novoflex.com; www.novoflex.com...
- Page 2 Panorama VR-SYSTEM SLIM Last checkup: • System leveled to the horizon (veryfy with the spirit level on the lower locking screw)? • Set panning angle (increment), depending on the focal length? Camera and lens not included • Correct values on the lower and upper scale? •...
-
Page 3: Recommended Accessories
A stable tripod (recommendation: Novoflex TrioPod or QuadroPod) pictures in RAW format you can match the white-balance afterwards also. • A leveling device (recommendation: Novoflex MagicBalance) or a ball • head (recommendation: Novoflex ClassicBall or MagicBall). In the case of longer exposure time, we recommend using a remote cable and - •... -
Page 4: Safety References
When selling or passing on your column for full-frame sensor in the table. Panorama VR-System Slim, please include the manual also by all means. The following chart shows the possible increments using „multi-clicks“. On this •... -
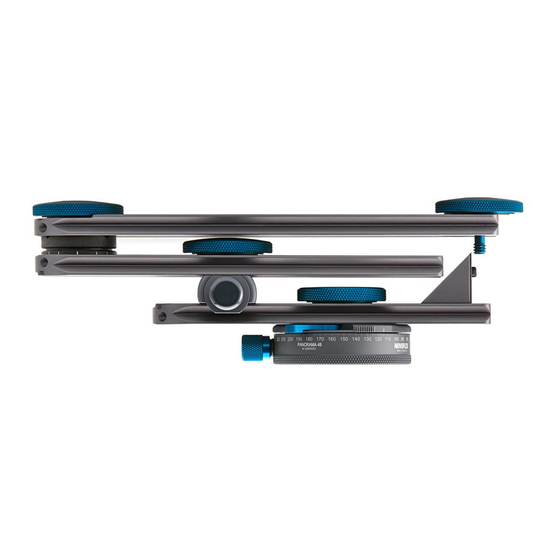
Page 5: Basic Assembly
Basic assembly: More increments by counting the “clicks“ When taking the pictures not at any snap in, but at every second, third or fourth Before doing precise adjustments, first assemble all of the parts of your system. “click-stop“, you have notable more selectable increments available. Here’s an See also the illustration on page 1. - Page 6 Tip: selected directly at the increment selector lever (10). Between two exposures, pan When using a ball head (such as Novoflex Clas- the system to the next click-stop, where you take the picture. sicBall 3 II) or a leveling device (recommenda-...
- Page 7 Installing the camera-plate QPL Slim 50 The setup in front of the scene is done as described on page 4 „Basic assembly“. However, don’t insert your camera into the quick release for now. This should al- ways be the last step, after all adjustments are done. optical axis Step 2: Level the system with the horizon:...
-
Page 8: Field Use
Repeat the procedure until the vertical lines don’t move (see fig. 3+4). Now the Precise level adjustment whole system is panning around the entrance pupil of the lens. Write down these settings for future exposures with this camera-lens-combina- Observe the system from the front and tion. - Page 9 Preparatory step 3: Crosswise quick release installation on the upper arm Forward-Backward Adjustment: (Alternative to lengthwise installation) Only when using a camera, whose tripod socket is in line Now bring the camera to a precise vertical posi- with the optical axis, the crosswise installation is useful (see tion.
- Page 10 Preparatory step 2: How to insert the camera into the quick release (crosswise quick release installation on the upper arm) Side-to-side adjustment: Move the camera into the pivot axis of the panning base Open the quick release locking screw (1) and slide •...
Need help?
Do you have a question about the VR-SYSTEM SLIM and is the answer not in the manual?
Questions and answers