Aastra 470 Getting Started
Hide thumbs
Also See for 470:
- System manual (304 pages) ,
- User manual (28 pages) ,
- Installation manual (22 pages)
Advertisement
Quick Links
Aastra Business
Communication Solution
Aastra 470
Getting started
Supported platform:
Aastra 470
You want to get to know the Aastra 470 communication server from the scratch. This document will
help you to quickly set up an Aastra 470 communication server and some phones for self training
purposes. After working through this document you can make internal calls between the different
type of phones connected to the server. Further more you have a perfect configuration platform to
learn more about the system, its features and expansion possibilities.
syd-0419_en / 1.0 – R1.2 – © 10.2011
Advertisement

Subscribe to Our Youtube Channel
Related Manuals for Aastra 470


Summary of Contents for Aastra 470
- Page 1 Supported platform: Aastra 470 You want to get to know the Aastra 470 communication server from the scratch. This document will help you to quickly set up an Aastra 470 communication server and some phones for self training purposes. After working through this document you can make internal calls between the different type of phones connected to the server.
-
Page 2: Getting Started
Getting started You want to get to know the Aastra 470 communication server from the scratch. This document will help you to quickly set up an Aastra 470 communi- cation server and some phones for self training purposes. After working through this document you can make internal calls between the different type of phones connected to the server. -
Page 3: Equipping The Basic System
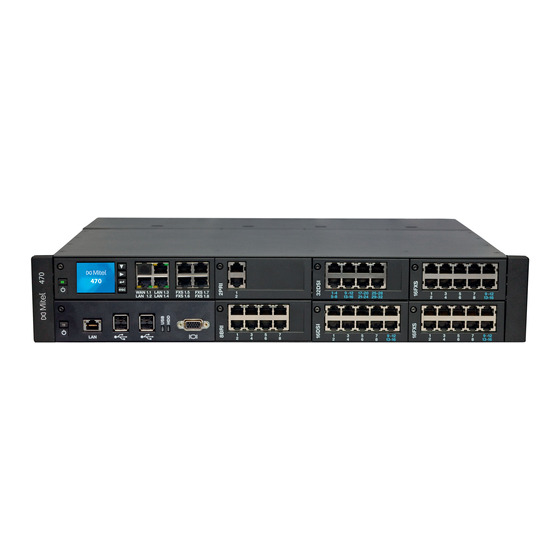
Getting started Equipping the basic system The Aastra 470 communication server ships with a plugged-in processor card (call manager card CPU1) containing some interfaces and is ready to use as a basic sys- tem. All other equipment is optional, so not every step in the following instruction might be necessary for your configuration. - Page 4 CPU1. When the startup is finished the communication server runs in normal operating mode. The status LED above the On/Off key is blinking slowly. DHCP is switched on by default. Getting started Aastra 470 syd-0419/1.0 – R1.2 – 10.2011...
- Page 5 Getting started Commissioning the communication server Search your communication server in the IP network 1. Connect your computer to the IP network and start the application Aastra Sys- tem Search. 2. Click the Search button. Aastra System Search lists all communication servers in the same subnet.
- Page 6 The WebAdmin welcome view is opened and you are asked to change the de- fault password. 5. Enter the default password and the new password. Confirm the new password and click the Change button. The WebAdmin home view is opened. Getting started Aastra 470 syd-0419/1.0 – R1.2 – 10.2011...
-
Page 7: Configuring The Basics
4 hours of operation. You get the licence code from your authorised dealer or from the Aastra 400 activation portal via extranet (partner login required) by entering the Equipment ID (EID) of your system. - Page 8 Getting started Adding IP and SIP system phones Register an Aastra 5300 IP system phone Set up the phone in the communication server: 1. In the WebAdmin configuration assistant go to step 09. Open users. 2. Create a user with the button.
- Page 9 2. Add the expansion key modules to the Aastra SIP phone. 3. Connect the Aastra SIP phone to the IP network and to the power supply using the optional power adapter. If your IP networks supports PoE, no power adapter is required.
- Page 10 Now you have a perfect configuration platform to learn more about the communication server, its features and expansion possibilities. For further configurations use WebAdmin with the configuration assistant and the online help. For detailled information refer to the system manuals and [3]. Getting started Aastra 470 syd-0419/1.0 – R1.2 – 10.2011...
Need help?
Do you have a question about the 470 and is the answer not in the manual?
Questions and answers