Table of Contents
Advertisement
Quick Links
Commissioning
(6) and secure the lamp holder plate (4) with the 2 x
screws removed in 3 above – being careful not to trap or
damage internal cables.
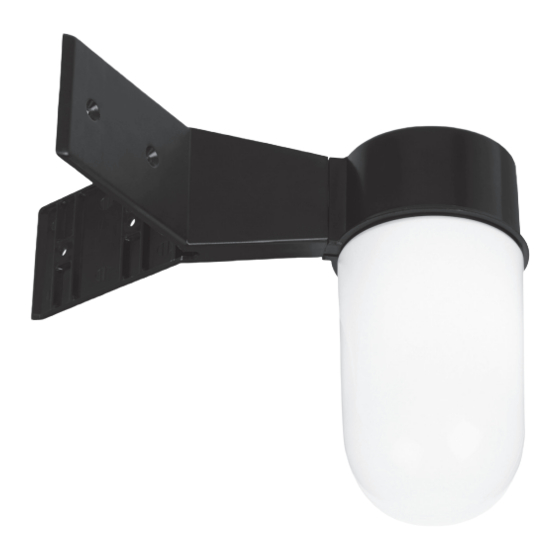
Diagram C. Place the bracket over the pre-drilled holes
in the mounting surface, and secure using the screws /
wall plugs provided.
is now ready for use.
Fitting/replacing bulbs
and allow the bulb to cool before handling.
incorrect wattage bulb will damage the bulb and ballast.
waste. Please recycle where facilities exist.
We recommend cleaning with a soft dry cloth.
Do not use solvents or abrasive cleaners as these could
damage the finish.
Recycling advice
Waste electrical products should not be disposed of with household waste. Please recycle where facilities exist.
Check with your Local Authority or retailer for recycling advice.
Safety information
For your safety, always switch off the power supply before changing lightbulbs, or cleaning.
This light source is protected by a shade. This part must be replaced immediately should the shade
become cracked or damaged. This fitting must not be used without the shade in place.
Replace Cracked Shade
www.saxbylighting.com
Diagram C. Shade shape may vary from that shown.
into the lampholder.
40W E27 GLS
damp cloth. Do not use abrasive materials as these will
damage the finish.
V3 10/12/2019
Saxby Lighting Ltd. BH17 7BY
Instruction leaflet
Ware Outdoor Wall
EL-40088
Advertisement
Table of Contents

Summary of Contents for Saxby Lighting Ware Outdoor Wall
- Page 1 This light source is protected by a shade. This part must be replaced immediately should the shade become cracked or damaged. This fitting must not be used without the shade in place. Replace Cracked Shade V3 10/12/2019 www.saxbylighting.com Saxby Lighting Ltd. BH17 7BY...
- Page 2 Installation Thank you for purchasing this light fitting. Please read the instructions carefully before use to ensure safe and satisfactory operation of this product. Please retain these instructions for future reference. Diagram A. Existing fittings must be completely removed before installation of a new product.


Need help?
Do you have a question about the Ware Outdoor Wall and is the answer not in the manual?
Questions and answers