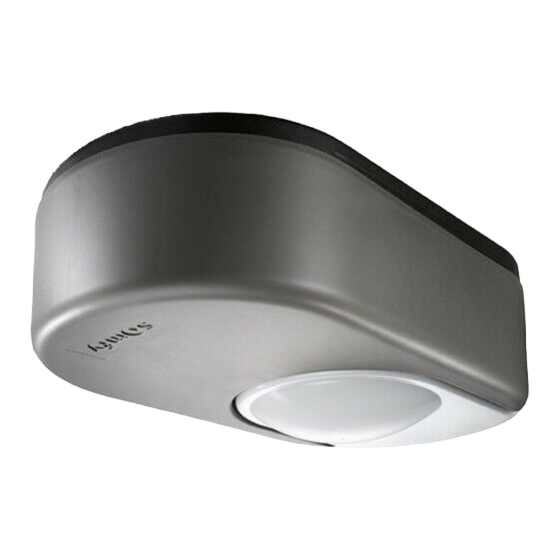
SOMFY Dexxo Pro Commissioning Instructions
Hide thumbs
Also See for Dexxo Pro:
- Installation manual (18 pages) ,
- Manual (2 pages) ,
- User manual (2 pages)
Table of Contents
Advertisement
Quick Links
1
2
5
4
3
6
1
2
Unscrew the main cover and
remove the protective sheet.
5
6
3
Press and
secs
Press the 'SET'
button 3 secs.
To engage the carriage, operate the drive until the chain/belt
The light will come on and
runner links with the carriage. Press and hold the '+' button
the LCD screen will display S2.
to move in the close direction and '-' in the open direction.
8
9
3
secs
Press the 'PROG'
button 3 secs.
Press the desired control button on the remote control. The
The light will come on and
LCD screen will display '--' and the light will flash for 5
the LCD screen will display F0.
seconds. LCD screen = C1 - The control is now recorded.
7 seconds
Press and hold the 'SET' button. The light will come on and
then begin to flash after approximately 7 seconds (the light
will flash for 7 seconds) and the LCD screen will display '--'.
The self-learn memory has been deleted.
Commissioning procedure
Control programming
Parameter setting
LCD display - provides visual feedback on all
1
programming and operating
Button to move up through the parameter
2
7
values
Button to move down through the parameter
3
values
8
Button use to start the self-learn phase and
4
to confirm parameter selection and value
3
Power the unit up.
The light will flash 3
Fit the screw-in
times and the LCD screen will
light bulb.
display S1.
Press and
hold
CLACK !
hold
Press and hold the 'PROG' button. The light will come on and then begin to flash after
approximately 7 seconds (the light will flash for 5 seconds) and the LCD screen will
display '--'. All controls have been deleted from the memory.
4
230Vac
S1 = Up & Over or Sectional door
By default, the unit is set for Up & Over or
Sectional doors. Press the + or - buttons to
adjust the setting for Swing doors, otherwise
continue to step 5.
7
CLACK !
Once the carriage has been engaged, press the 'OK' button
to initiate the self-learn phase. Once the self-learn process
is completed, C1 will be displayed on the LCD screen.
10
Repeat the procedure starting at step 1 to record additional
controls. The radio wall switch and digipad are recorded in
the same way. For Telis type controls, press the program
button instead of the control button.
7 seconds
Opening cycle
If an obstacle is detected
during the open cycle, the
door will stop
Commissioning Instructions
Button use to modify a parameter value and
5
operate the rail drive during set-up
Button use to modify a parameter value and
6
operate the rail drive during set-up
Button used for various programming
7
functions and to reset the system
Button used when programming controls and
8
to delete all controls stored in the memory
S0 = Swing door
Press 'OK' - S2 will flash and the system will cycle
through the self-learn phase
or
Closing cycle
If an obstacle is detected during the
close cycle, the door will stop and
return
Advertisement
Table of Contents

Summary of Contents for SOMFY Dexxo Pro
- Page 1 Commissioning Instructions LCD display - provides visual feedback on all Button use to modify a parameter value and programming and operating operate the rail drive during set-up Button to move up through the parameter Button use to modify a parameter value and values operate the rail drive during set-up Button to move down through the parameter...
- Page 2 IP setup. the desired IP position. pressing ‘OK’. to C1. Somfy Ltd - Moorfield Road - Yeadon - Leeds - West Yorkshire - LS19 7BN Tel. 0113 391 3030 - Fax. 0113 391 3010 - www.somfy.co.uk...


Need help?
Do you have a question about the Dexxo Pro and is the answer not in the manual?
Questions and answers