Advertisement
Quick Links
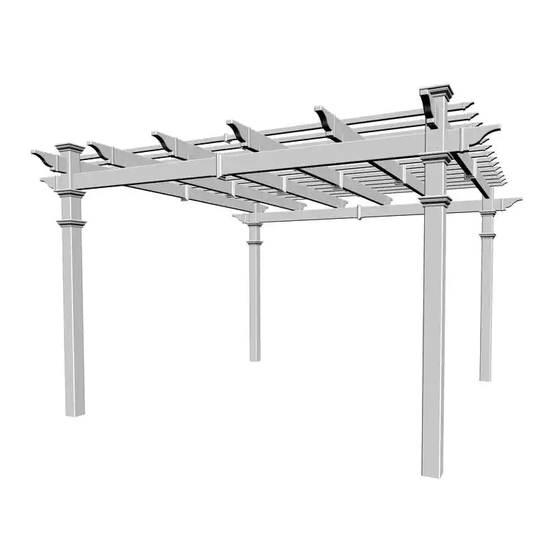
12 x 12 Flat Top Pergola
A S S E M B L Y G U I D E
Regency, Roosevelt, Monterey
Model:
O P T I O N A L A C C E S S O R I E S :
• Bolt Down Bracket Kit
• Canvas Weave
• Shade Kit
• Privacy Wall
• Pergola Planter
(4 for Pergola)
(Regency Only)
(Regency Only)
www.wearevita.com
Ver 2.3 10162020
211 Campbell St. Sarnia,
Ontario, Canada N7T 2G6
Advertisement


Need help?
Do you have a question about the Regency and is the answer not in the manual?
Questions and answers