Table of Contents
Advertisement
Quick Links
Tools needed (not included):
Outils requis (non incluse):
Herramientas necesarias (no se incluye):
Adjustable wrench
Clear silicone sealant
Clé réglable
Scellant à base de silicone clair
Llave ajustable
Sellador de silicona transparente
Safety goggles
Groove joint pliers
Lunettes protectrices
Pince multiprise
Gafas de seguridad
Pinzas pico de loro
Need Help? Please call our toll-free Technical Support line at 1-800-487-8372 for additional assistance or service./
Besoin d'aide? Veuillez communiquer avec notre ligne de soutien technique sans frais à 1-800-487-8372 pour obtenir du service
ou de l'aide additionnels./¿Necesitas Ayuda? Favor de llamar a nuestro servicio de soporte técnico sin costo al 1-800-487-8372
para asistencia adicional o servicio.
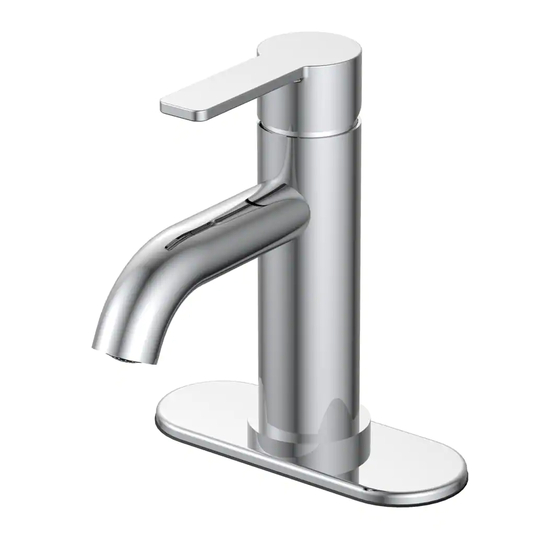
Lavatory Faucet
Robinet de lavabo
Grifo para lavabo
Safety Tips
• When installing flexible hose, there should be no torsion or deformation; DO NOT fold into V or L
shape; DO NOT use if there are any cracks or deformations.
• The fittings should be installed by a licensed plumber.
• Protect your eyes with safety glasses when cutting or soldering water supply lines.
• Cover your drain to avoid losing parts.
Conseils de sécurité
• Lorsque vous installez le tuyau flexible, il ne doit exister aucune torsion ou déformation;
NE le pliez PAS en V ou L; NE L'UTILISEZ PAS s'il existe des fissures ou déformations.
• Les raccords doivent être installés par un plombier accrédité.
• Protégez vos yeux avec des lunettes de sécurité lorsque vous coupez ou soudez les conduites
d'alimentation en eau
• Recouvrez le drain pour éviter de perdre des pièces.
Consejos de Seguridad
• Al instalar la manguera flexible, esta no debe doblarse o torcerse; NO doblar en forma de V o L;
NO usar si está agrietada o deformada.
• Estos acoplamientos deben ser instalados por un plomero con licencia.
• Al soldar o cortar las líneas de suministro de agua, protege tus ojos con gafas de seguridad.
• Cubre el drenaje para evitar que se pierdan piezas.
1
FS6A0148
Advertisement
Table of Contents

Subscribe to Our Youtube Channel
Related Manuals for Danze 063-9824-6


Summary of Contents for Danze 063-9824-6
- Page 1 FS6A0148 Lavatory Faucet Robinet de lavabo Grifo para lavabo Tools needed (not included): Outils requis (non incluse): Herramientas necesarias (no se incluye): Adjustable wrench Clear silicone sealant Clé réglable Scellant à base de silicone clair Llave ajustable Sellador de silicona transparente Safety goggles Groove joint pliers Lunettes protectrices...
- Page 2 Important Information • Prior to beginning installation, turn off the cold and hot water valves and turn on the old faucet to release built-up pressure. • When installing your new faucet, first hand-tighten the water supply line connector nuts. Then tighten the water supply line nuts by using two adjustable wrenches.
- Page 3 Different installation for reference/Installations différentes à titre de référence/ Instalación diferente para referencia Fits 1-hole sink (without cover plate). Fits 3-hole sink (with cover plate). Pour évier 1 trou (sans plaque décorative). Pour évier 3 trous (avec plaque décorative). Se adapta a lavabo de 1 agujero (sin placa de la cubierta). Se adapta a lavabo de 3 agujeros (con placa de la cubierta).
- Page 4 Faucet Installation/Installation du robinet/Instalar el Grifo Continued/Suite/Continuación Position the spout trim ring (C) onto the sink, install faucet body Without deck plate installation: Install faucet body (A) through (A) through top of sink. top of sink (not included). Placez et l’anneau décoratif de bec (C) sur l’évier. Posez le Installation sans l’applique : Posez le corps du robinet (A) sur le corps du robinet (A) sur l’évier.
- Page 5 Faucet Installation/Installation du robinet/Instalar el Grifo Continued/Suite/Continuación Slide rubber washer (F) and metal washer (G) onto shank. Unscrew screws on lock nut (I) until they are flush with the face Secure shank with lock nut (I) and tighten serews. of the nut. Faites glisser la rondelle (F) en caoutchouc (G) et la rondelle en Dévissez les vis du écrou de blocage (I) jusqu’à...
- Page 6 Drain Installation/Installation du tuyau de queue/Instalar el desagüe Connect 1-1/4” I.D. tail piece on pop-up drain to waste outlet Install the main plunger (AA) and the drain assembly (DD) (not included). Check all drain connections and P trap for leaks. above sink.
- Page 7 Final Installation/Installation finale Flush out any debris and check for leaks around drain. Replace aerator (B). Rincer les débris et s’assurer qu’il n’y a pas de fuites autour du Enlever le brise-jet (B). tuyau de vidange. Vuelve a poner el aireador (B). Enjuague para eliminar los residuos y verifique que no haya fugas alrededor del desagüe.
- Page 8 Warning / Avertissement / Advertencia This product is engineered to meet the EPA WaterSense flow requirement. The flow rate is governed by the aerator or flow controller. If replacement is ever required, be sure to replace it with a WaterSense compliant aerator or flow controller to retain the water conserving flow rate of this product.
Need help?
Do you have a question about the 063-9824-6 and is the answer not in the manual?
Questions and answers