Advertisement
Quick Links
Quick Installation Guide
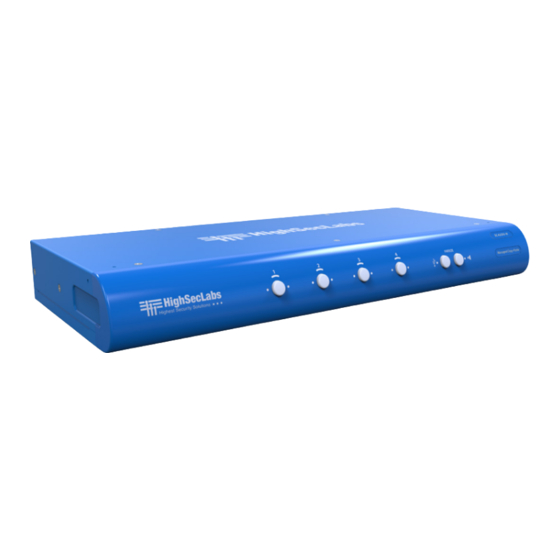
4-Ports KVM Combiner Switches
Objectives
• This guide includes instructs for installing HSL Combiner SC42DU-N, SC42DHU-N, SC42PHU-N devices.
• A Combiner allows viewing and interacting with multiple computers at the same time by sharing keyboard, video, mouse, audio and USB
peripherals between computers.
• For further assistance please refer to HSL website http://www.highseclabs.com.
General
• Verify that all peripherals and computers are turned off prior to
connecting them to the product.
• The Combiner's back panel is divided into Console Ports and
Computer Ports sections.
– Connect peripherals which are due to be shared by the
Combiner to the Console ports.
– Connect each computer that requires access to the shared
peripherals to a Computer port group.
SC42DHU-N Model is shown
Connect peripherals to the
Combiner Console ports:
• Keyboard: Connect a USB keyboard to
the corresponding Combiner console
keyboard port.
• Video: Connect the monitor cable
to the Combiner console video port.
When using a dual monitor product –
connect two monitors to the Combiner
console video ports.
• Mouse: Connect a USB mouse to the
corresponding Combiner console
mouse port.
• Audio out peripherals: Connect
headphones / speakers to the KVM
combiner console audio-out ports
(colored green).
• USB peripherals: Connect USB peripherals
to the Combiner console USB port.
• Audio in peripherals: Connect a
microphone to the KVM console audio-in
ports (colored pink).
• Primary & secondary display screen
size: It is highly recommended to use
identical primary and secondary display
monitors. EDID information is taken
from the primary display (console port
#1) and sent to all connected computers.
In case of using non-identical displays,
connect the smaller display to the
primary console display port.
Connect computers to the
Combiner Computer ports:
• Computer keyboard & mouse
connection: Connect each computer
to the Combiner keyboard & mouse
computer port using a USB A to USB B
cable. Connect the USB A end to the
computer and the USB B end to Combiner.
©2017 All rights reserved. HSL logo and product names are trademarks or service trademarks of HighSecLabs Ltd (HSL).
All other marks are the property of their respective owners. Images for demonstration purposes only.
SC42PHU-N • SC42DU-N • SC42DU-N
– Make sure that every computer is connected to a separate
Computer port group.
– Computer port group numbers are represented by push
buttons on the product's front panel.
– Switch peripherals between computers by pressing the push
buttons on the product's front panel.
• Computer video connection:
Connect each computer to the
Combiner computer video port using
the corresponding video cable (VGA/
HDMI/DVI/DP).
• Computer audio connection:
Connect each computer to the
Combiner audio-in and audio-out ports
using an audio cable.
Connect one end of the cable to the
computer's audio port using the 1/8"
(3.5mm) stereo plug. Connect the other
end of the audio cable to the Combiner
audio-in/audio-out computer port.
• Computer USB peripherals: Connect
each computer to the Combiner USB
computer port using a USB A to USB B
cable. Connect the USB A end to the
computer and the USB B end to Combiner.
Power ON your system:
• Power ON the monitor: Make sure that
the monitors are turned ON prior to
powering ON the Combiner.
| QUICK INSTALLATION GUIDE
1
4
2
• Power ON the system: Connect all
peripherals and computers to the
Combiner prior to powering it up.
Power ON the Combiner by plugging it
to the AC wall outlet. By default, after
product power-up, the active channel
will be computer #1, indicated by the
applicable front panel push button LED lit.
Note: Power ON self-test: As the product
powers-up it performs a self-test procedure.
In case of self- test failure for any reason,
including jammed buttons, the product will be
Inoperable. Self-test failure will be indicated by
abnormal LED behavior – for further information
please refer to the Combiner setup guide.
Switching between computers:
• Switch between computers by pressing
the corresponding front panel button
on the Combiner. The front panel button
of the selected computer will illuminate.
3
HDC15279 Rev. 1.0
Advertisement

Related Manuals for HighSecLabs SC42PHU-N


Summary of Contents for HighSecLabs SC42PHU-N
- Page 1 ©2017 All rights reserved. HSL logo and product names are trademarks or service trademarks of HighSecLabs Ltd (HSL). HDC15279 Rev. 1.0 All other marks are the property of their respective owners. Images for demonstration purposes only.
- Page 2 This product is for use with other products that are Listed or Certified by a Nationally Recognized Testing Laboratory (NRTL). ©2017 All rights reserved. HSL logo and product names are trademarks or service trademarks of HighSecLabs Ltd (HSL). HDC15279 Rev. 1.0 All other marks are the property of their respective owners. Images for demonstration purposes only.