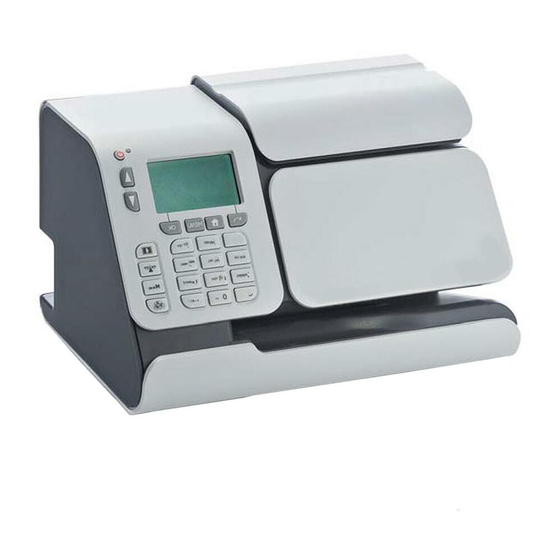
quadient IS-280 Manual
Meter swap guide
Hide thumbs
Also See for IS-280:
- Operator's manual (186 pages) ,
- Installation manual (29 pages) ,
- Base swap manual (22 pages)
Advertisement
Quick Links
Advertisement

Related Manuals for quadient IS-280


Summary of Contents for quadient IS-280
- Page 1 Meter Swap Guide Franking Machine IS-280...
- Page 2 How to fit a new meter to your mailing system Instructions On How To Fit A New Meter To Your Mailing System ..................3 How to fit a new meter to your mailing system ..........3 How to install a new Postage Meter ..............8...
- Page 4 Instructions On How To Fit A New Meter To Your Mailing System Please read the following information carefully to complete the installation of your new meter. The new meter has to be activated with a registration PIN code found on the accompanying paperwork.
- Page 5 Disconnect the power supply from the rear of the unit. If the weight platform is still connected support the scale when the unit is placed on its back or lift the platform off the base and remove the connector Carefully place the unit on its back. Open the meter cover as shown and then remove the old meter by sliding it up and out.
- Page 6 Fit the new meter. Slot the meter in and down as shown in the diagram. Then close the meter cover door. If the cover does not close properly the meter is fitted incorrectly.
- Page 7 Place the unit back to the upright position. If the weighing platform was disconnected, Reconnect at this point. Modem cable LAN cable PC Meter Link...
- Page 8 Reconnect the power supply cable to the rear of the base and power on. After a few seconds the system will power up. Now follow the screens in this document and on the user panel to complete the swap process. The default connection is LAN however if you want to use another type, please login to Supervisor , select Communication Settings and then Postal Server Access.
- Page 9 How to install a new Postage Meter On this screen, press "Next" Check the cable connections. Then press :...
- Page 10 If the Modem connection is selected. The following screen displayed. If the LAN or PC Meter Link is selected. Go to step 4 If you have your registration pin number, press: If you can't find your registration pin number, please call 1-800-661-0200 for assistance. Enter the pin number then press:...
- Page 11 When the screen displays “Transaction completed” Press: A connection to the Neopost system must be completed to finish the swap process. To carry this out press: The following screens will be displayed:...
- Page 12 The process is now complete. To finish press: To begin mailing, power the unit off then on. After a few moments the system will display the home screen. To process mail you will need to credit the new meter. If the process fails repeat the process one more time. If this fails on the second Attempt please call the technical help desk at 1-800-661-0200.
- Page 13 Index installation 3 meter 3 A0048755/C - 27/01/2020...
- Page 14 A0048755/C - 27/01/2020...
Need help?
Do you have a question about the IS-280 and is the answer not in the manual?
Questions and answers