Advertisement
Advertisement
Table of Contents

Related Manuals for Joy-it RB-LCD-10-2


Summary of Contents for Joy-it RB-LCD-10-2
- Page 1 JOY-iT 10.1“ Touchscreen-Display Export 01.09.2017 Copyright by Joy-IT...
- Page 2 JOY-iT 10.1“ Touchscreen-Display Index Display-Setup 1.1 Building the display 1.2 Mounting a Raspberry Pi Using the display 2.1 Installing the software 2.2 [Pro Part] Manually installing the display 2.3 Using with a Windows PC Support Export 01.09.2017 Copyright by Joy-IT...
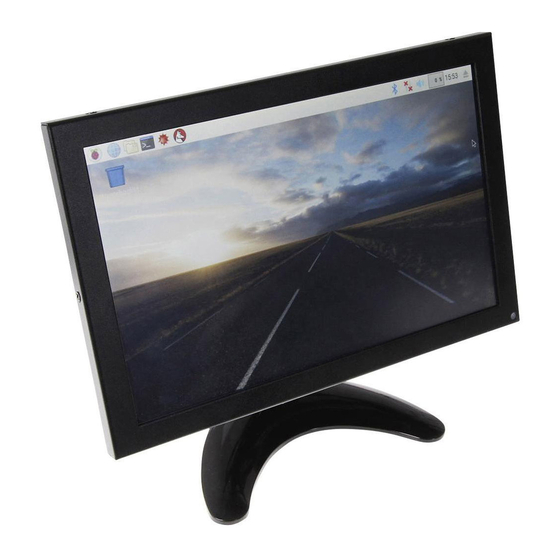
- Page 3 JOY-iT 10.1“ Touchscreen-Display Dear customer, Thank you for purchasing our producht Please find our instructions below. Display-Setup Building the display First, take the display, the base and the base-socket of the display. Place the metal-rectangle of the base-socket into the matching lead of the display-case (near the USB label).
- Page 4 JOY-iT 10.1“ Touchscreen-Display 2. Using the display 2.1 Installing the software Install, with the help of the „Win32 Disk Imager“-program, the FBTFT Image, which you can find here. Export 01.09.2017 Copyright by Joy-IT...
- Page 5 JOY-iT 10.1“ Touchscreen-Display 2.2 [Pro Part] Manually installing the display Connect the display, as well as your Raspberry Pi, with the power supplies. Also connect the display and the Rasperry Pi with a HDMI-cable. You can also connect the shipped USB-cable if you would like to use the touchscreen-features.
- Page 6 JOY-iT 10.1“ Touchscreen-Display Now you can start the calibration tool: xinput_calibrator You will now see 4 points on the display which needs to be pressed one after another. After that, four values will be printed which you need to use as new calibration data. Example: Section “InputClass“...
- Page 7 JOY-iT 10.1“ Touchscreen-Display 2.3 Using with a Windows PC Connect the display with the shipped power supply. Connect the computer and the display with a HDMI or a VGA cable. You can also connect an USB cable to the touch interface if you wish to control your computer via touch screen.
- Page 8 JOY-iT 10.1“ Touchscreen-Display Support We also support you after your purchase. If there are any questions left or if you encounter any problems, please feel free to contact us by mail, phone or by our ticket-supportsystem. Mail: service@joy-it.net Ticket-System: http://support.joy-it.net Phone: +49 (0)2845 98469 –...
Need help?
Do you have a question about the RB-LCD-10-2 and is the answer not in the manual?
Questions and answers