
Related Manuals for Joy-it RB-LCD-10B


Summary of Contents for Joy-it RB-LCD-10B
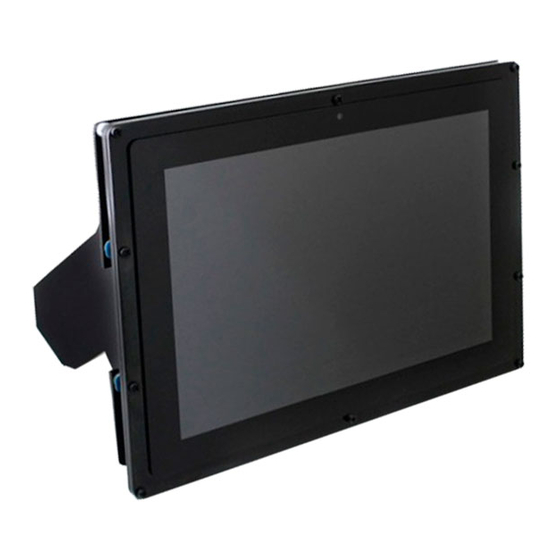
- Page 1 10,1" LCD DISPLAY VERSION B RB-LCD-10B Joy-IT powered by SIMAC Electronics GmbH - Pascalstr. 8 - 47506 Neukirchen-Vluyn - www.joy-it.net...
-
Page 2: General Information
1. GENERAL INFORMATION Dear Customer, thank you for choosing our product. In the following, we will show you what to pay attention to during commissioning and use. If you encounter any unexpected problems during use, please feel free to contact us. 2. -
Page 3: Bracket Assembly
3. BRACKET ASSEMBLY Simply follow the following illustrated instructions step by step for quick and easy mounting of the bracket. 1. First loosen the screws of the protective cover and remove it. 2. Now remove the protective film from the feet. 3. - Page 4 4. Now remove the protective film from the cover. 5. Now fasten the spacers with the supplied nuts to the openings provided for them. Note that the numbers represent the different single board computers that are compatible with the display. 6.
-
Page 5: Installation
4. ACTIVATION/DEACTIVATION OF THE BACKLIGHT On the back of the device you will find a switch in the upper right corner of the PCB. This switch is only used to turn the backlight (the backlight of the device) ON or OFF and therefore has no other functions. 5. -
Page 6: Device Connection
sudo nano /boot/config.txt After opening the file, go to the part in the file that shows [all]. Under the item [all] you must insert the following max_usb_current=1 hdmi_group=2 hdmi_mode=1 hdmi_mode=87 hdmi_cvt 1280 800 60 6 0 0 0 In your case, the part under [all] should now look like the following image. -
Page 7: Display Rotation
6. DISPLAY ROTATION Changing the display orientation is helpful for many purposes. Of course, you can also configure the display orientation here. To do this, you simply need to follow the steps in the following images. 1. Open the application menu. 2. -
Page 8: Display Calibration
In the following you should see this window open on the "desktop" of your Raspberry Pi. In this window, simply go to Configure > Screens > HDMI-1 > Rotation and select the desired orientation that you want to use for your display. 7. - Page 9 Now there is one more change to be made to the touchscreen parameters. Create a new file, the only important thing here is that you create a .sh file so that it can be executed in the autostart (In our example the file is called fliptouch.sh, but the name can be freely chosen by you).
-
Page 10: Use With A Pc
8. USE WITH A PC This product supports Windows 7 / 8 / 8.1 / 10 and 11 operating systems. For Windows operating systems 8 and up, multi-touch gestures of up to 10 points are supported. In some Windows 7 operating systems, only single-touch gestures are supported. -
Page 11: Additional Information
Germany Possibility of return in your area: We will send you a parcel stamp with which you can return the device to us free of charge. Please contact us by email at Service@joy-it.net or by telephone. Information on packaging: If you do not have suitable packaging material or do not wish to use your own, please contact us and we will send you suitable packaging.
Need help?
Do you have a question about the RB-LCD-10B and is the answer not in the manual?
Questions and answers