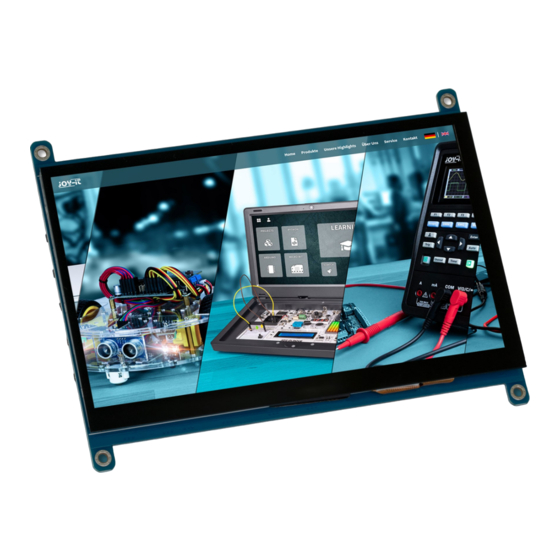
Summary of Contents for Joy-it RB-LCD7-3
- Page 1 7" TOUCH DISPLAY RB-LCD7-3 Joy-IT powered by SIMAC Electronics GmbH - Pascalstr. 8 - 47506 Neukirchen-Vluyn - www.joy-it.net...
-
Page 2: General Information
1. GENERAL INFORMATION Dear customer, thank you very much for choosing our product. In the following, we will introduce you to what to observe while starting up and using this product. Should you encounter any unexpected problems during use, please do not hesitate to contact us. -
Page 3: Menu Control
3. MENU CONTROL To enter the menu of the display, it must be switched on and receive an input signal. The display automatically switches between the available input interfaces. If both interfaces are used simultaneously, the signal received first is output. Pressing the Menu key takes you to the display settings. - Page 4 In the Function menu, you can reset the display, set the display aspect ratio, turn the bluescreen on or off, and set the mode. With bluescreen switched on, the display always shows a blue screen for a short time at startup before the received signal is output. If the bluescreen function is switched off, the received image is displayed immediately when the display is switched on.
- Page 5 During the first start-up, a black border can be seen on the display, which also affects the accuracy of the touch function. To change this, you need to follow the steps below. Once you get your Raspberry Pi up and running again, after connecting the display, you can manually remove the black border on the display.
- Page 6 Attention! Please make sure that there are no spaces on either side of the equal sign. Save the file with the key combination CTRL+O, confirm with Enter and exit with the combination CTRL+X. After restarting the system, the display is ready for use just use the following command. You can also use the following command to restart.
-
Page 7: Display Calibration
3. Open the screen configuration. After performing the previous steps, a window like the one shown in the following image should open on the desktop of your Raspberry Pi. In this window, simply navigate to "Configure > Screens > HDMI-1 > Rotation"... - Page 8 Now there is one more change to be made to the touchscreen parameters. Create a new file, the only important thing here is that you create a .sh file so that it can be executed in the autostart (In our example the file is called fliptouch.sh, but the name can be freely chosen by you).
- Page 9 8. USE WITH WINDOWS 10 AND WINDOWS 11 To operate the display on a Windows computer, simply connect the display with an HDMI and a USB cable. The USB cable is connected to the touch port of the display and to a free USB port of your computer. The USB cable is used for both the data exchange for the touch function and the power supply for the display.
-
Page 10: Additional Information
Germany Possibility of return in your area: We will send you a parcel stamp with which you can return the device to us free of charge. Please contact us by email at Service@joy-it.net or by telephone. Information on packaging: If you do not have suitable packaging material or do not wish to use your own, please contact us and we will send you suitable packaging.


Need help?
Do you have a question about the RB-LCD7-3 and is the answer not in the manual?
Questions and answers